
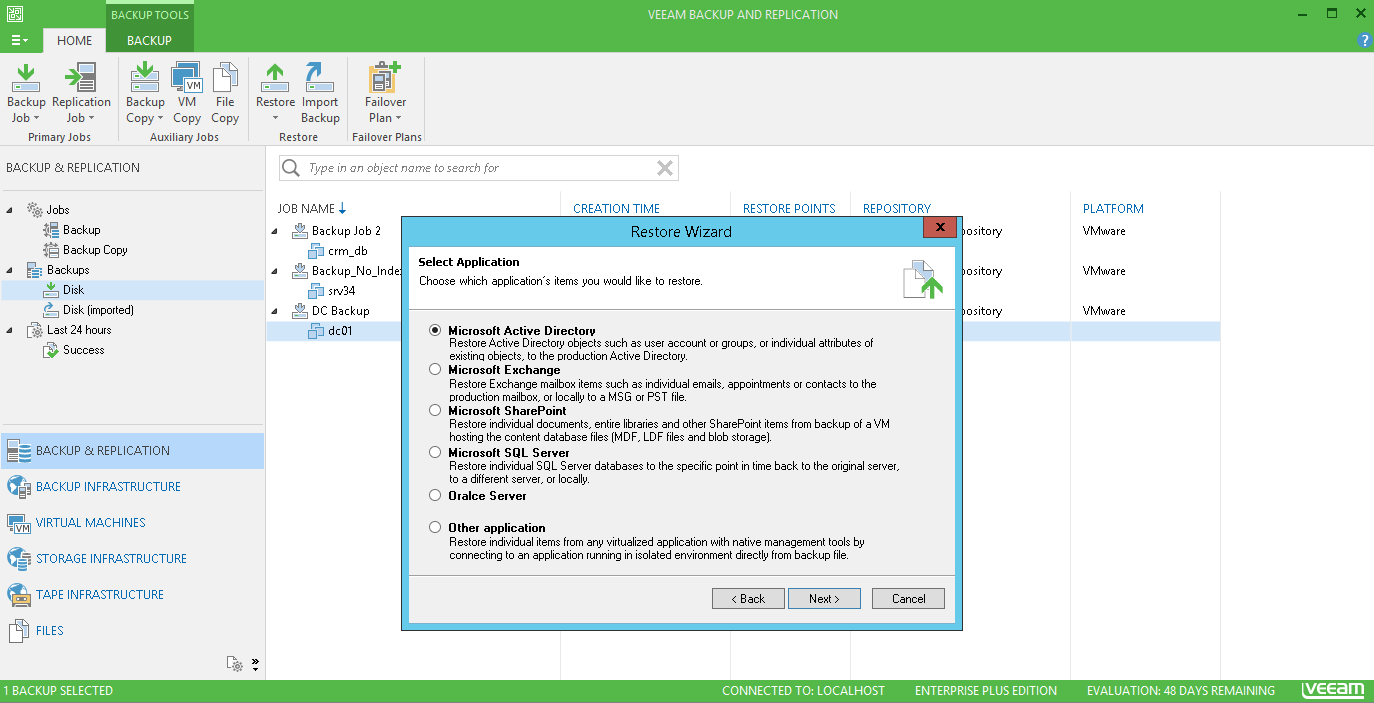
To start the Microsoft Active Directory Object Restore wizard, do one of the following:
- In Veeam Backup & Replication, open the Backup & Replication view. Go to the Home tab of the ribbon menu and click Restore on the toolbar. In the Restore wizard, select Application items, then select Microsoft Active Directory and click Next.
You will be taken to Step 1 of the Microsoft Active Directory Item Restore wizard.
- In Veeam Backup & Replication, open the Backup & Replication view. Select the Backups node, expand the backup job with the Microsoft Active Directory server in the working area. Select the Microsoft Active Directory Domain Services server VM and click Application items > Microsoft Active Directory from the ribbon. In this case, you will pass to the Restore Point step.
- In Veeam Backup & Replication, open the Backup & Replication view. Select the Backups node, expand the backup job with the Microsoft Active Directory server in the working area. Right-click the Microsoft Active Directory Domain Services server and select Restore application items > Microsoft Active Directory objects.... In this case, you will pass to the Restore Point step. Note that you can use this method only for Microsoft Active Directory backups that were created with VSS-aware image processing enabled.
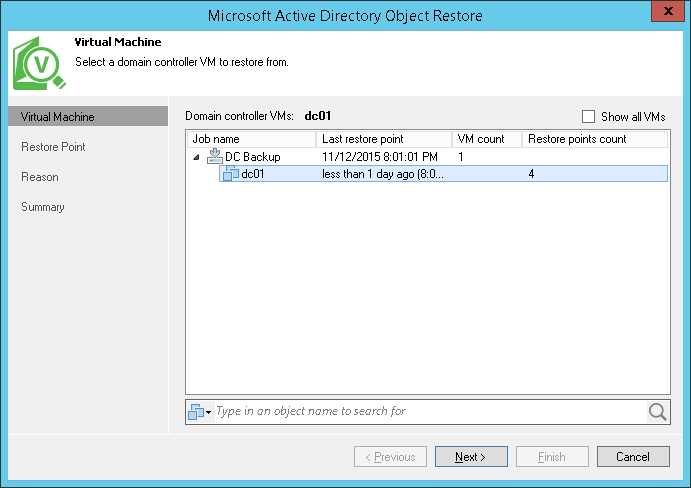
Step 1. Select a Backup with Microsoft Active Directory
In the list of available jobs, select a Microsoft Active Directory VM. If you want to view all VMs included in the job, select the Show all VMs check box. To quickly find VMs in jobs, use the search field at the bottom of the window.
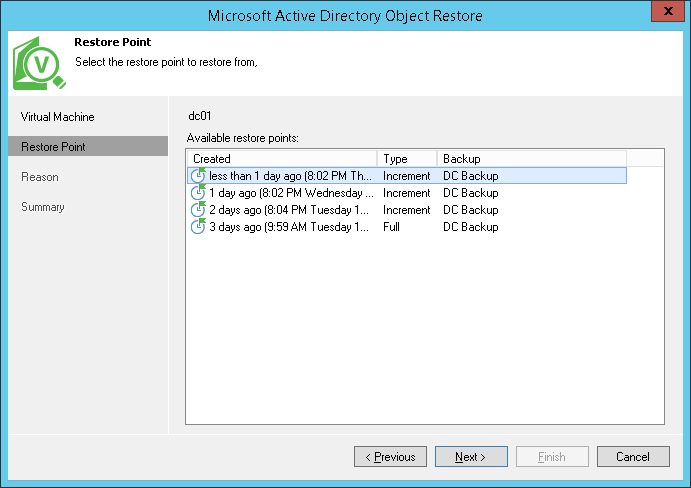
Step 2. Select a Restore Point
Select a necessary restore point for the Microsoft Active Directory VM.
Step 3. Enter a Restore Reason
If necessary, enter the reason for performing VM guest file restore and click Next. The information you provide will be saved in the session history so that you can reference it later.
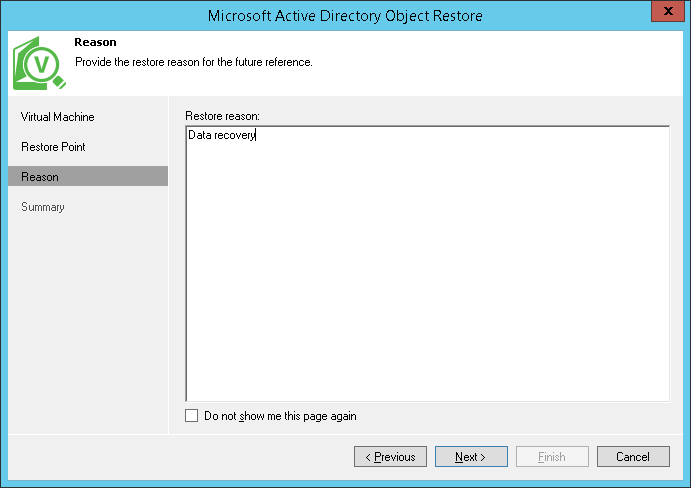
If you do not want Veeam Backup & Replication to display the Reason step next time, select the Do not show me this page again check box at the bottom of the wizard.
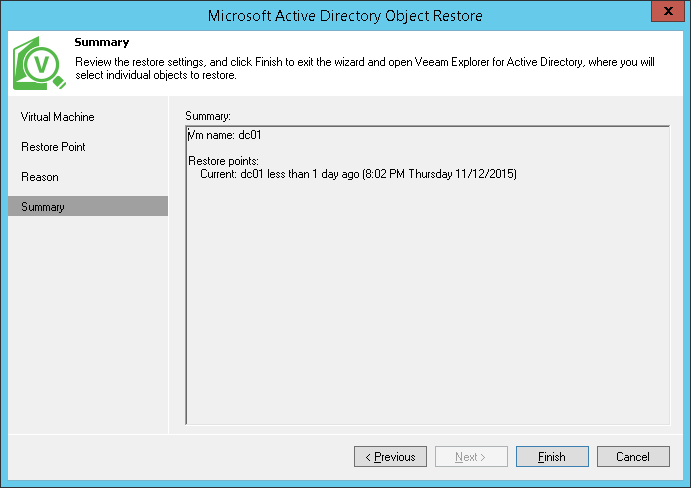
Step 4. Restore the Microsoft Active Directory Database
At the last step of the wizard, review the summary and click Finish to start the restore process.
After you click Finish, Veeam Backup & Replication will automatically perform the following actions:
- Mount the selected backup file to Veeam backup server.
- Locate the Microsoft Active Directory database in the backup file.
- Launch Veeam Explorer for Microsoft Active Directory.
- Add the Microsoft Active Directory database to the Veeam Explorer for Microsoft Active Directory scope, displaying database hierarchy and objects in the Veeam Explorer window.
