When you launch Veeam Explorer for Microsoft Exchange for the first time, you need to perform initial configuration:
- Specify location of the ese.dll file used by Microsoft Exchange to create the database file
- Configure email settings
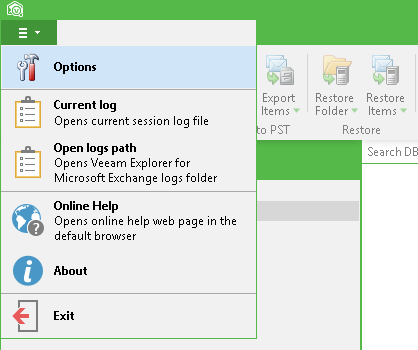
To perform these configuration tasks, open the main menu (top left corner of the Veeam Explorer for Exchange main window) and select Options.
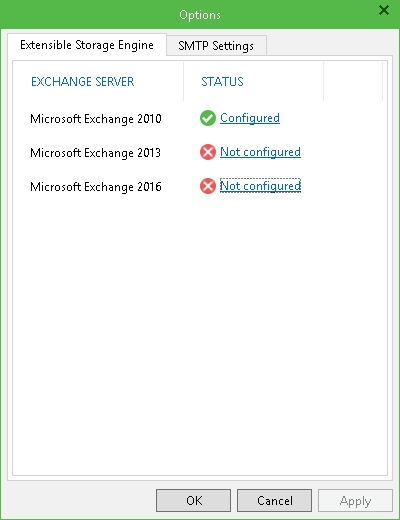
To work with database files, Veeam Explorer for Microsoft Exchange requires a special dynamic link library — ese.dll, supplied with Microsoft Exchange. The ese.dll file should be of the same version as Microsoft Exchange that was used to create database files. Currently, Veeam Explorer for Exchange supports Microsoft Exchange 2016, Microsoft Exchange 2013 and Microsoft Exchange 2010 SP1, SP2 and SP3.
| NOTE: | When you run the Exchange Items Restore wizard on a VM backed up using VSS, the ese.dll file is located automatically. For more information, see Using the Restore Exchange Items Wizard. |

To specify the path to the ese.dll file manually, to the following:
- Open the Extensible Storage Engine tab in the Options window.
- Click on the link next to Microsoft Exchange version and specify the path to the ese.dll file. The file can be found on the Microsoft Exchange Server distribution CD at X:\Setup\ServerRoles\Common\ese.dll, or in the installation directory of Microsoft Exchange Server.
For example:
- for Exchange 2010 default path is %ProgramFiles%\Microsoft\Exchange Server\V14\Bin
- for Exchange 2013 or Exchange 2016 default path is %ProgramFiles%\Microsoft\Exchange Server\V15\Bin
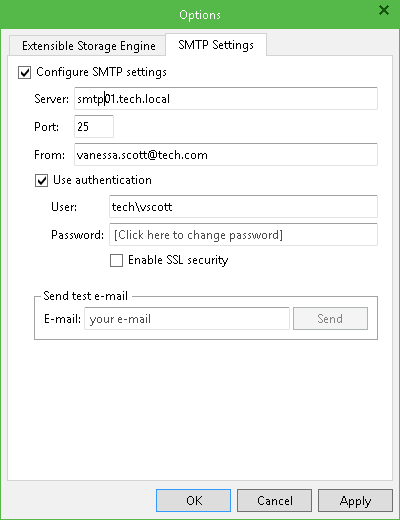
To send items recovered from an Exchange database as email attachments, it is necessary to provide mail server information.
To configure the email settings, do the following:
- Open the SMTP Settings tab in the Options window.
- Select the Configure SMTP settings check box.
- In the SMTP Server field, specify the DNS name or IP address of the mail server to be used for sending emails. If necessary, you can change the port number. By default, port number 25 is used.
- In the From field, specify email address from which emails with attached items will be sent (usually, the sender is the administrator responsible for Microsoft Exchange item recovery).
This address will be used as default; you can specify a different email address every time you use emailing as the restore method (see Sending Items) - If necessary, select the Use authentication check box and provide credentials for the account that will be used to send emails with attached items.
- If security is an issue, select the Enable SSL security check box to use SSL encryption for transferred data.
- In the E-mail field, supply mail recipient's address, then click Send to send a test message.