This is an archive version of the document. To get the most up-to-date information, see the current version.
Installing Veeam Agent
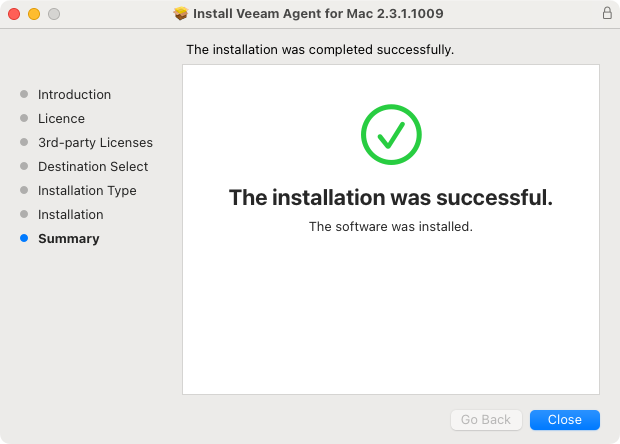
To install Veeam Agent for Mac with the Installation wizard:
- Save Veeam Agent setup files on the Mac computer where you plan to install the product.
- Select the Veeam Agent for Mac package depending on the macOS version running on your Mac computer:
- If the macOS version 10.13 (High Sierra) is installed, select the Veeam Agent for Mac-1.0.1.822-macOS10.13.6 package.
- If the macOS version 10.14 (Mojave) or later is installed, select the Veeam Agent for Mac-1.0.1.822 package.
- Double-click the package.
- Follow the installation instructions.
During the installation process, you must do the following:
- Accept the Veeam End User License Agreement.
- Accept the 3rd Party Components License Agreements.
|
Do not change Veeam Agent for Mac installation location. Veeam Agent must be installed in the Applications folder of the volume from which your Mac started up. |
After the installation process is complete, you must enable full disk access for Veeam Agent. To learn more, see Granting Full Disk Access.
Keep in mind that during the installation process, Veeam Agent will prompt you to enter the Administrator password.
Alternatively, you can install Veeam Agent for Mac with the MDM solution or command line interface.