This is an archive version of the document. To get the most up-to-date information, see the current version.
Step 3. Choose Files and Folders to Archive
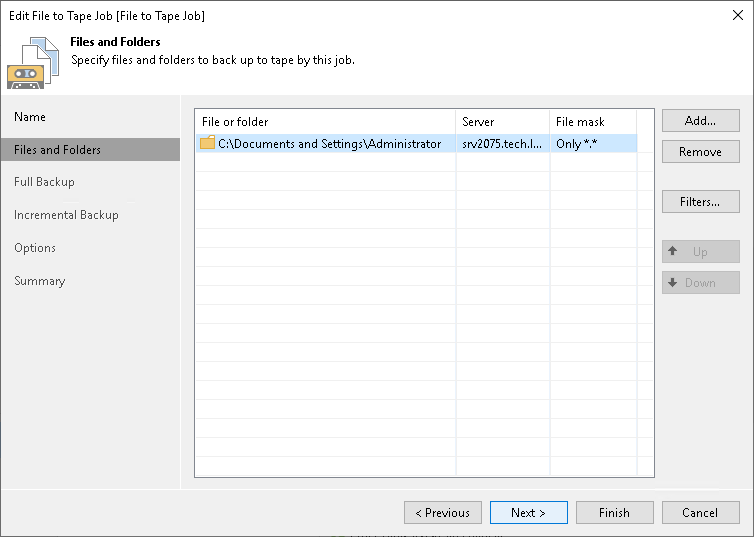
At the Files and Folders step of the wizard, select files and folders that you want to back up.
From the Server list, choose a machine on which the necessary files or folders reside. Click Add and browse to the file or folder that you want to back up. The selected item will be added to the list. To remove a file or folder from the list, select it and click Remove.
To back up files from a CIFS shared folder, click Add and specify the folder path. After you click OK, you will be prompted to enter the shared folder credentials.
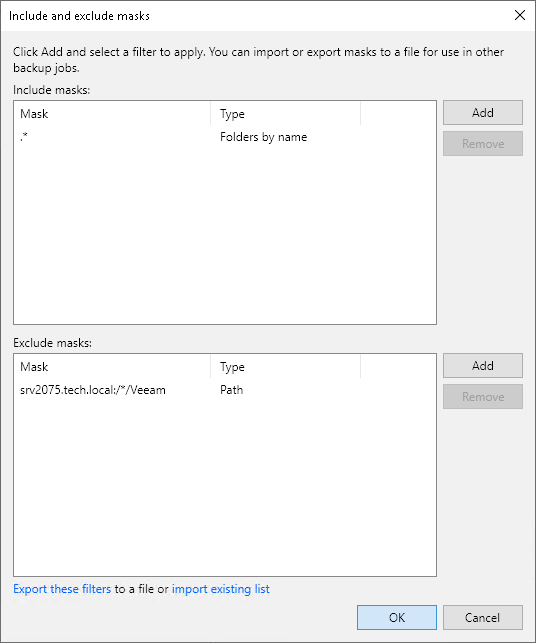
If you include a folder to the job, all of the folder contents will be archived. If necessary, you can choose only specific files from the included folder. To do so, select a folder in the list and click Edit. In the File Masks window, specify names of files in the folder that should be archived. You can use exact file names of create name masks (for example, *.evt or *.pdf). Separate file names and masks with semicolons.