This is an archive version of the document. To get the most up-to-date information, see the current version.
Step 7. Configure Helper Appliance
This step is available if you recover workloads with Linux OS, recover them to a new location or with different settings, and VIX API is not available. However, this step is not available if you recover VMware vSphere VMs from storage snapshots.
Veeam Backup & Replication recovers Linux machines to a standalone host using a helper appliance. The helper appliance is an auxiliary Linux-based VM registered by Veeam Backup & Replication. The appliance is quite small — around 50 MB. It requires 1024 MB RAM and takes around 10 seconds to boot.
To configure the helper appliance:
- [For multiple machines] In the Network list, expand a host and select one machine.
- Click the Configure button.
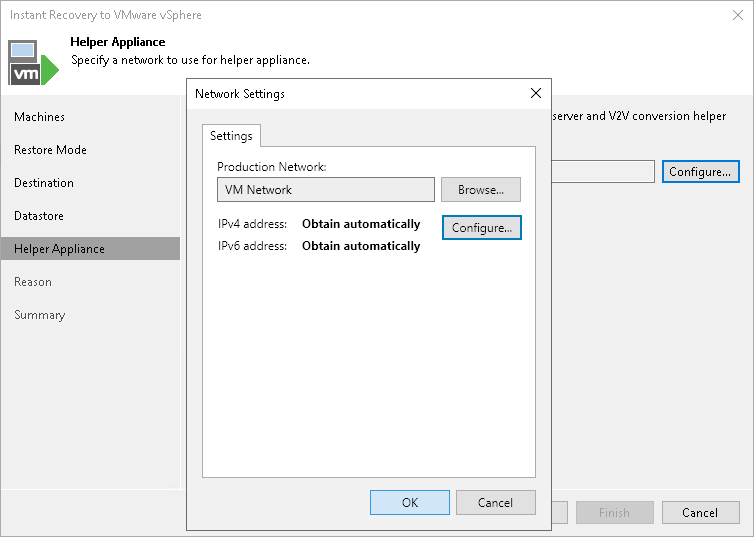
- In the Network Settings window, select a network for the helper appliance.
- Click the Browse button near the Production network field.
- In the Select Network window, Veeam Backup & Replication shows a list of networks to which the target host is connected. In this list, select a network to which the helper appliance must be connected.
Mind that the backup server and the mount server must have access to the helper appliance over the network.
- Specify IP address settings for the helper appliance:
- If you use a DHCP server in the network and want to obtain IP address for the helper appliance automatically, make sure that the Obtain an IP address automatically option is selected.
- To manually specify the IP address of the helper appliance, select the Use the following IP address option and enter the IP address, subnet mask and default gateway address in the corresponding fields.
- Specify DNS server settings:
- If you use a DHCP server in the network and the IP address for the DNS server is obtained automatically, make sure that the Obtain DNS server address automatically option is selected.
- To manually specify the IP address of the DNS server, select the Use the following DNS server address option and enter the IP addresses of the preferred and alternate DNS servers in the corresponding fields.