After You Install
After you install Veeam Backup for AWS, you must perform the following steps to start working on the backup appliance:
- In a web browser, navigate to the Veeam Backup for AWS web address.
The address consists of a public IPv4 address or DNS hostname of the backup appliance and is available over HTTPS only. For more information, see Accessing Veeam Backup for AWS.
Important |
Consider the following:
|
- Read and accept the Veeam license agreement, Veeam licensing policy, 3rd party components and software license agreements. If you reject the agreements, you will not be able to continue installation.
- In the Instance ID field, specify the AWS ID of the EC2 instance running Veeam Backup for AWS to prove that you are the owner of this EC2 instance.
You can find the EC2 instance AWS ID in the in the AWS Management Console.
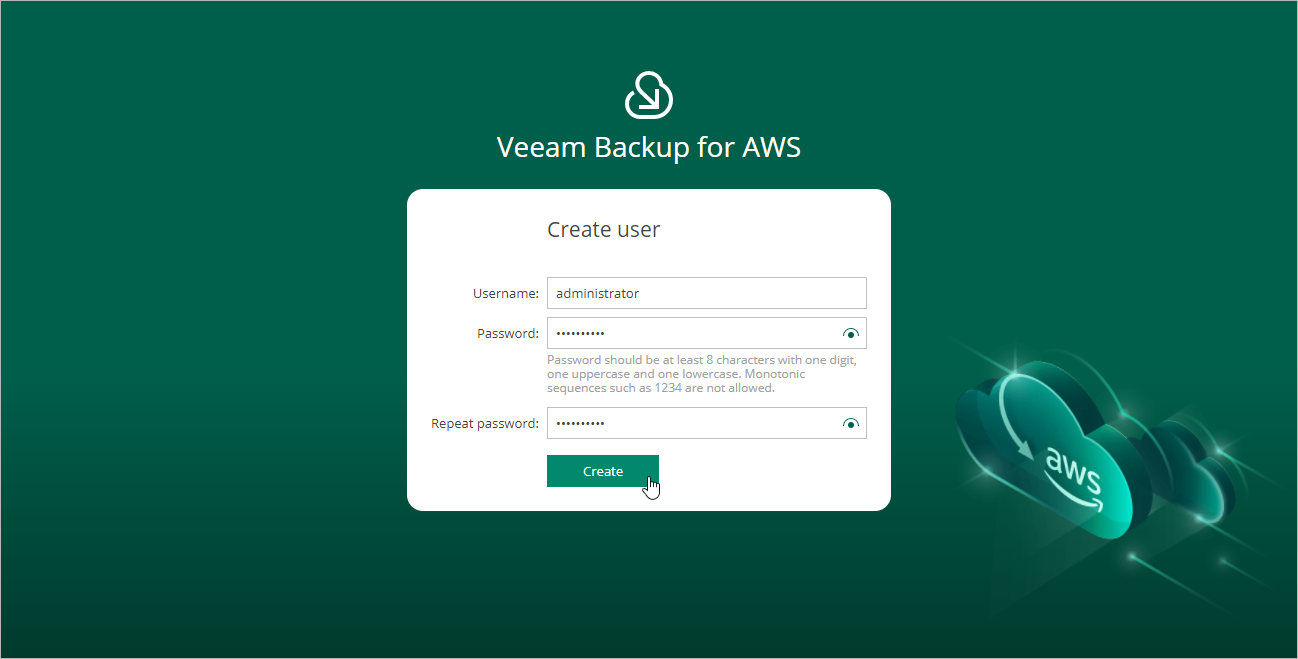
- Create a default user whose credentials you will use for your first login to Veeam Backup for AWS. A user name cannot be admin, can contain only lowercase Latin letters, numeric characters, underscores and dashes. You can use the dollar sign ($) as the last character of the name. The maximum length of the name is 32 characters.
Veeam Backup for AWS will create the default user and display the welcome screen where you can log in.
Note |
To increase the security of the default user account, it is recommended that you enable multi-factor authentication (MFA) for the account after you first log in to Veeam Backup for AWS. To learn how to enable MFA, see Configuring Multi-Factor Authentication. |