This is an archive version of the document. To get the most up-to-date information, see the current version.
Step 2. Configure Azure VM Properties
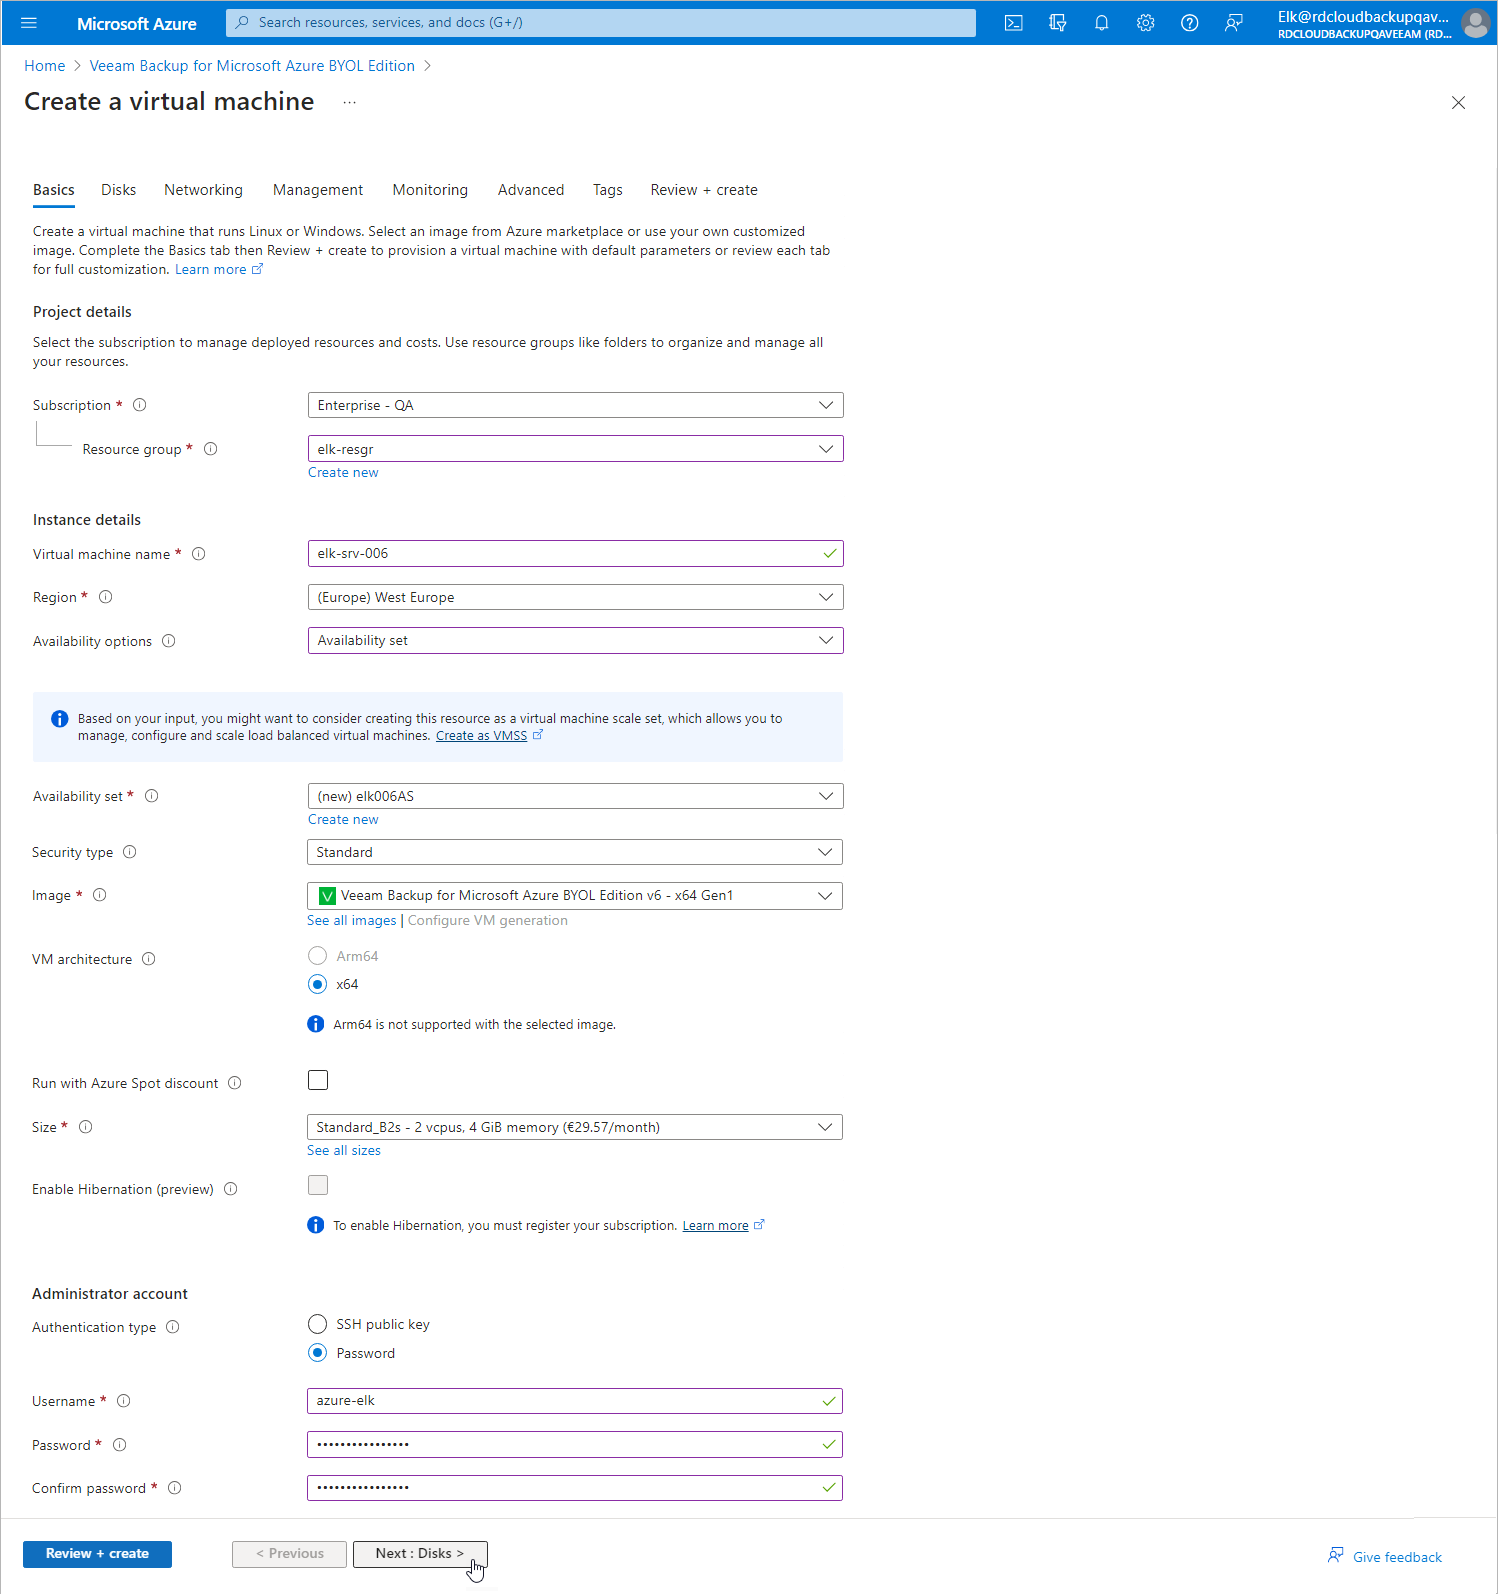
At the Basics step of the Create a virtual machine wizard, do the following:
- From the Subscription drop-down list, select a Microsoft Azure subscription that will be used to manage costs of the backup appliance.
For a subscription to be displayed in the Subscription list, it must be created and assigned to the tenant as described in Microsoft Docs.
- From the Resource group drop-down list, select a resource group that will hold resources related to the backup appliance.
You can either use an existing resource group or create a new one. For more information on creating and managing resource groups, see Microsoft Docs.
- In the Virtual machine name field, enter a name for the backup appliance.
- From the Region drop-down list, select a Microsoft Azure region where the backup appliance will operate.
For more information on the Azure regions, see Microsoft Docs.
Note |
Regardless of the region you select, you will be able to manage Azure VMs that operate in other Microsoft Azure regions as well. |
- From the Availability options drop-down list, choose whether you want to require any infrastructure redundancy to achieve high availability:
- Select the Availability set option to include the backup appliance in an availability set. You can either use an existing availability set or create a new one.
Availability sets allow you to distribute VMs across multiple physical hardware resources.
- Select the Availability zone option to place the backup appliance in an Availability Zone within the selected Microsoft Azure region.
Availability Zones allow you to distribute VMs across multiple unique physical locations and to protect your data from datacenter failures. Each Microsoft Azure region contains 3 availability zones. If one or more datacenters in one zone malfunctions, your Azure resources will become instantly available in another zone.
For more information on availability options for VMs in Azure, see Microsoft Docs.
- From the Image drop-down list, select Veeam Backup for Microsoft Azure.
- Make sure the Azure Spot Instance option is set to No.
The Spot VMs functionality allows Azure to redistribute the currently unused storage capacity between different Azure resources. It is not recommended that you set the Azure Spot Instance to Yes since this may cause a performance malfunction of the backup appliance.
For more information on using Spot VMs in Azure, Microsoft Docs.
- In the Size section, choose a size for the backup appliance. The recommended hardware minimum for an Azure VM running Veeam Backup for Microsoft Azure is 2 vCPU and 4 GB RAM.
By default, the installer selects the optimal size based on the VM performance and cost reduction policy. For more information on sizes for VMs in Azure, see Microsoft Docs.
- In the Administrator account section:
- Set the Authentication type option to Password.
- In the Username and Password fields, specify credentials that will be used to access the Veeam Backup for Microsoft Azure UI.
Important |
Do not use the veeamazure and veeamflr names as the user name, otherwise you will not be able to access the backup appliance after installation. These names are reserved by Veeam Backup for Microsoft Azure. |
- Click Next : Disks >.