This document is not maintained any longer.
Step 1. Deploy Network Hub Appliance in AWS
To deploy a network hub appliance in AWS, do the following:
- Open the Veeam PN 2.1 product page on the AWS marketplace: https://aws.amazon.com/marketplace/pp/B07ZDL12SM.
- At the Veeam PN product page, click Continue to Subscribe.

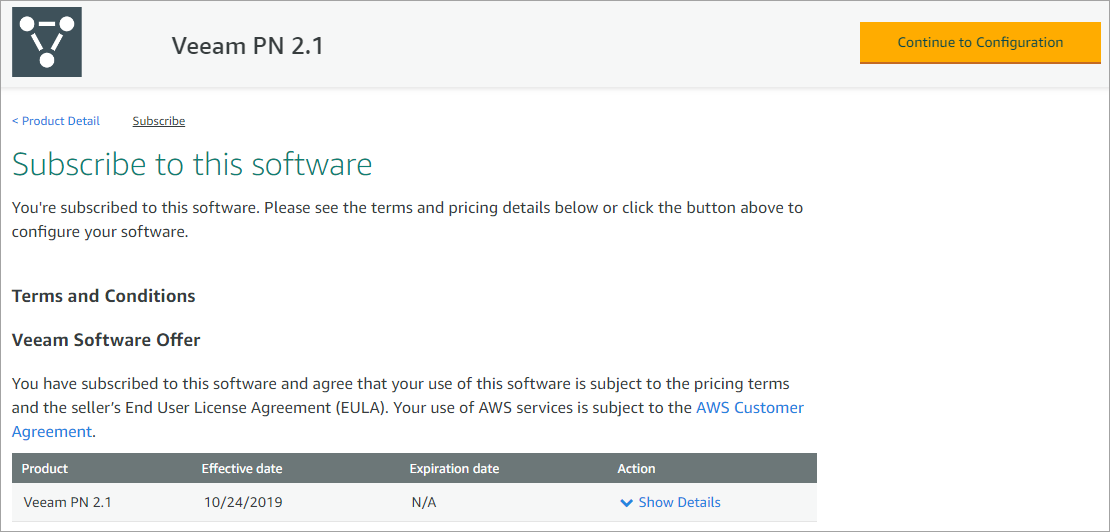
- At the subscription page, click Show Details and click End User License Agreement to read the Veeam End User License Agreement.
- Read the AWS Customer Agreement and click Continue to Configuration.
- At the configuration page, select the deployment options:
- In the Fulfillment Option drop-down list, leave the default selection Veeam PN Deployment.
- In the Software Version drop-down list, select the latest version of Veeam PN.
- In the Region drop-down list, select an Amazon EC2 region where you want to place the stack resources. For details, see the Regions and Availability Zones section of the Amazon Elastic Compute Cloud User Guide.

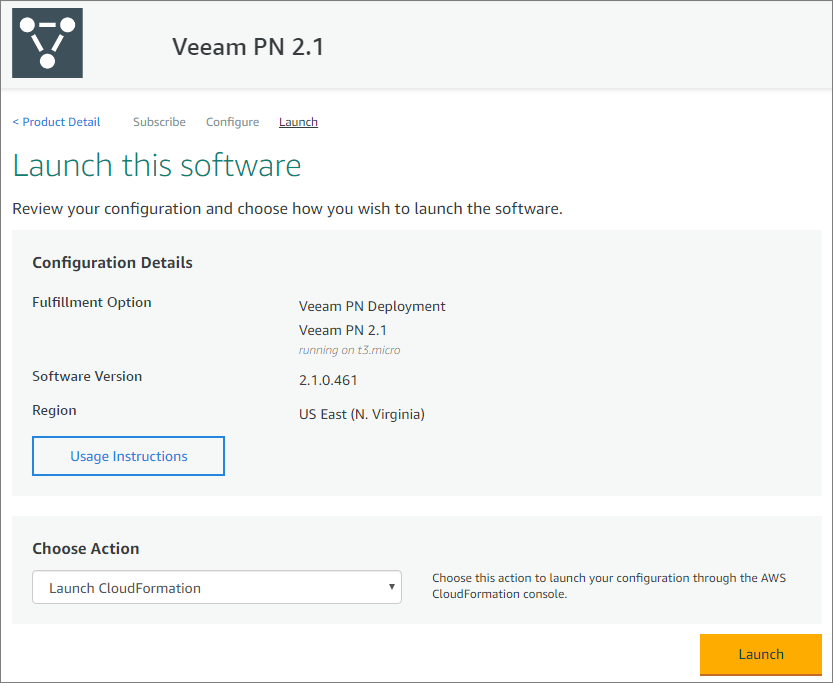
- At the launching page, review the configuration:
- Click Usage Instructions to see the list of resources which will be created by CloudFormation. Usage Instructions also include the list of parameters which you will need to specify before creating the resources.
- At the Choose Action field, leave the default selection: Launch CloudFormation.
- Click Launch to start the Create Stack wizard.
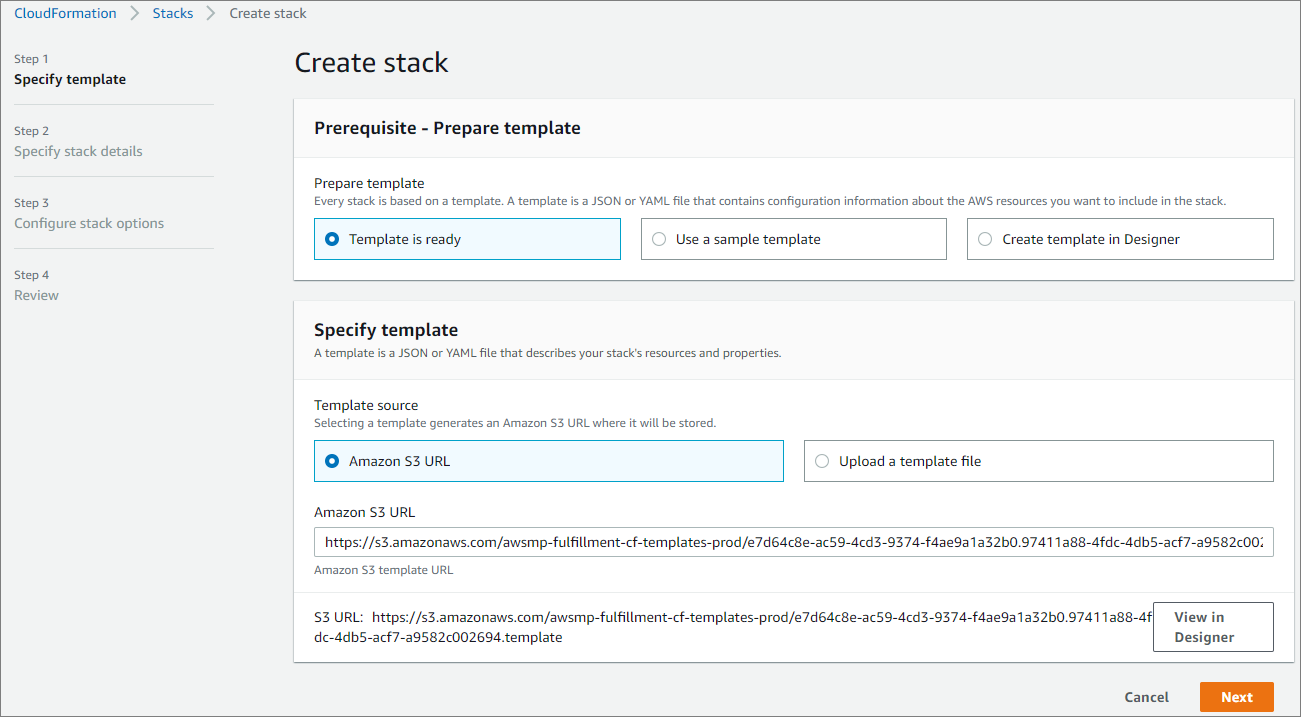
- At the Specify template step of the wizard, you can specify the stack template settings. If you launch deployment of Veeam PN from the AWS marketplace, the stack template settings are already configured. Thus, you can leave the default settings as shown below and click Next.
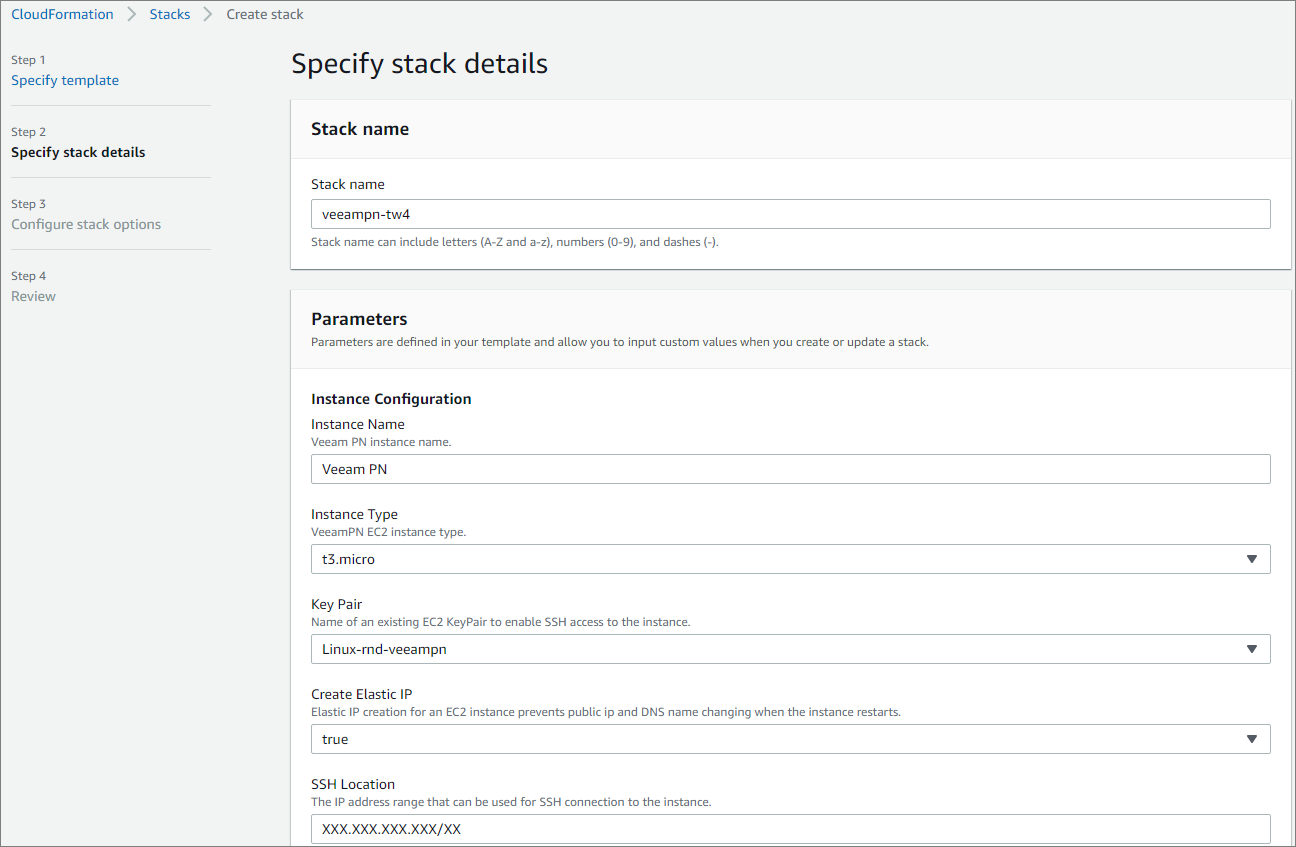
- At the Specify stack details step, do the following:
- At the Stack name field, specify a name for the stack.
- Recommended instance type is t3.micro. You can leave the default selection.
- From the Key Pair list, select an existing EC2 key pair. For details on how to create EC2 key pairs, see the Amazon EC2 Key Pairs section of the Amazon Elastic Compute Cloud User Guide.
- At the Create Elastic IP setting, leave the default value to prevent changing of public IP and DNS name.
- At the SSH Location field, specify a range of IP addresses that you will use to connect via SSH to your EC2 instances.
If you don't know the IP addresses which will be used to connect via SSH, you can enter 0.0.0.0/0 and add the addresses later in the setting of the EC2 security groups. For instructions on how to add security group rules, see the Security Groups section of the Amazon Virtual Private Cloud User Guide.
Important |
In the SSH Location field, you can add only one IP range. If you want to add additional IP ranges after deploying the network hub, you can go to the EC2 security group settings and edit inbound rules for SSH connections. You can add multiple rules for all required IP addresses. |
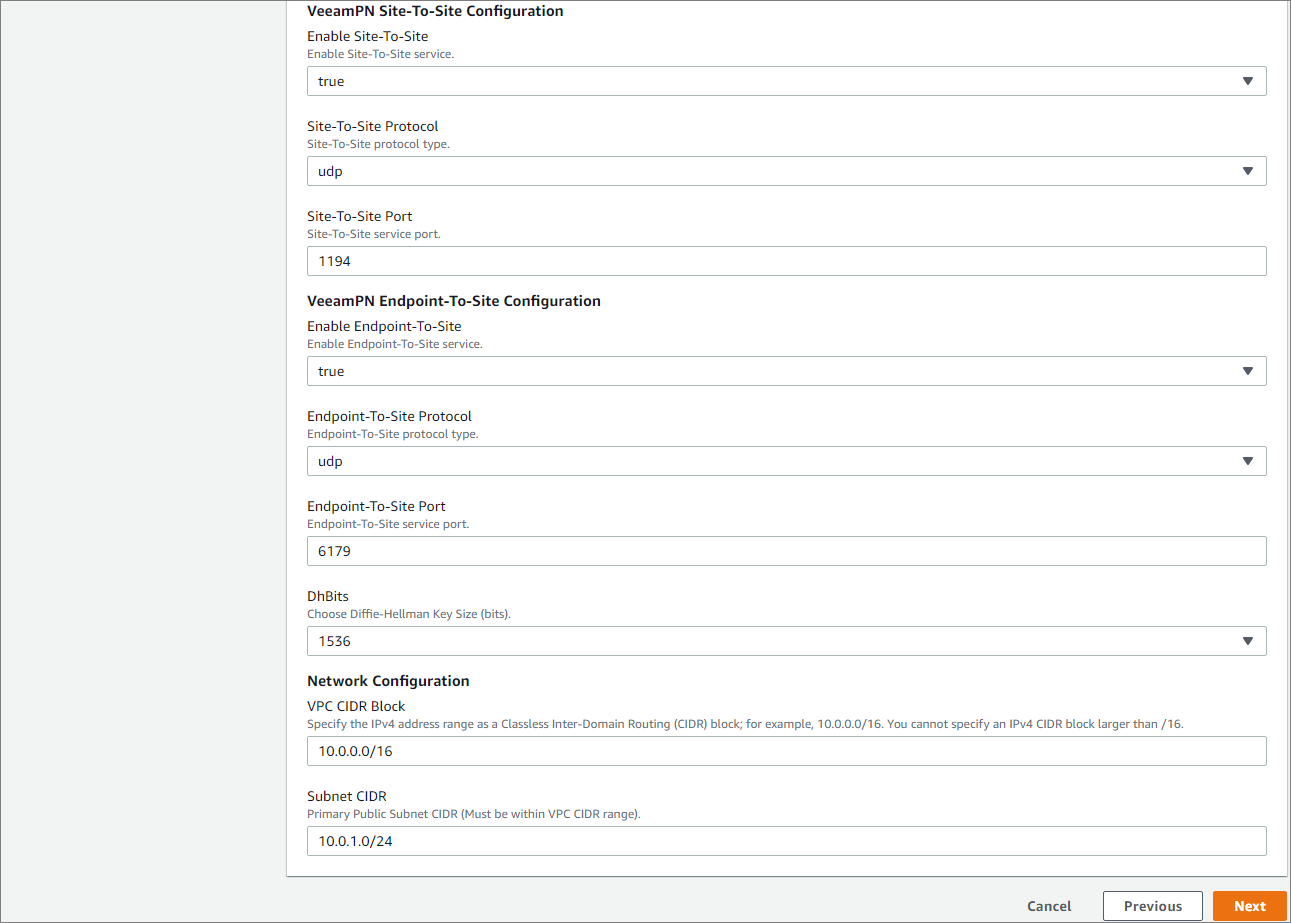
- At the VeeamPN Site-To-Site Configuration and VeeamPN Endpoint-To-Site Configuration sections, you can leave the default settings for the ports, protocols and Deffie-Hellman Key Size which will be used when creating a VPN tunnel between sites and endpoints.
- When you launch the stack deployment, AWS CloudFormation will create a virtual private cloud (VPC). VPC is a virtual network dedicated to your AWS account. You can leave the default settings or specify the required IP range as a CIDR block.
For details on CIDR blocks of VPC, see the VPCs and Subnets section of the Amazon Virtual Private Cloud User Guide.
- Click Next.
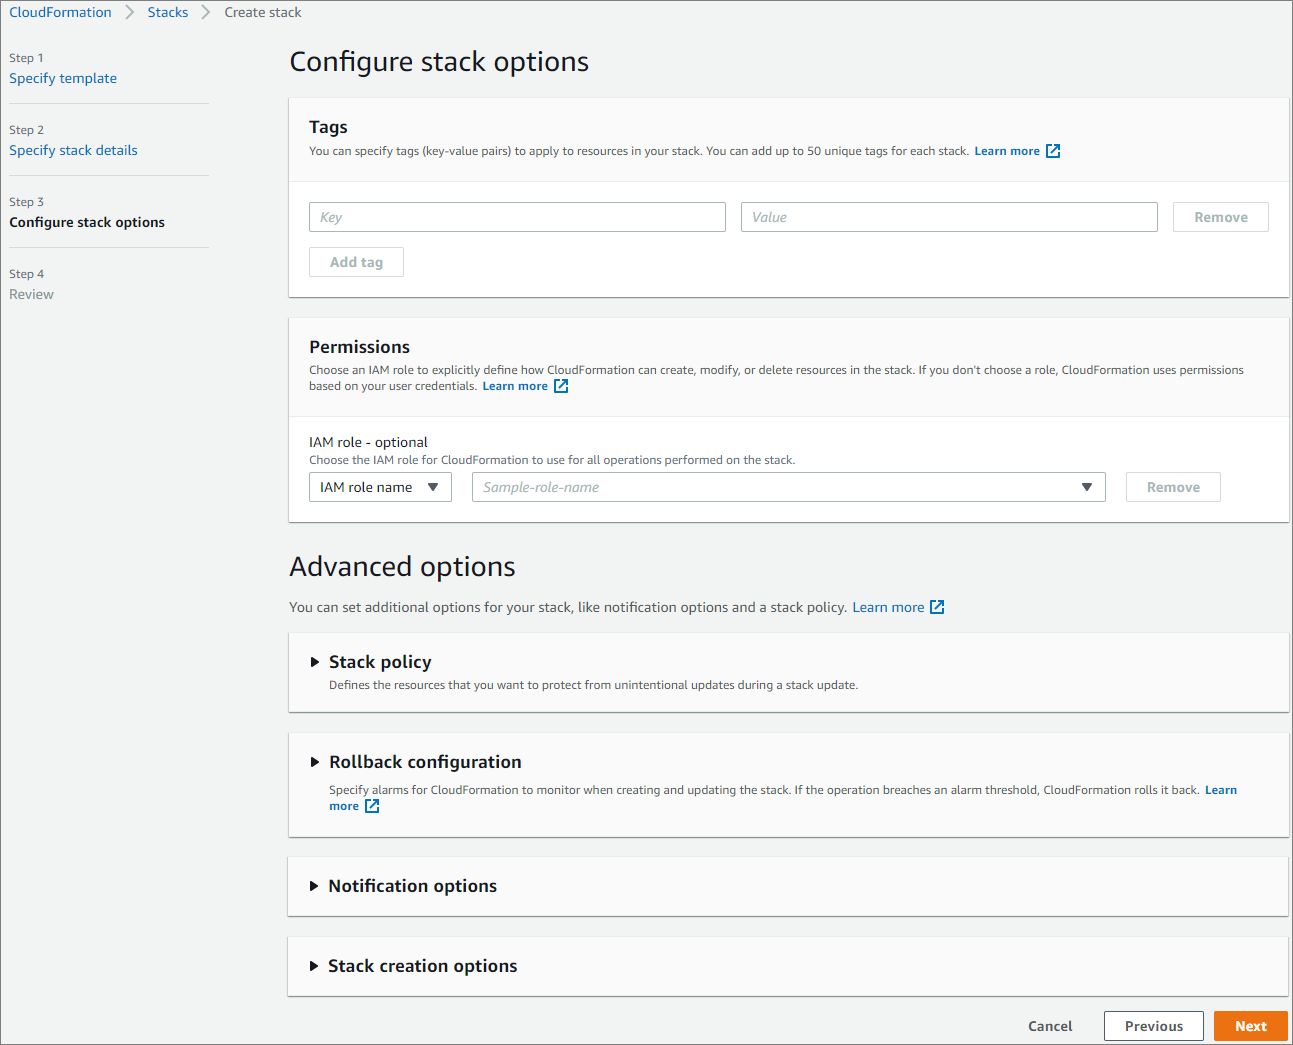
- At the Configure stack options step of the wizard, specify required tags, IAM role permissions and other additional settings for the stack. For more information about stack options, see the Setting AWS CloudFormation Stack Options section of the AWS CloudFormation User Guide.
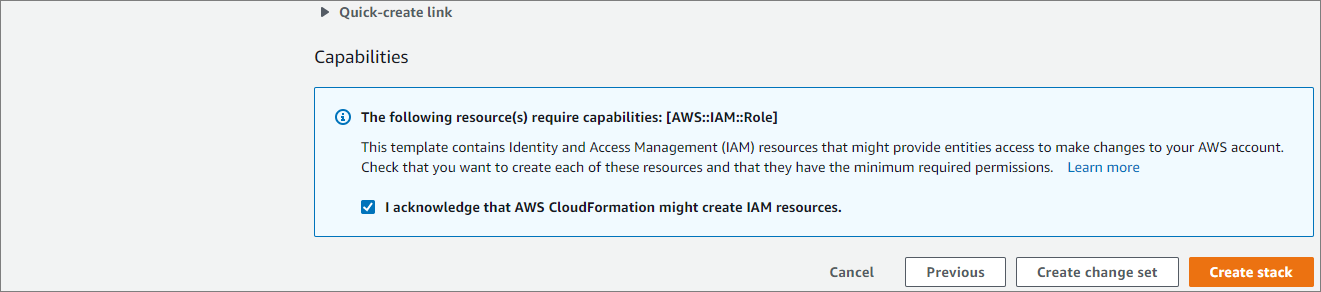
- At the Review step of the wizard, you will see the configuration summary of the stack that will be created for Veeam PN.
- Review the Veeam PN stack settings.
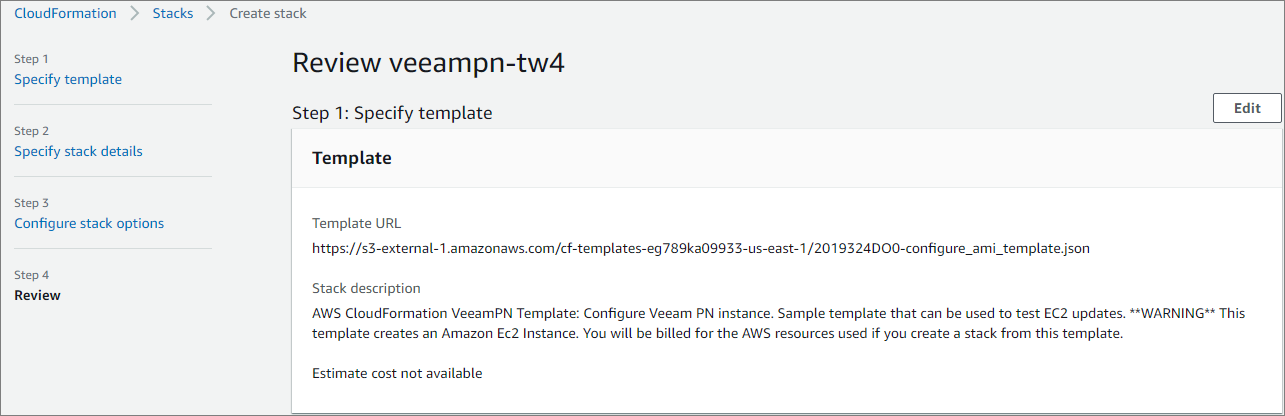
- Check the I acknowledge that AWS CloudFormation might create IAM resources check box.
- Click Create stack.