This is an archive version of the document. To get the most up-to-date information, see the current version.
Step 8. Specify Network Settings
[This step applies only if you have selected the Restore to a new location, or different settings option at the Restore Mode step of the wizard]
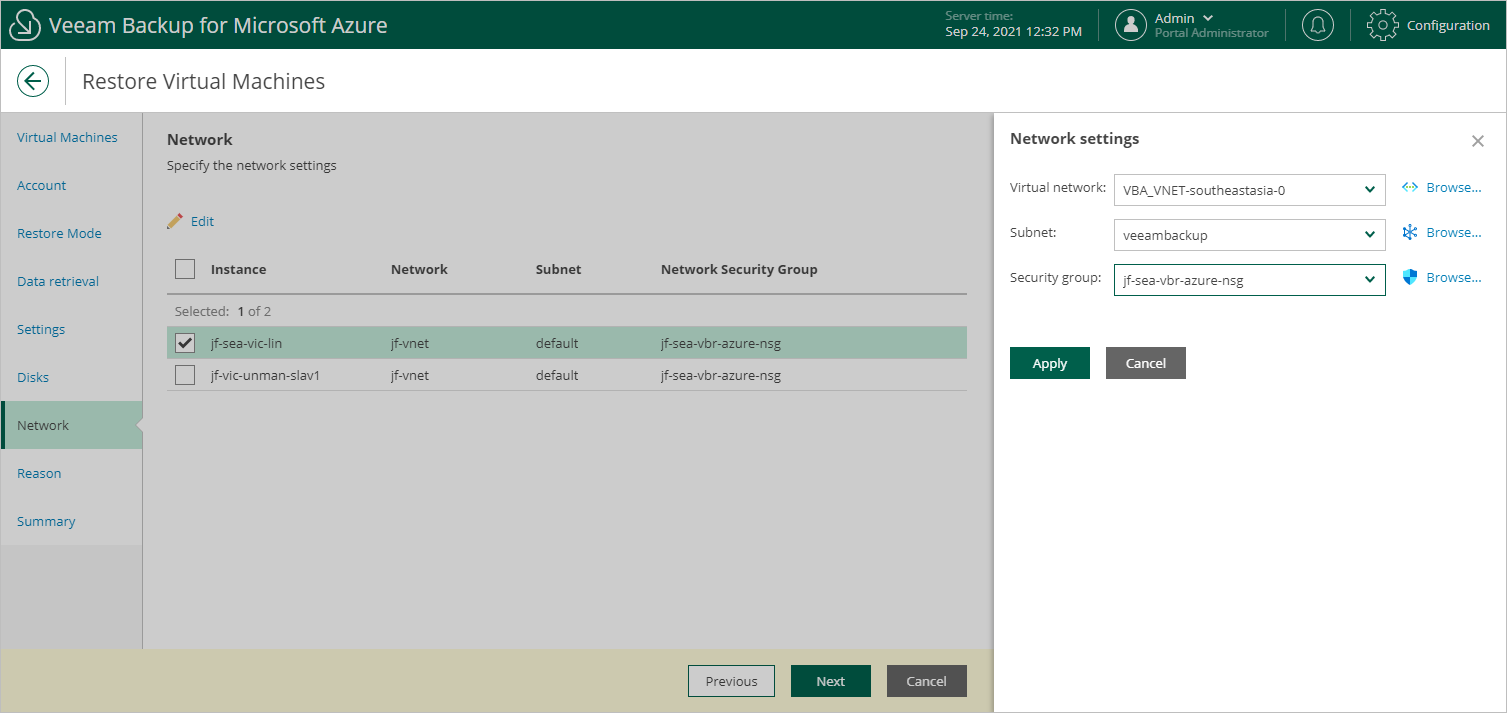
At the Network step of the wizard, for every Azure VM, select to which virtual network a restored Azure VM must be connected, a subnet in which the Azure VM will be launched, and security groups (virtual firewalls) that must be associated with the restored Azure VM.
- Select the check boxes next to the necessary Azure VMs and click Edit.
- In the Network settings window, do the following:
- From the Virtual network drop-down list, select a virtual network to which you want to connect the restored Azure VMs.
For a virtual network to be displayed in the Virtual network list, it must be created as described in Microsoft Docs.
- From the Subnet drop-down list, select a subnet within the specified virtual network to which you want to connect the restored Azure VMs.
For a subnet to be displayed in the Subnet list, it must be created as described in Microsoft Docs.
- From the Security group drop-down list, select a security group that will be associated with the specified subnet.
Security groups are used to filter network inbound traffic to and outbound traffic from Azure resources. Each security group contains a set of rules that control the traffic.
For a network security group to be displayed in the Security group list, it must be created and associated to the necessary subnet as described in Microsoft Docs.
- Click Apply.