 This is an archive version of the document. To get the most up-to-date information, see the current version.
Step 3.3 Check Discovery and Installation Results
Installation and configuration of Veeam backup agents may take some time, up to one hour.
To check whether discovery and installation has completed successfully:
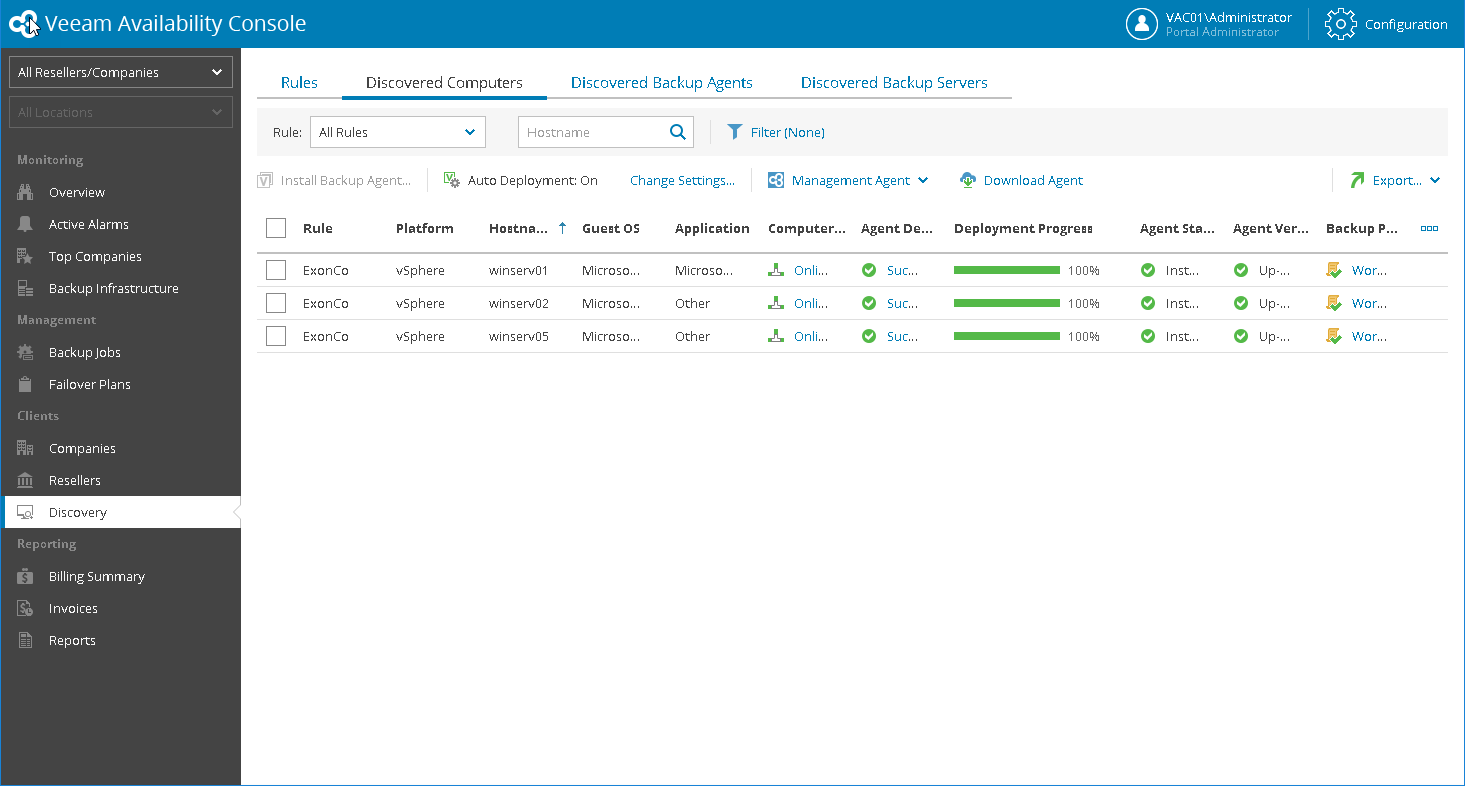
- In the Discovery section, on the Rules tab, locate the discovery rule and click the link in the Total Computers column.
- On the Discovered Computers tab, check the list of computers.
This list must include all powered on Microsoft Windows computers in the AD organizational unit you specified in the discovery rule settings.
- Check the value in the Deployment Progress column.
If Veeam backup agent installation was successful, the installation progress must be 100%.
- Click a link in the Backup Agent Deployment column to display session details of the installation procedure.
In some cases, you might need to perform additional operations after installation. For example, if the setup detects a pending computer restart, the list of installation session details will display a warning notifying that restart is required.
- Check the value in the Backup Policy column.
If Veeam backup agent job configuration was successful, the backup policy must be Workstation: File level backup. Personal files. Local drive. Daily schedule.
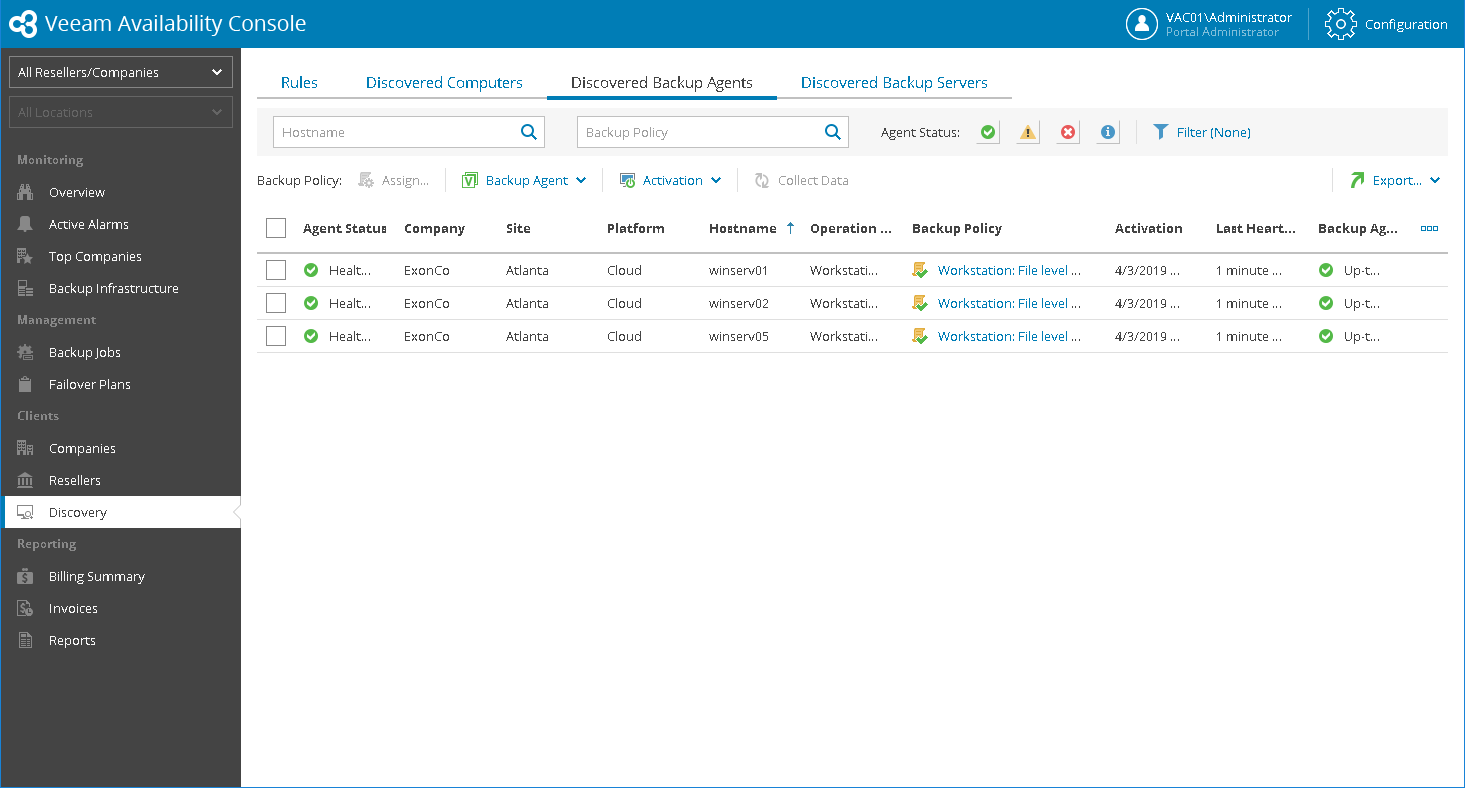
- Open the Backup Agents tab.
Make sure that all computers where you planned to install Veeam backup agents are displayed in the list of backup agents.
More Information
For more information about installing Veeam backup agents and supported deployment methods, see Installing Veeam Backup Agents.