This is an archive version of the document. To get the most up-to-date information, see the current version.
Step 3. Add VNets to Private DNS Zones
To allow Veeam Backup for Microsoft Azure to launch worker instances and perform backup operations in a private environment, you must add the VNet to which the backup appliance is connected and VNets added to worker configurations at step 2 to the DNS zones privatelink.blob.core.windows.net and privatelink.queue.core.windows.net created at step 1.
To add a VNet to a DNS zone, do the following:
- Log in to the Microsoft Azure portal.
- Open the Resource group page.
- In the Resource list, locate and click the necessary VNet. The Virtual network page will open.
- Navigate to JSON view. In the Resource JSON window, navigate to the Resource ID field and copy the ID to the clipboard.
- Back to the Resource group page, in the Resource list, locate and click the necessary private DNS zone.
- On the Private DNS zone page, navigate to Settings > Virtual network links and click Add.
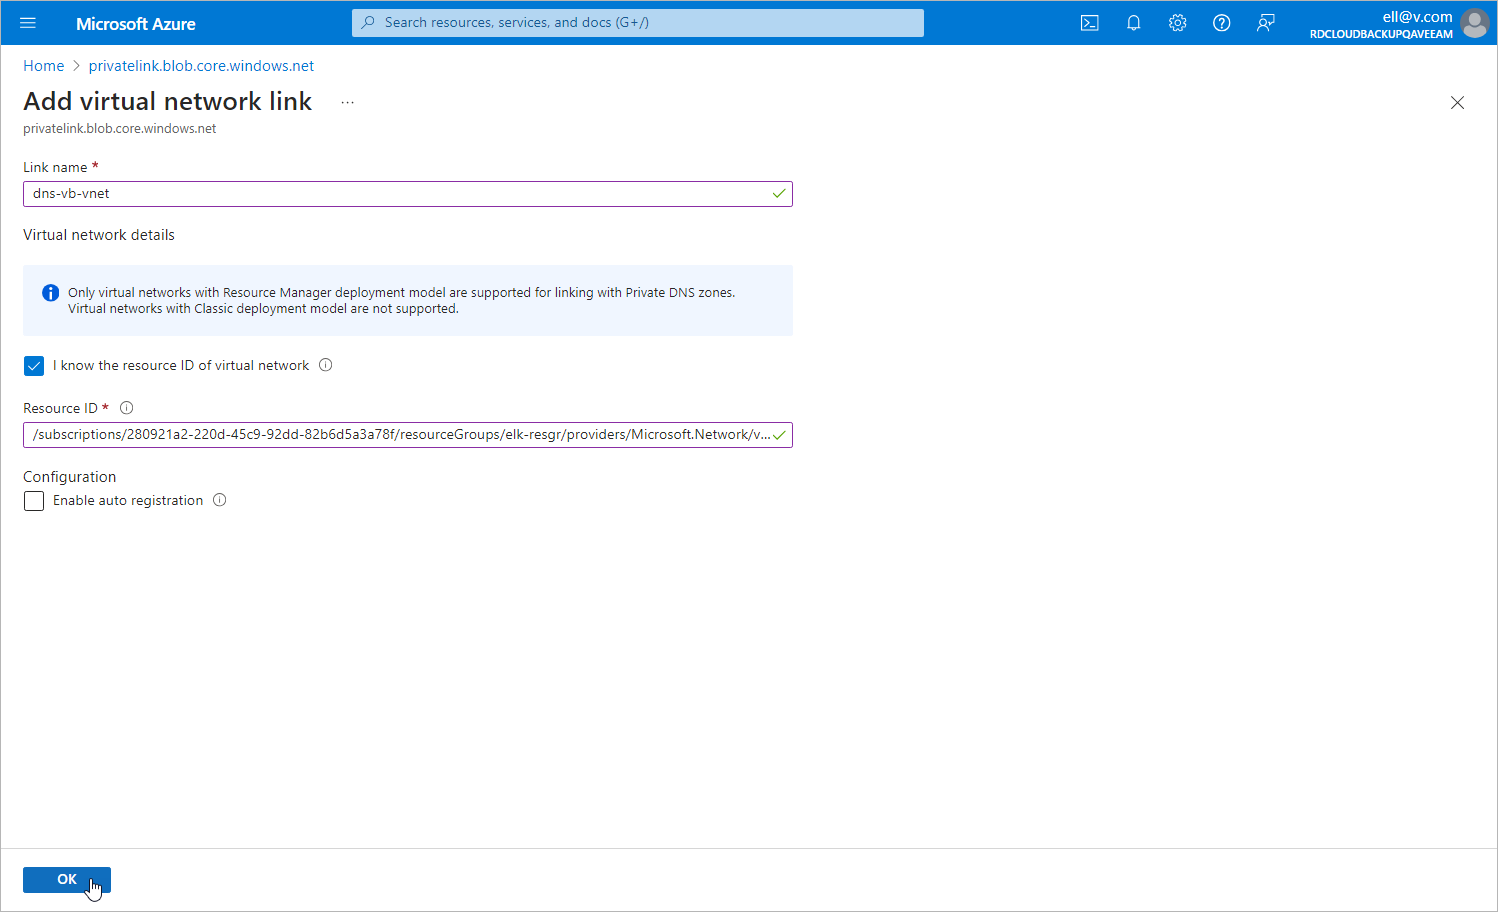
- In the Add virtual network link window, create a link to the VNet:
- In the Link name field, specify a name for the link.
- In the Virtual network details section, select the I know the resource ID of virtual network check box.
- In the Resource ID field, paste the ID of the VNet.
- Click OK.