Step 2. Select Restore Point

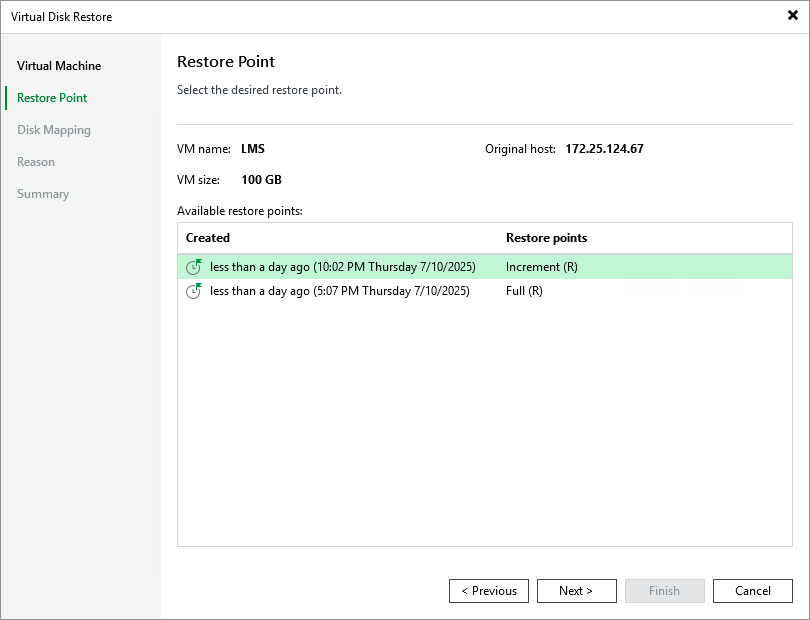
At the Virtual Machine step of the wizard, select a restore point that will be used to restore data. By default, Veeam Backup for Nutanix AHV uses the most recent valid restore point. However, you can restore the data to an earlier state.
Note

While creating a backup, Veeam Backup for Nutanix AHV takes a VM snapshot that is called backup snapshot. Veeam Backup for Nutanix AHV stores a recent backup snapshot for each backup job. Restore from a backup snapshot is significantly faster than restore from a backup.

To select a restore point, do the following:

  1. Select the VM.
  2. Click Restore Point.
  3. In the Select restore point window, select the necessary restore point and click Apply.

To help you choose a restore point, Veeam Backup for Nutanix AHV provides the following information on each available restore point:

  • Job Name — the name of the backup job that created the restore point.
  • Creating Time — the time and date when the restore point was created.
  • Type — the type of the restore point:
  • Backup — an image-level backup created by a backup job.
  • Backup snapshot — a snapshot created by a backup job.

Tip

By default, Veeam Backup for Nutanix AHV restores all disks attached to the selected VMs. If you want to exclude specific disks of a VM from restore, do the following. Select a VM, click Exclusions and select the disks to exclude.

Select Restore Point