
To begin the restore process, you must choose a backup from which you can restore the machine:
- On the main screen of Veeam Direct Restore to Microsoft Azure, click Restore.

- In the Select backup file to restore window, click Browse next to the Backup file field and select a full backup file (VBK) or backup metadata file (VBM) from the uploaded backup chain.
If you select the VBM file, the import process will be notably faster. It is recommended that you select the VBK file only if the VBM file is not available.
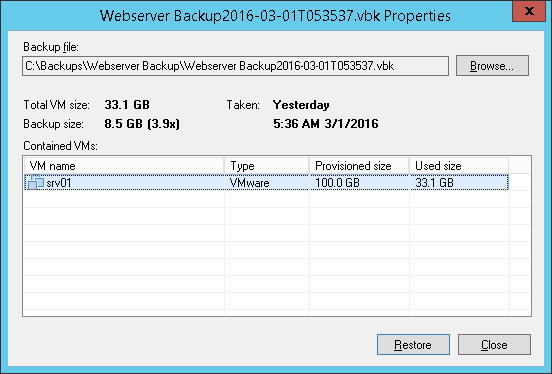
- In the Backup Properties window, select the machine that you want to restore to Microsoft Azure.
- Click Restore.
|
To launch the Restore to Azure wizard, you can also double-click the full backup file (VBK) in the file browser on the Veeam appliance. Veeam Backup & Replication will start its console and display the Backup Properties window. In the Backup Properties window, select the machine and click Restore > Azure. |
Send feedback | Updated on 3/10/2016
