This is an archive version of the document. To get the most up-to-date information, see the current version.
Creating Service Account Automatically
[This step applies only if you have selected the Create service account automatically option at the Select Service Account Type step of the wizard]
When you choose to create a service account automatically, Veeam Backup for Microsoft Azure creates a new Azure AD application in your Microsoft Azure Active Directory. To create the Azure AD application, Veeam Backup for Microsoft Azure uses the Microsoft Azure Cross-platform Command Line Interface (Azure CLI). To authenticate to the Azure CLI, you must provide a single-use verification code.
Important |
Note the following considerations and limitations:
|
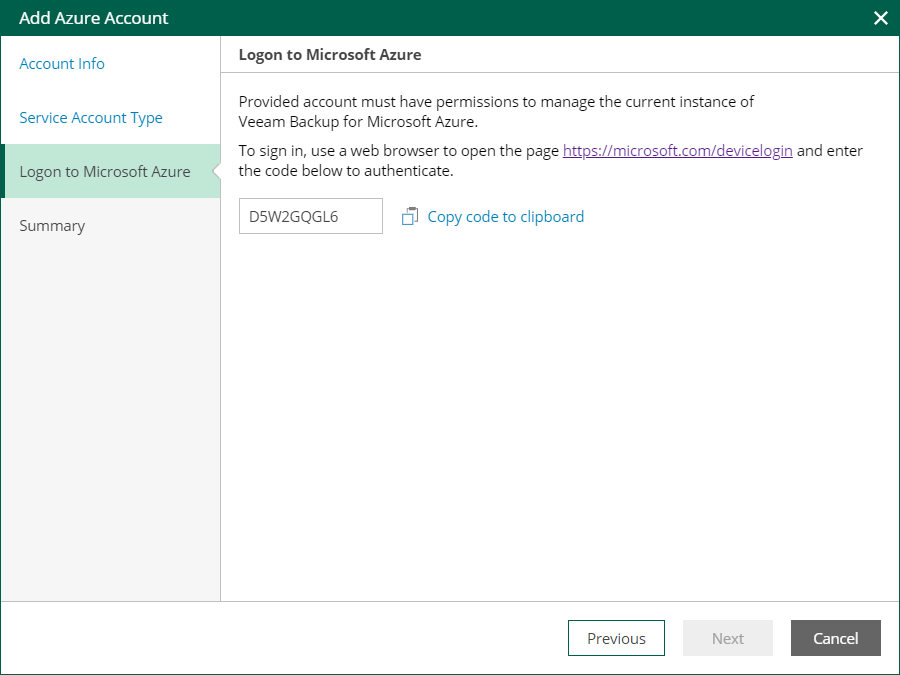
At the Logon to Azure step of the wizard, do the following:
- Click Copy code to clipboard.
- Click https://microsoft.com/devicelogin.
- On the Microsoft Azure device authentication page, do the following:
- Paste the code that you have copied and click Next.
- Select an account that will be used to access the Azure CLI. The account must be assigned either the User Access Administrator or the Owner role.
Important |
Using a personal Microsoft account is not recommended — use a work account instead. |
- Back to the Add Azure Account wizard, check whether any errors occurred during the authentication process and click Next.