Step 5. Start Recovery Session
At the Summary step of the wizard, review summary information and click Start.
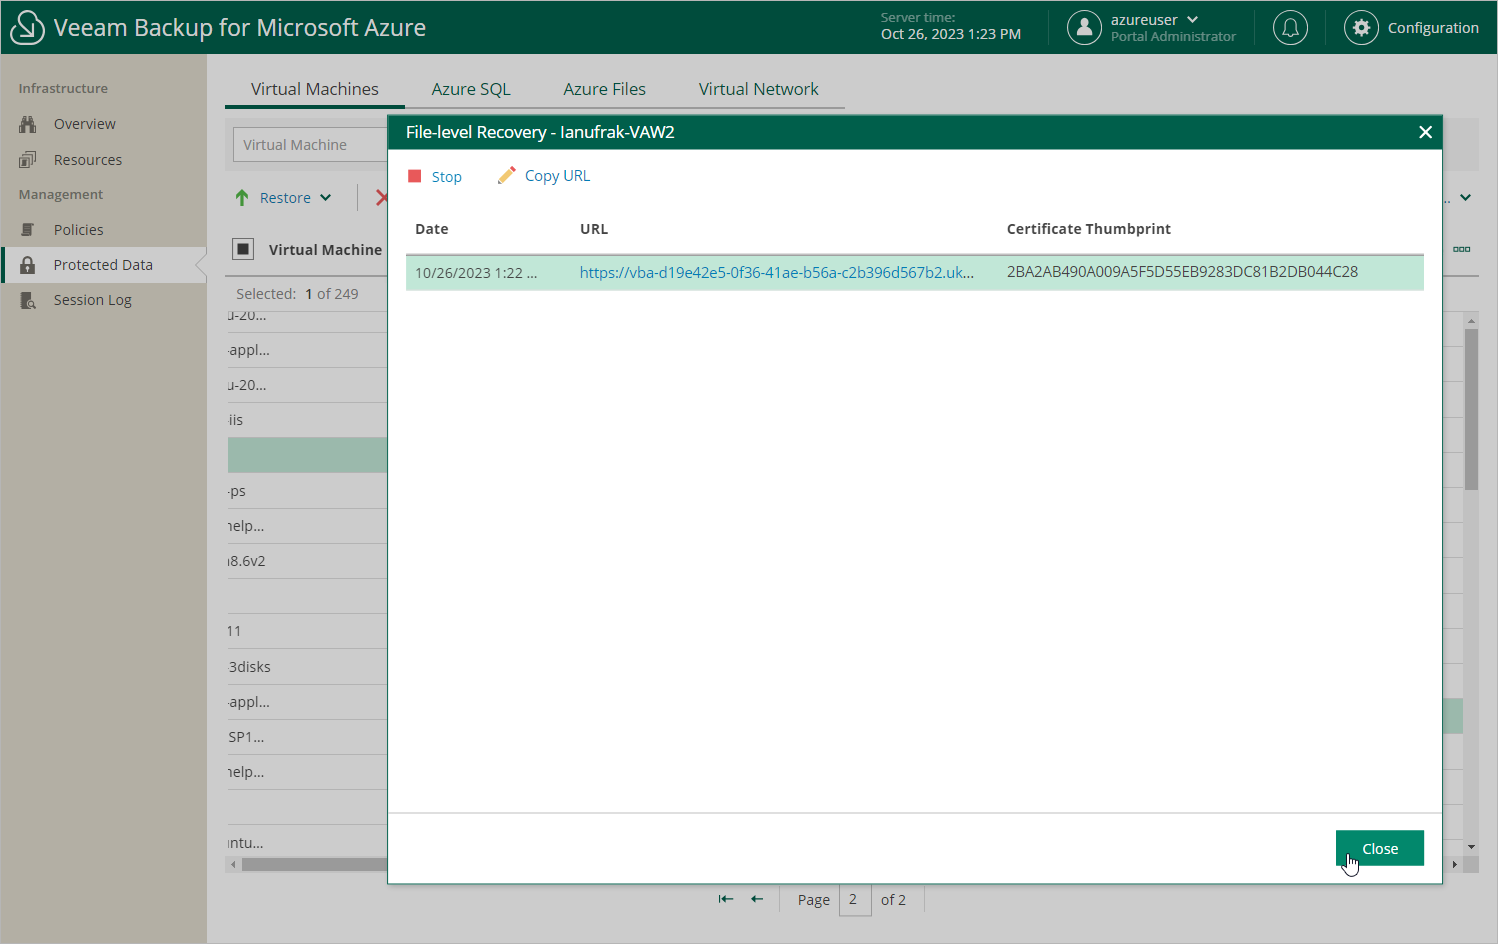
As soon as you click Start, Veeam Backup for Microsoft Azure will close the Azure Files File-Level Recovery wizard and start a restore session. You can track the progress of the restore session in the File-Level Recovery window. To open the File-Level Recovery window, navigate to Protected Data and click the link in the File-Level Recovery URL column. During the recovery session, Veeam Backup for Microsoft Azure will launch a worker instance and attach virtual disks of the processed Azure VM to it.
In the URL column of the window, Veeam Backup for Microsoft Azure will display a link to the file-level recovery browser. You can use the link in either of the following ways:
- Click the link to open the file-level recovery browser on your local machine while the recovery session is running.
- Copy the link, close the File-Level Recovery window and open the file-level recovery browser on another machine.
|
Important |
|
When you click Copy URL, Veeam Backup for Microsoft Azure copies the following information to the clipboard:
To avoid a man-in-the-middle attack, before you start recovering files and folders, check that the certificate thumbprint displayed in the web browser from which you access the file-level recovery browser matches the provided certificate thumbprint. |