Deploying Appliance from Microsoft Azure Marketplace
To deploy a new backup appliance from Microsoft Azure Marketplace, do the following:
- Sign in to the Microsoft Azure Marketplace portal using credentials of the Microsoft Azure account that you plan to use to install Veeam Backup for Microsoft Azure.
- In the Search Marketplace field, enter Veeam Backup for Microsoft Azure and click the Search icon.
- In the list of search results, select the necessary product edition and click Get It Now.
For more information on product editions, see Licensing.
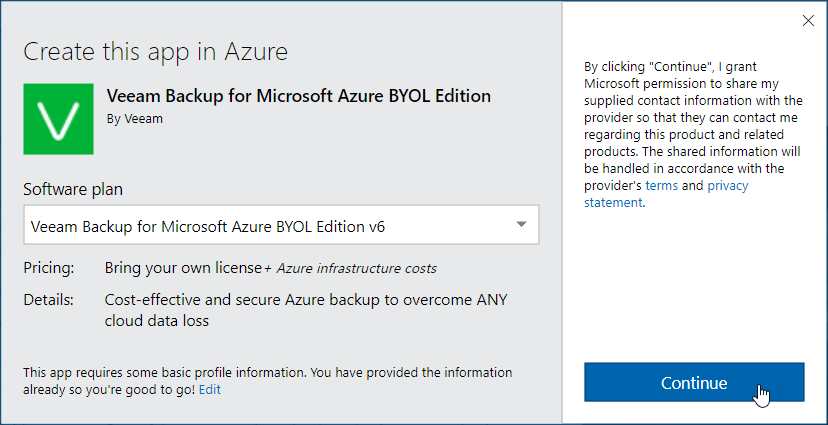
- In the Create this app in Azure window, edit profile information if needed and click Continue.
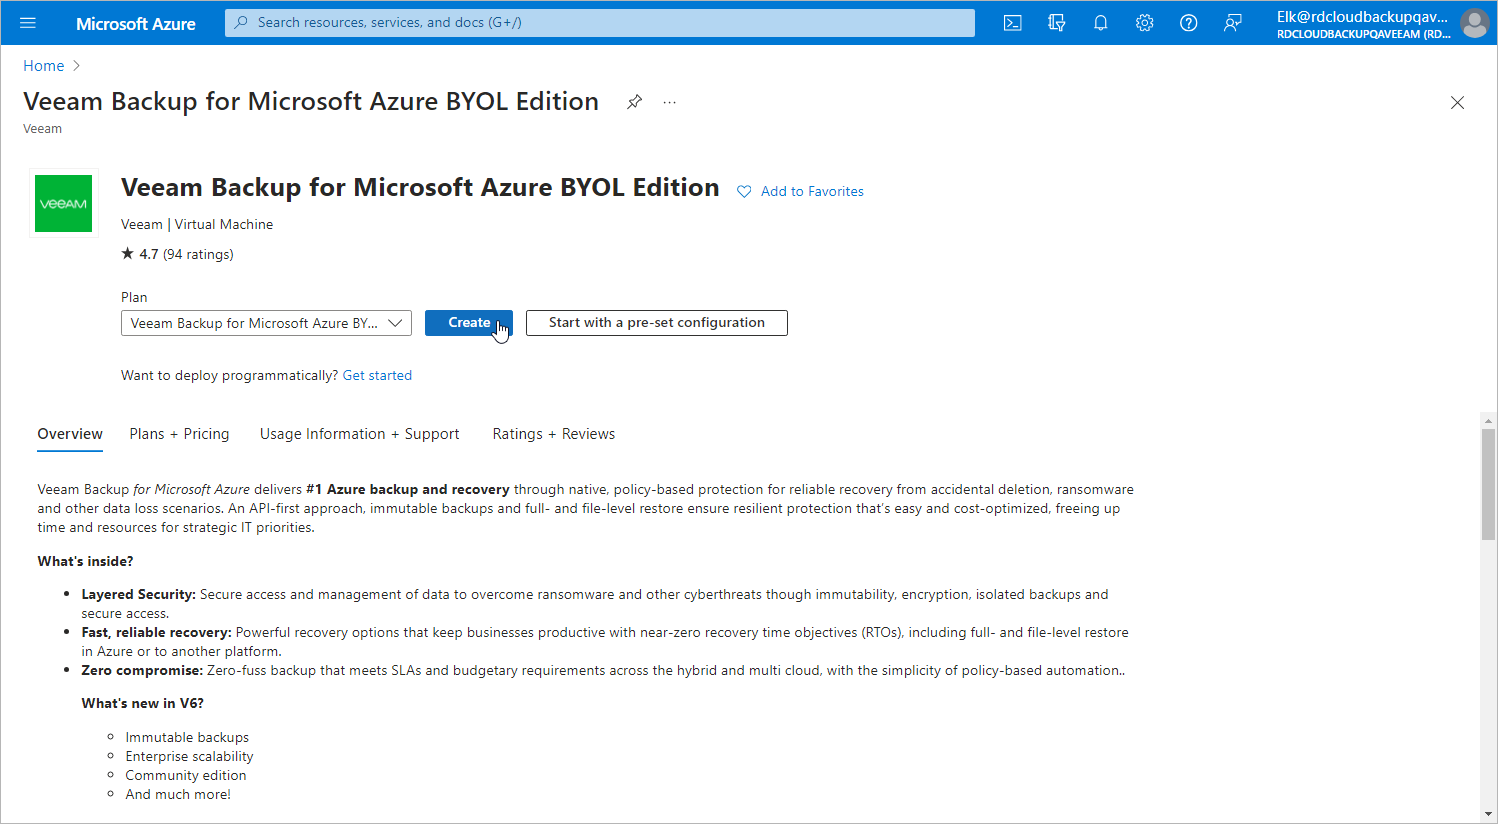
- Back to the Microsoft Azure portal, click Create.
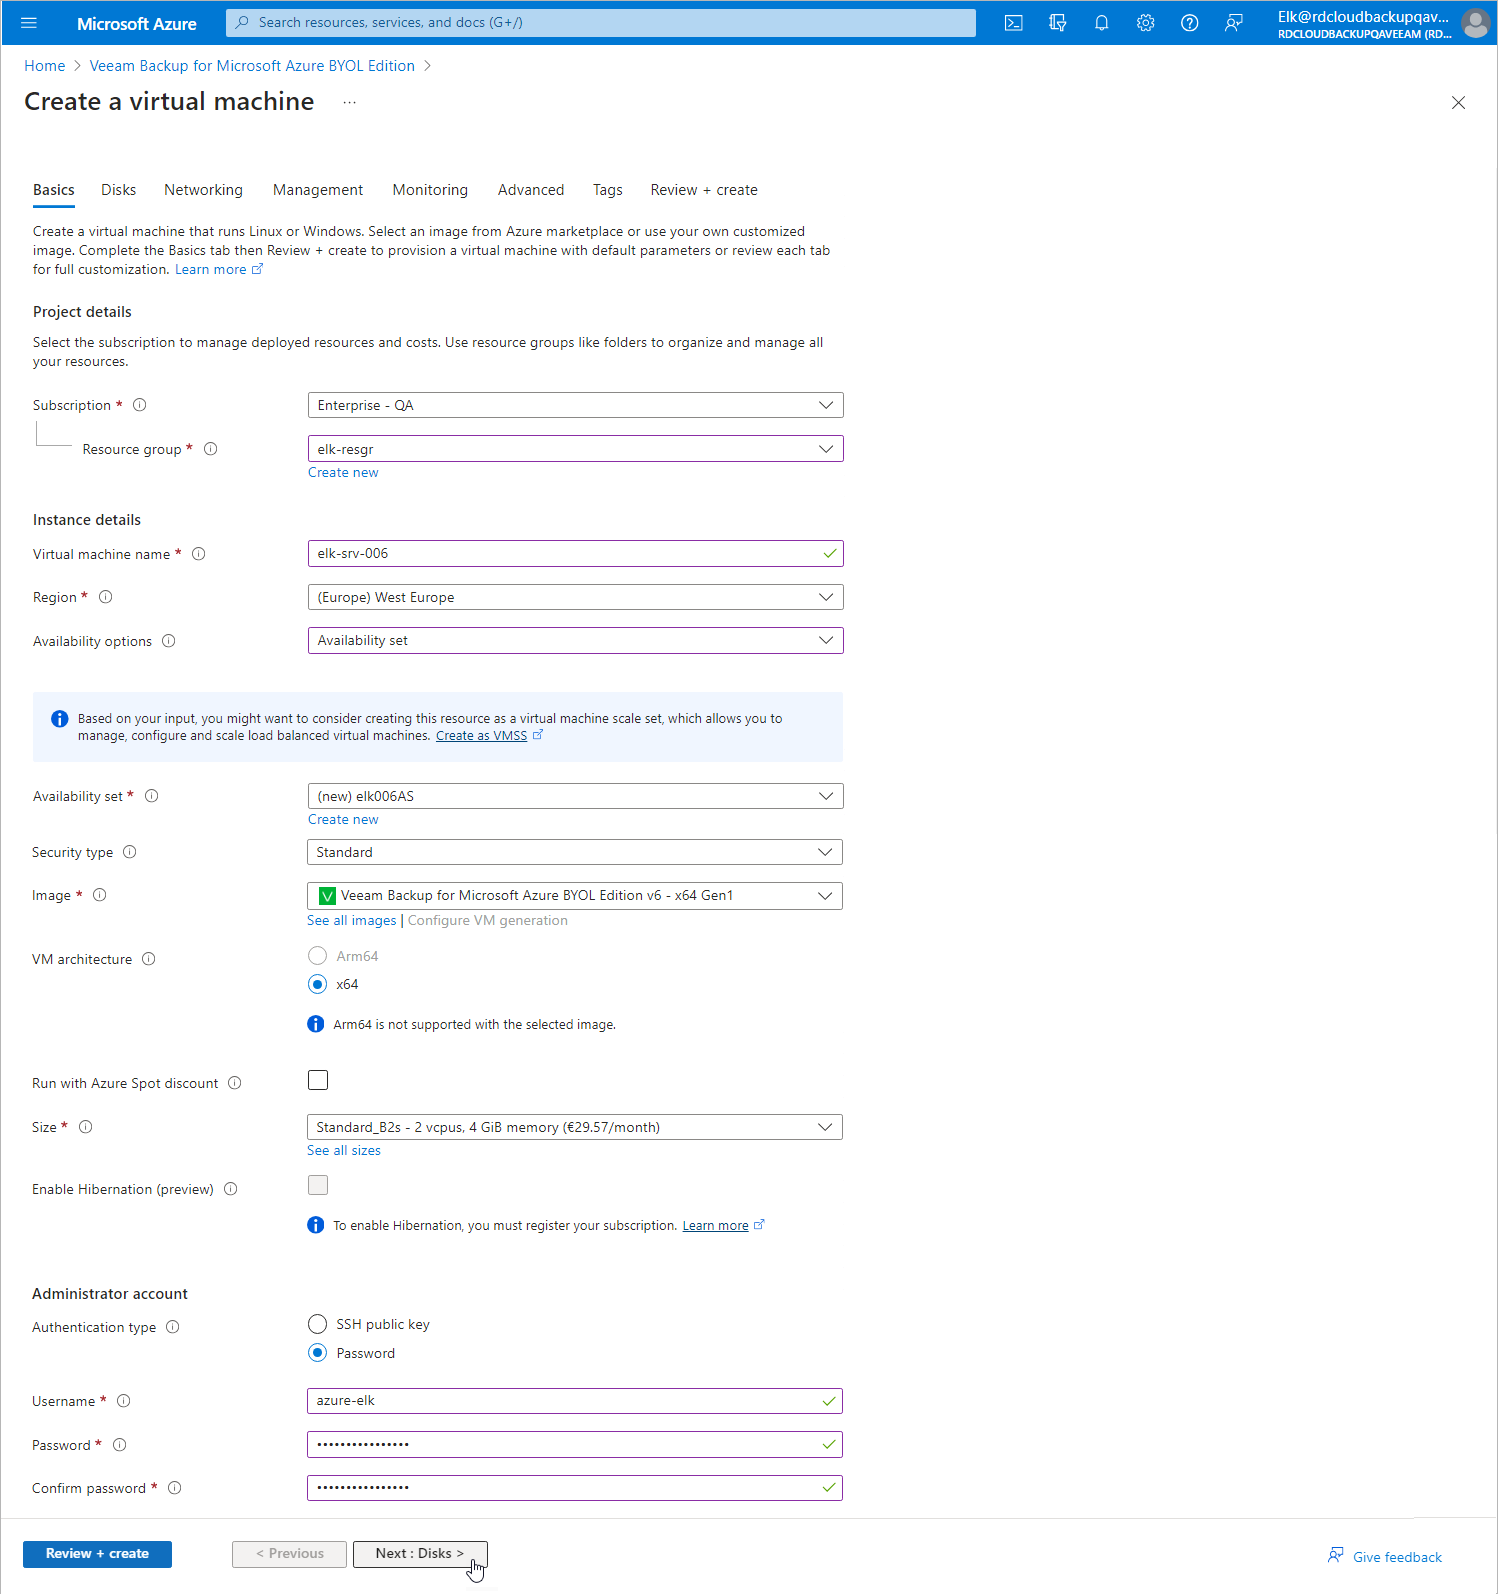
- At the Basics step of the Create a virtual machine wizard, do the following:
- From the Subscription drop-down list, select an Azure subscription that will be used to manage costs of the backup appliance.
For a subscription to be displayed in the Subscription list, it must be created and associated with your Azure AD tenant as described in Microsoft Docs.
- From the Resource group drop-down list, select a resource group that will hold resources related to the backup appliance.
You can either use an existing resource group or create a new one. For more information on creating and managing resource groups, see Microsoft Docs.
- In the Virtual machine name field, enter a name for the backup appliance.
- From the Region drop-down list, select an Azure region in which the backup appliance will reside.
For more information on the Azure regions, see Microsoft Docs.
Note |
Regardless of the region you select, you will be able to manage Azure VMs that operate in other Azure regions as well. |
- From the Availability options drop-down list, choose whether you want to require any infrastructure redundancy to achieve high availability:
- Select the Availability set option to include the backup appliance in an availability set. You can either use an existing availability set or create a new one.
Availability sets allow you to distribute VMs across multiple physical hardware resources.
- Select the Availability zone option to place the backup appliance in an availability zone within the selected Azure region.
Availability zones allow you to distribute VMs across multiple unique physical locations and to protect your data from datacenter failures. Each Azure region contains 3 availability zones. If one or more datacenters in one zone malfunctions, your Azure resources will become instantly available in another zone.
For more information on availability options for VMs in Azure, see Microsoft Docs.
- From the Image drop-down list, select Veeam Backup for Microsoft Azure.
- Set the VM architecture option to x64.
- Make sure the Run with Azure Spot discount option is disabled.
The Spot VMs functionality allows Azure to redistribute the currently unused storage capacity between different Azure resources. It is recommended that you do not enable the Run with Azure Spot discount option since this may cause performance malfunction of the backup appliance.
For more information on using Spot VMs in Azure, see Microsoft Docs.
- In the Size section, choose a size for the backup appliance. The recommended hardware minimum for an Azure VM running Veeam Backup for Microsoft Azure is 2 vCPUs and 4 GB RAM.
For more information on sizes available for VMs in Microsoft Azure, see Microsoft Docs.
- Make sure the Enable Hibernation (preview) option is disabled.
The VM Hibernation functionality allows Azure to pause VMs that are not currently used. It is recommended that you do not enable the Enable Hibernation (preview) option since this may cause performance malfunction of the backup appliance.
For more information on using the VM Hibernation functionality in Azure, see Microsoft Docs.
- Set the Authentication type option to Password.
- In the Username and Password fields, specify credentials for the Default Admin account that you will use for your first login to Veeam Backup for Microsoft Azure.
Important |
Do not use veeamazure and veeamflr as your user name — otherwise, you will not be able to access the backup appliance after installation. These names are reserved by Veeam Backup for Microsoft Azure. |
- Click Next : Disks >.
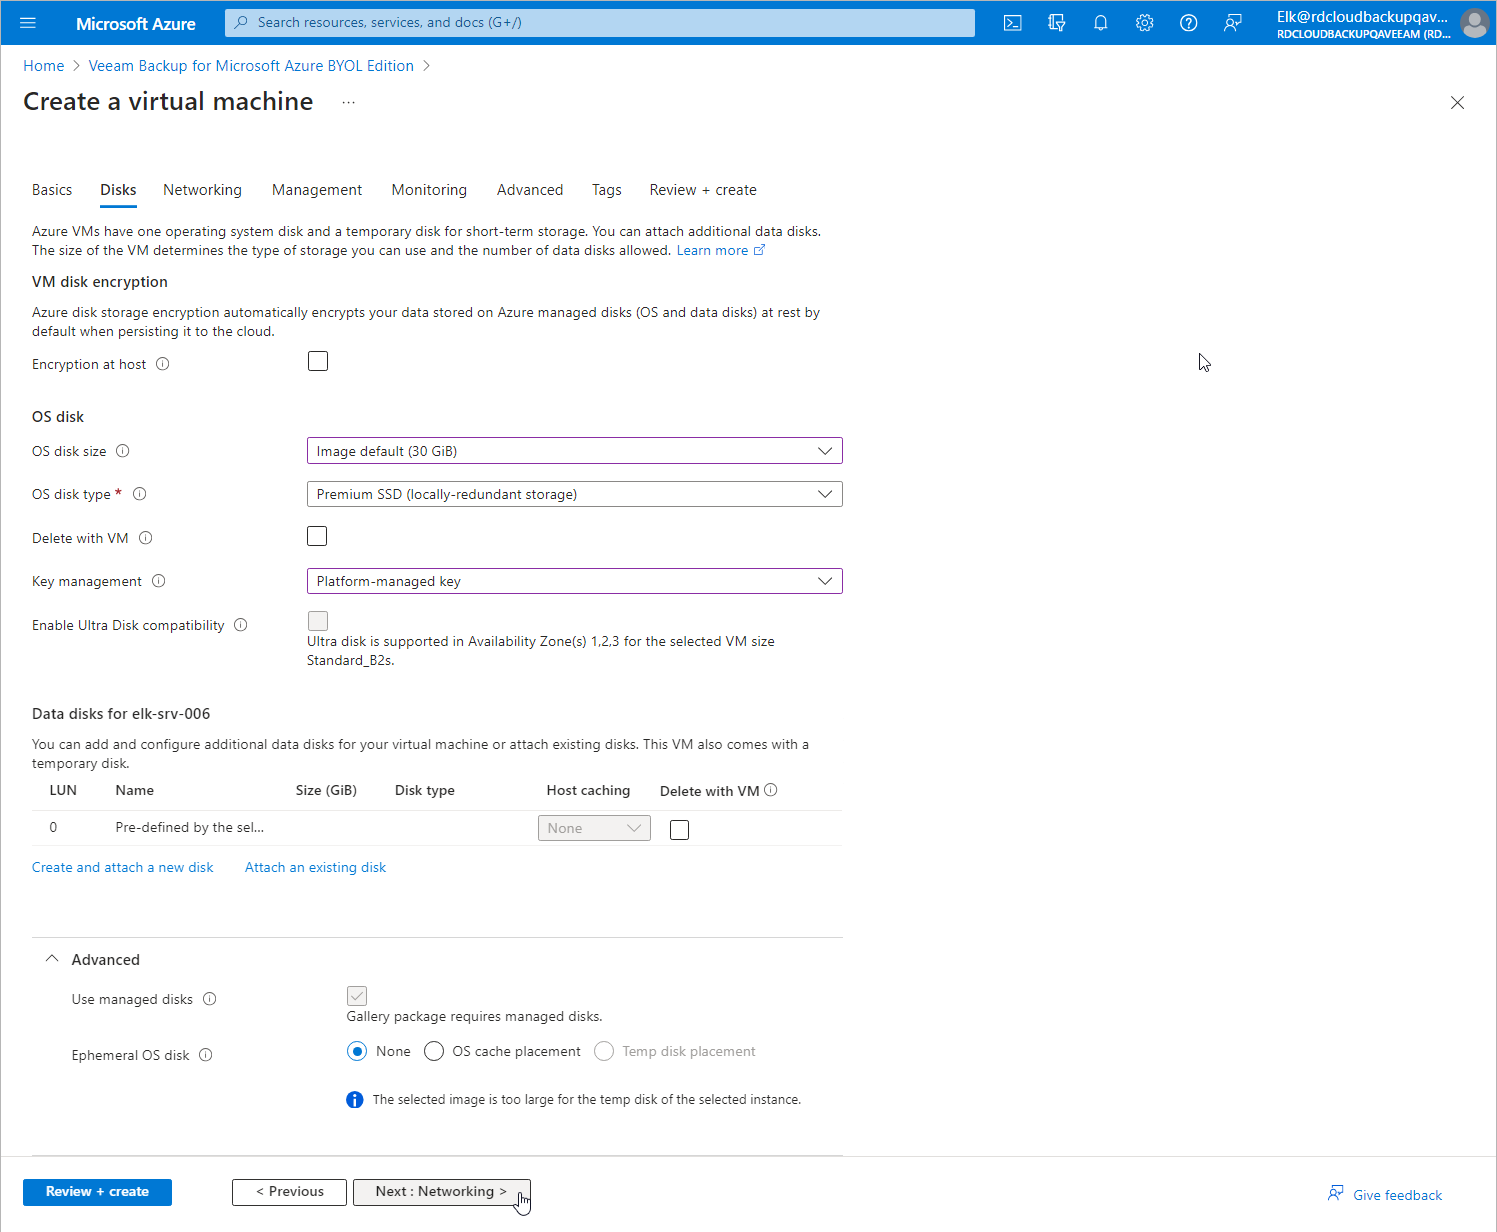
- At the Disks step of the Create a virtual machine wizard, do the following:
- From the OS disk size drop-down list, select a size of the Azure managed disk that will be attached to the backup appliance.
- From the OS disk type drop-down list, select a type of the disk.
It is recommended that you use Premium SSD to ensure better performance of the disk. For more information on available Azure managed disk types, see Microsoft Docs.
- From the Key management drop-down list, choose whether you want to use a default platform-managed key or a customer-managed key to encrypt Veeam Backup for Microsoft Azure data:
- Select the Platform-managed key option to use the default type of encryption.
- Select the Customer-managed key option to specify your own key. This ensures better control of your keys and data, but has a number of restrictions. For a customer-managed encryption key to be displayed in the Disk encryption set list, it must be created in the Microsoft Azure portal as described in Microsoft Docs.
- Other options on the Disks page are preconfigured by Veeam Backup for Microsoft Azure and cannot be changed. Click Next : Networking >.
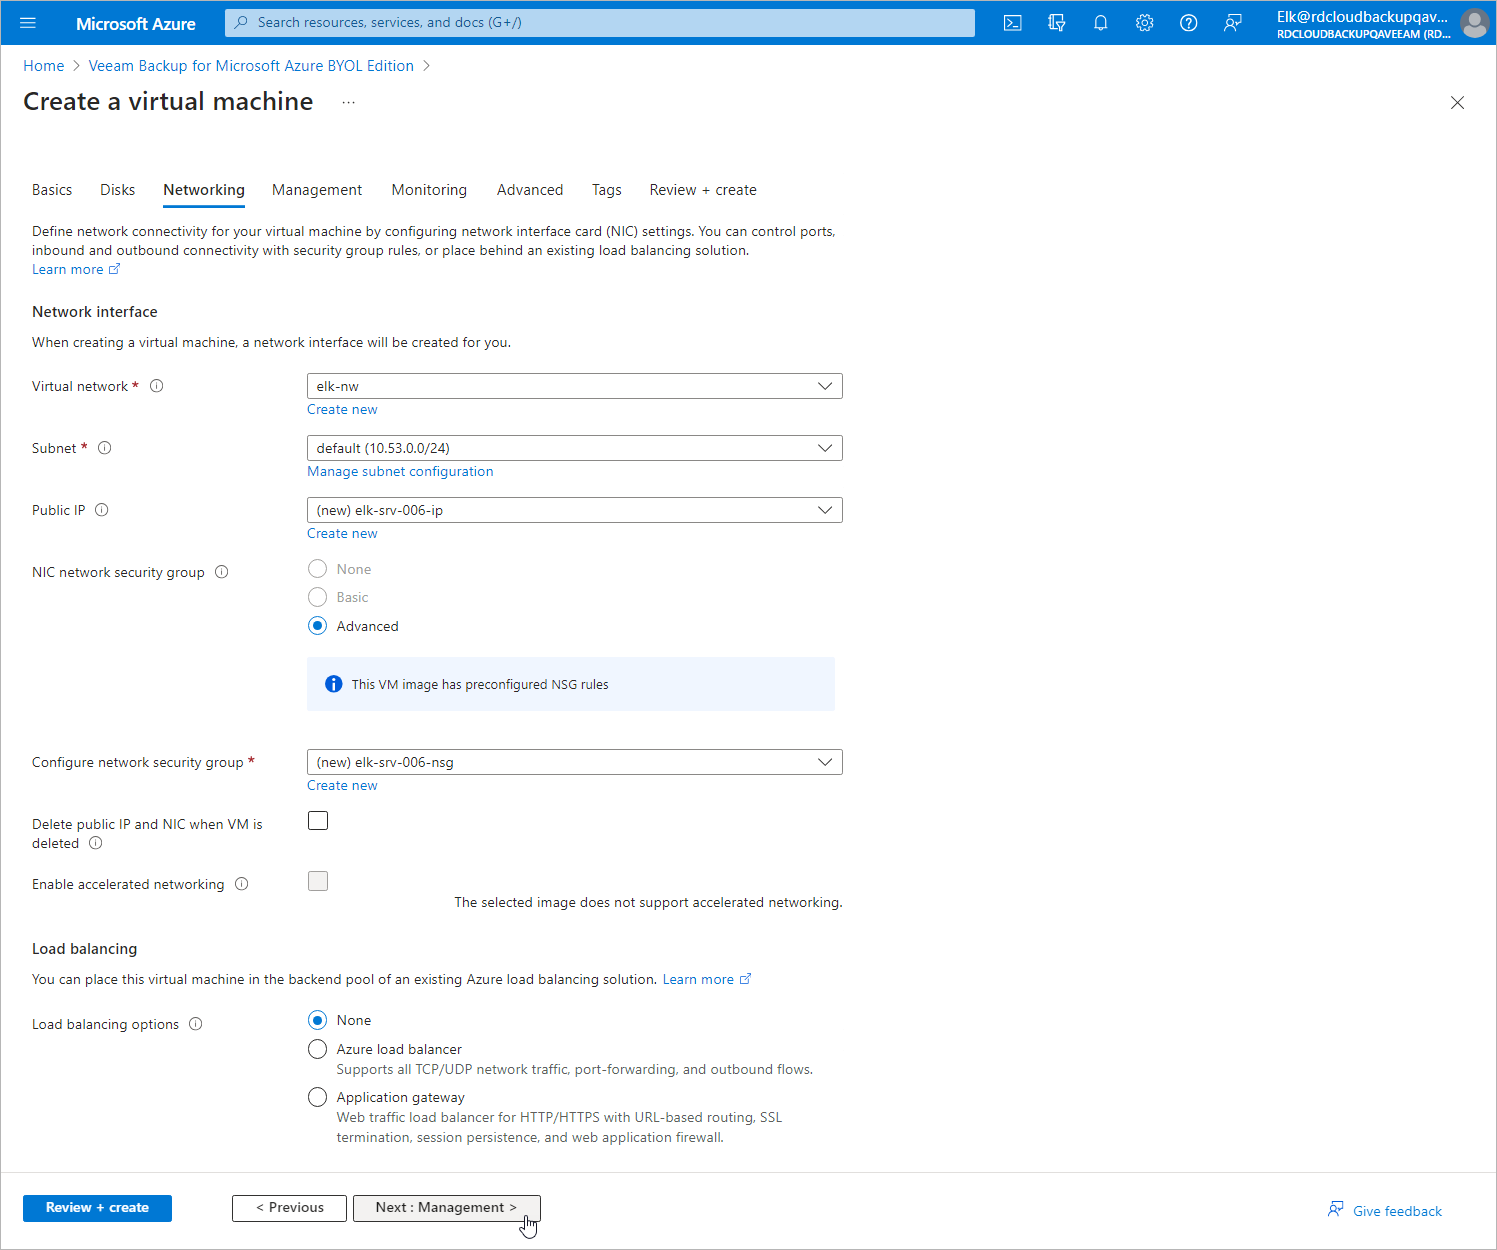
- At the Networking step of the Create a virtual machine wizard, do the following:
- From the Virtual network drop-down list, select a virtual network to which you want to connect the backup appliance.
You can either use an existing virtual network or create a new one. For more information on building networks in Microsoft Azure, see Microsoft Docs.
- From the Subnet drop-down list, select a subnet to which you want to connect the backup appliance.
Subnets allow you to segment virtual networks and distribute the address space among Azure resources. You can either use an existing subnet or add a new one. For more information on managing subnets in Microsoft Azure, see Microsoft Docs.
- From the Public IP drop-down list, select a public IP address that will be associated with the backup appliance.
Public IP addresses allows Azure VMs to communicate to the Internet and public-facing Azure services. You can either use an existing public IP address or add a new one. For more information on assigning public IP address to Azure resources, see Microsoft Docs.
- From the Configure network security group drop-down list, select a security group that will be associated with the specified subnet.
Security groups are used to filter network inbound traffic to and outbound traffic from Azure resources. Each security group contains a set of rules that control the traffic. You can either use an existing security group or create a new one. For more information on configuring security group rules, see Microsoft Docs.
Important |
Consider that security rules configured in the selected network security group must allow direct network traffic to Azure resources. Proxy redirect and setting a proxy in the Veeam Backup for Microsoft Azure configuration are not supported. |
- Make sure the Load balancing options option is set to None.
Load balancers allow you to distribute traffic load among several VMs, but since there is only one VM running Veeam Backup for Microsoft Azure, no load balancing is required. It is not recommended that you set the Load balancing options to any other option than None since this may cause an unpredictable performance malfunction of the VM running Veeam Backup for Microsoft Azure. For more information on using load balancers in Microsoft Azure, see Microsoft Docs.
- Other options on the Networking page are preconfigured by Veeam Backup for Microsoft Azure and cannot be changed. Click Next : Management >.
- At the Management step of the Create a virtual machine wizard, do the following:
- Use the Enable system assigned managed identity option to choose whether you want to grant the identity access to the backup appliance. Managed identities ensure protected access to Azure resources.
To learn how to use managed identities, see Microsoft Docs.
- Make sure the Enable auto-shutdown check box is not selected. If you enable the auto-shutdown setting, this may cause an unpredictable performance malfunction of the backup appliance.
- Click Next : Monitoring >.

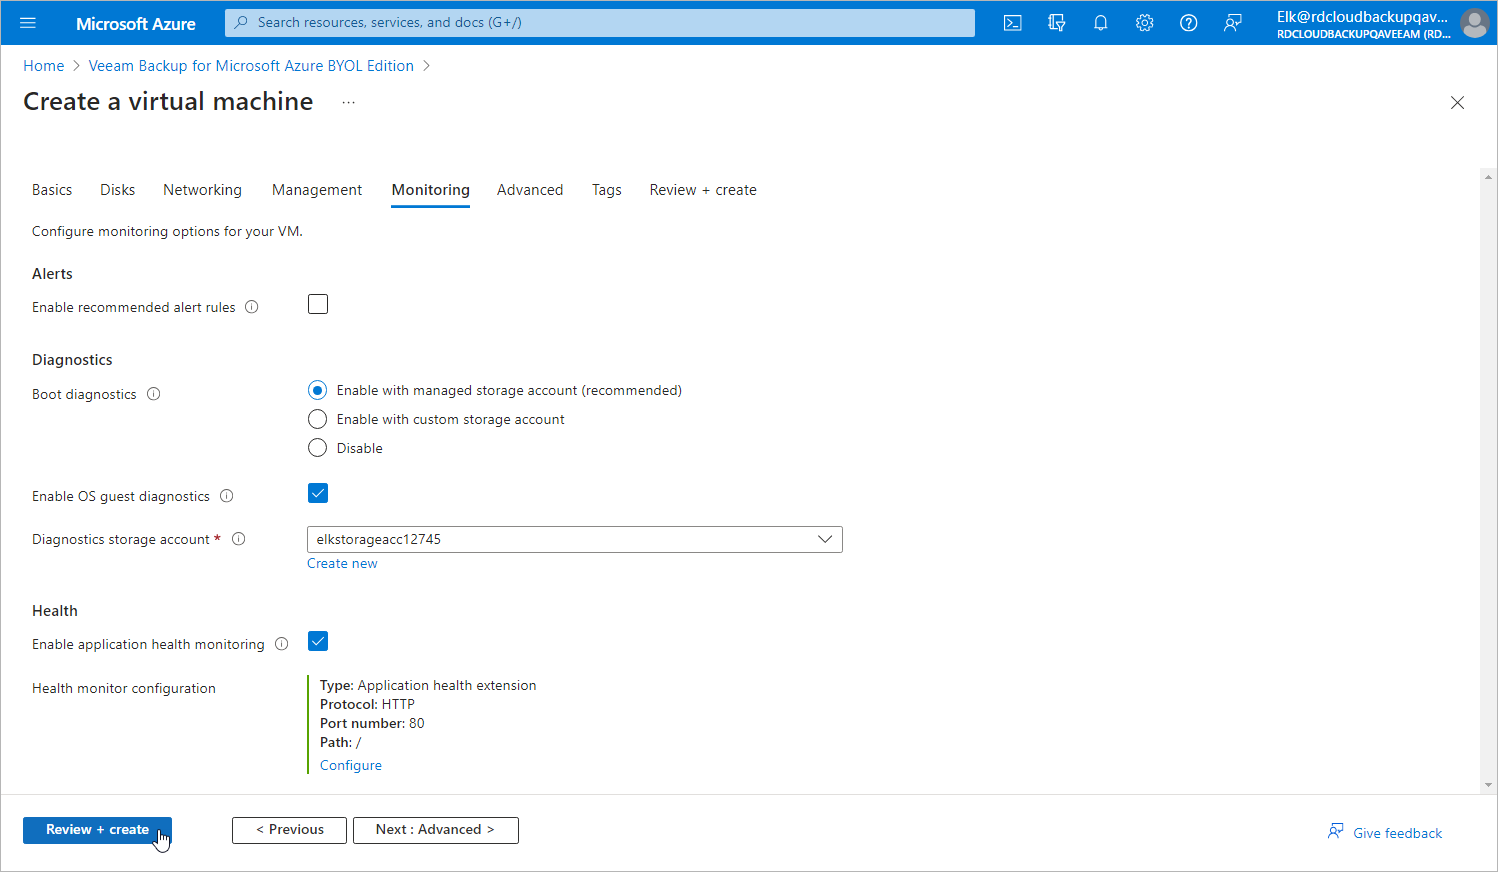
- At the Monitoring step of the Create a virtual machine wizard, do the following:
- Use the Boot diagnostics option to choose whether you want to capture the console output and screenshots of the backup appliance. This may help you troubleshoot server malfunction issues.
To learn how to use boot diagnostics in Microsoft Azure, see Microsoft Docs.
- Use the OS guest diagnostics option to choose whether you want to collect capacity-related guest OS metrics. This may also help you troubleshoot server malfunction issues.
- From the Diagnostics storage account drop-down list, select a storage account that will be used to keep the collected diagnostic information. You can either use an existing storage account or create a new one.
To learn how to create Azure storage accounts, see Microsoft Docs.
- Use the Health section to choose whether you want to enable health monitoring for the scale set. Health monitoring is required for platform managed infrastructure and OS upgrades.
To learn how to use Application Health extension with Virtual Machine Scale Sets in Microsoft Azure, see Microsoft Docs.
- At the Review + create step of the Create a virtual machine wizard, review summary information and click Create to begin installation.
Tip |
If you want to specify advanced configuration settings, deploy additional extensions, pass custom scripts and assign tags to the backup appliance, navigate to the Advanced and Tags pages. Follow the instructions provided in the wizard to configure the remaining options. |
Right after installation, you must accept license agreements and generate a new web certificate. To learn how to do that, see After You Install.