
The Folder step of the wizard is available if you have chosen to change the location and settings for the restored VM.
To specify a destination VM folder:
- Select a VM in the list and click Folder.
- Choose a folder to which the VM will be placed. To facilitate selection, use the search field at the bottom of the window: enter a folder name or a part of it and click the Start search button on the right or press [ENTER].
|
If you restore a VM to a standalone ESX(i) host not managed by vCenter Server, you cannot select a destination folder: this option will be disabled. |
By default, Veeam Backup Free Edition restores a VM with its original name. However, you can change the name of the restored VM. For example, if you restore a VM to its original location, you may need to change its name to avoid potential problems.
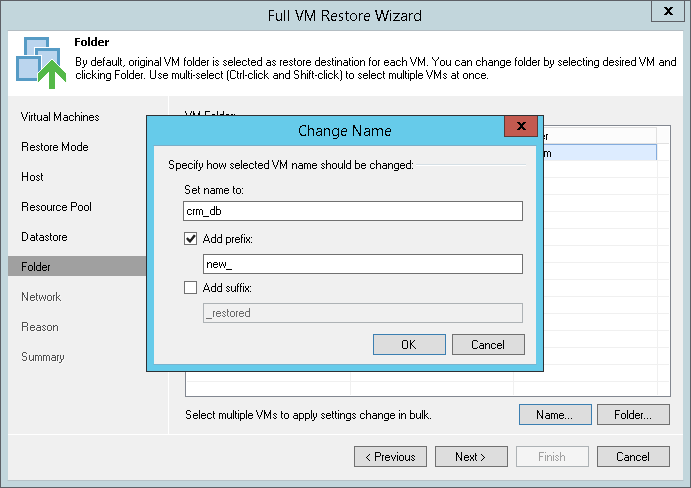
To change the VM name:
- Select a VM in the list and click Name.
- In the Change Name section, enter a new name explicitly or specify a change name rule by adding a prefix and/or suffix to the original VM name.
You can change the VM name directly in the list:
- Select a VM in the list.
- Click the New Name field
- Enter the name to be assigned to the restored VM.
Send feedback | Updated on 1/11/2016
