This is an archive version of the document. To get the most up-to-date information, see the current version.
Step 2. Configure Network Settings
To open the Network settings dialog, in the Veeam Recovery Media main menu, select the Configure network option and press Enter.
Veeam Agent for Linux will display network adapters that are available on the system. If there is a DHCP server in your network, Veeam Agent will configure the network settings automatically and display the IP address assigned to the network adapter. You can then press Esc to return to the Veeam Recovery Media main menu and launch the Volume Restore wizard.
You can manually configure TPC/IP v4 settings for network adapters if necessary. To learn more, see Specifying Network Settings.
You can manually configure TPC/IP v4 settings for the network adapter. To configure network settings:
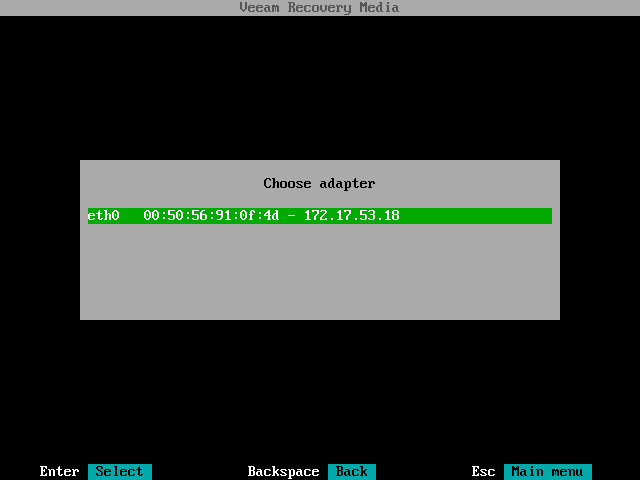
- In the Choose adapter list, select the network adapter that you want to use to connect to the network shared folder or Veeam backup repository where the backup resides and press Enter.
- In the Configure adapter dialog, select the Manual option and press Enter.
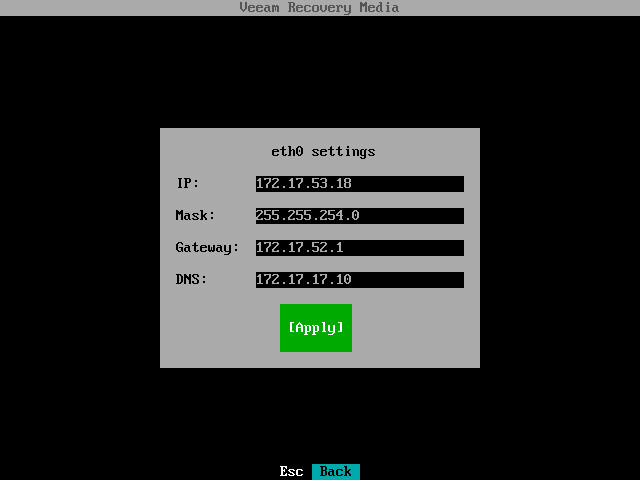
- In the Adapter settings dialog, specify the following network settings:
- IP address
- Subnet mask
- Default gateway
- DNS server
- Select the Apply button and press Enter.
If there is a DHCP server in your network, you can return to automatic IP addressing:
- In the Choose adapter list, select the necessary network adapter and press Enter.
- In the Configure adapter dialog, select the Auto option and press Enter. Veeam Agent will automatically configure network settings for the adapter.