You can create new users with the Department User role, without allocating cloud repository resources to these users.
If you do not allocate cloud repository resources for a Department User, this user will only be able to work with the functionality available in the Veeam Availability Console Client Portal. Data available to a Department User can be limited to one or more department locations, and the user can access data pertaining to all managed Veeam backup agents, Veeam Backup & Replication or Veeam Backup Enterprise Manager servers in these locations.
Required Privileges
To perform the task, a user must have one of the following roles assigned: Department Owner, Department Administrator.
How to Create Department User
To create a new Department User in Veeam Availability Console:
- Log in to Veeam Availability Console.
For details, see Accessing Veeam Availability Console.
- At the top right corner of the Veeam Availability Console window, click Configuration.
- In the configuration menu on the left, click Portal Users.
- At the top of the user list, click New.
Veeam Availability Console will launch the New User wizard.
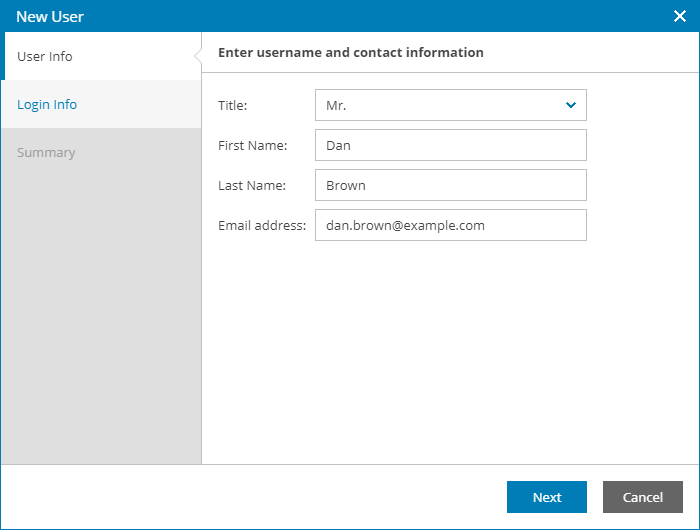
- At the User Info step of the wizard, specify user's title, first name, last name and email address.
Veeam Availability Console can use this address to send email notifications to the user, such as password reset notifications.
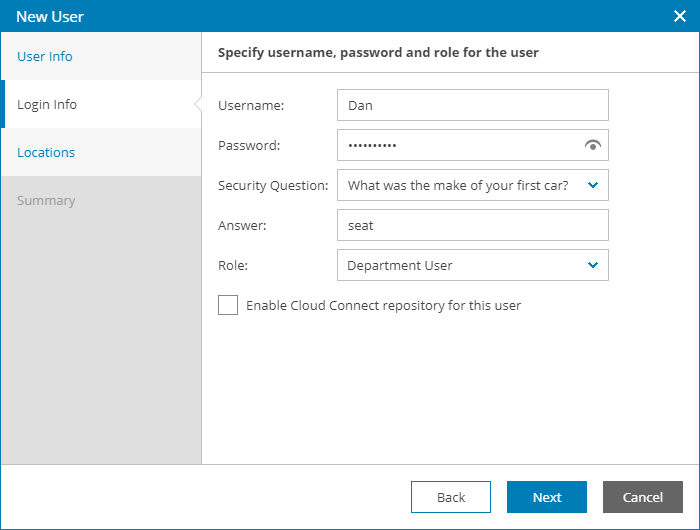
- At the Login Info step of the wizard, specify user credentials and choose a user role:
- In the Username and Password fields, type a user name and password.
The password must contain characters from at least 3 of the following categories: uppercase characters, lowercase characters, base 10 digits (0 through 9), non-alphanumeric characters. The password length must be at least 6 characters.
- In the Security Question and Answer fields, choose a question and specify an answer that will be used for resetting the user password.
For details on user roles, see Resetting Password.
- In the Role field, choose Department User.
- Leave the Enable Cloud Connect repository for this user check box cleared.
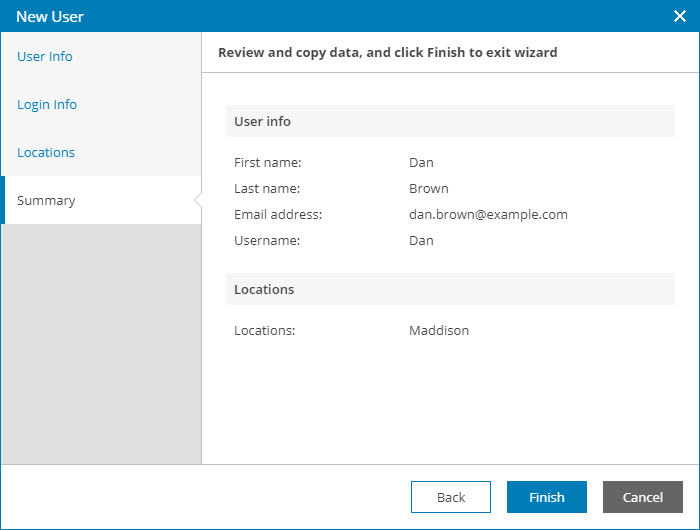
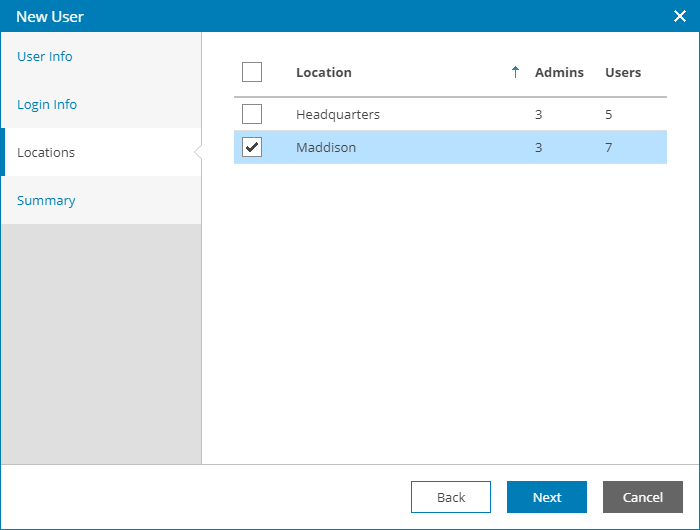
- At the Locations step of the wizard, select department locations whose data must be available for the user in the Client Portal.
- At the Summary step of the wizard, review user details and click Finish.