Step 3. Enter Credentials
|
Note |
|
In versions prior to 1.3, Veeam Plug-in for Proxmox VE used credentials of the Standard type to connect to Proxmox VE servers. In version 1.3, those credentials are automatically converted to credentials of the SSH type. However, keep in mind that credentials of the SSH Private Keys type are not supported. |
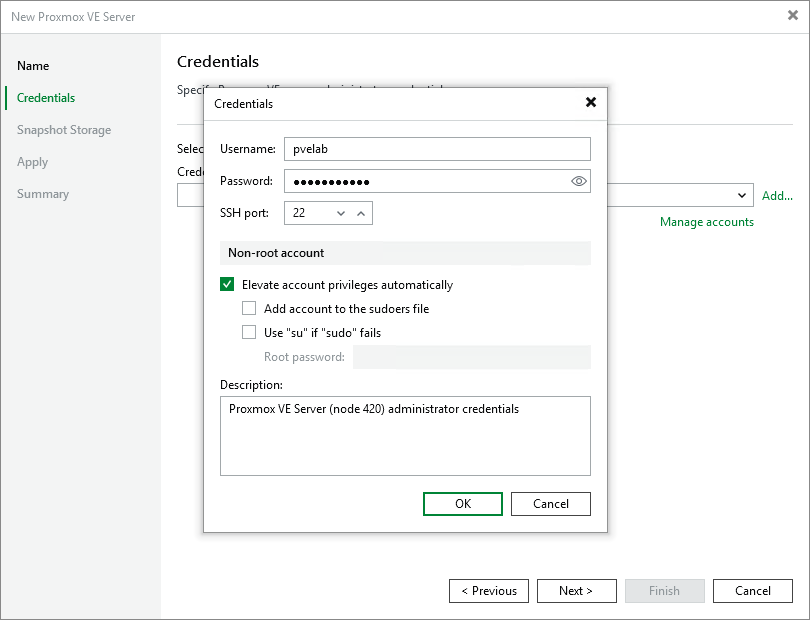
At the Credentials step of the wizard, specify credentials of an account that will be used to access the Proxmox VE server — it can be either an account of a root user or an account of a user elevated to root (the latter option is recommended for security reasons).
For credentials to be displayed in the Credentials list, they must be added to the Credentials Manager as described in section SSH Credentials. If you have not added the necessary credentials to the Credentials Manager beforehand, you can do this without closing the New Proxmox VE Server wizard. To do that, click either the Manage accounts link or the Add button, and specify the user name, password and description in the Credentials window.
|
Tip |
|
If you want to use an account of a user elevated to root, you must also select the Elevate account privileges automatically check box. Consider that Veeam Plug-in for Proxmox VE ignores the Add account to the sudoers file and Use "su" if "sudo" fails options for security reasons. |
After you click Next, the backup server will connect to the Proxmox VE server and check its TLS certificate. If the certificate is not installed on the backup server, the Certificate Security Alert Window will display a warning notifying that secure communication cannot be guaranteed. To allow the backup server to connect to the Proxmox VE server using the certificate, click Continue.