Deploying Veeam Backup & Replication from AWS Marketplace
Veeam Backup & Replication is deployed in AWS environment on a single EC2 instance. The EC2 instance is created during the product installation.
To deploy Veeam Backup & Replication from AWS Marketplace:
- Log in to AWS Marketplace using credentials of an AWS account in which you plan to install Veeam Backup & Replication.
Important |
Do not use the root user for login when deploying Veeam Backup & Replication. Deployment or operation of Veeam Backup & Replication does not require the use of root privileges. |
You can deploy Veeam Backup & Replication in the production site — in the AWS account where resources that you plan to back up reside. It is recommended, however, that you use a separate AWS account for Veeam Backup & Replication installation. In this case, if a disaster strikes in the production site, you will still be able to access Veeam Backup & Replication and perform recovery operations.
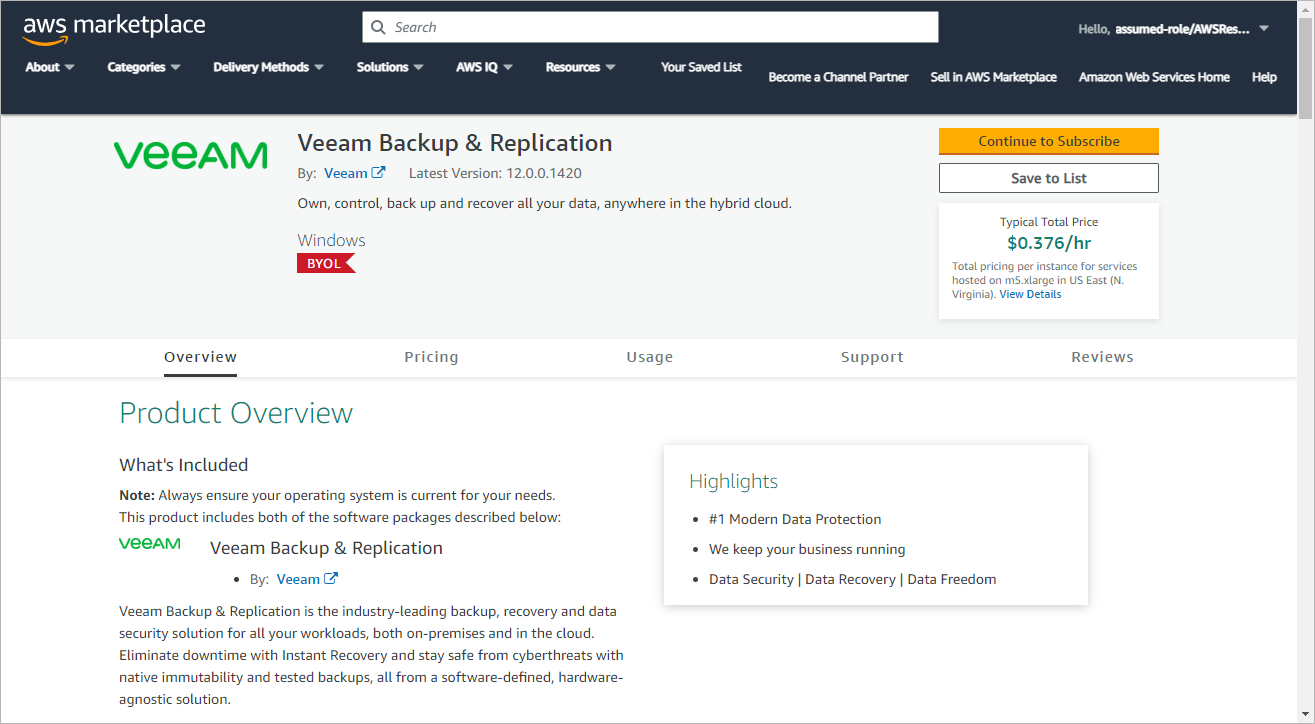
- Open the Veeam Backup & Replication offer in the AWS Marketplace.
- Click Continue to Subscribe.
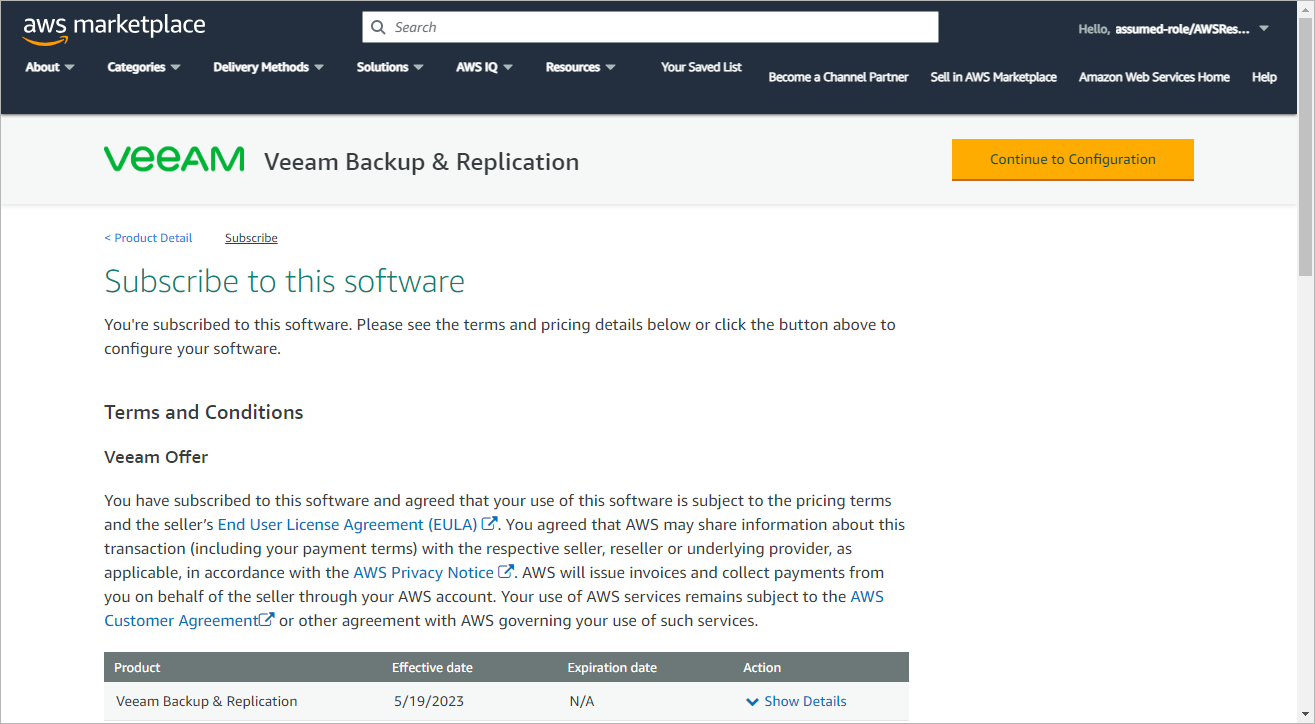
- On the Subscribe to this software page, click Continue to Configuration.
To view the license agreement, click End User License Agreement in the Terms and Conditions section.
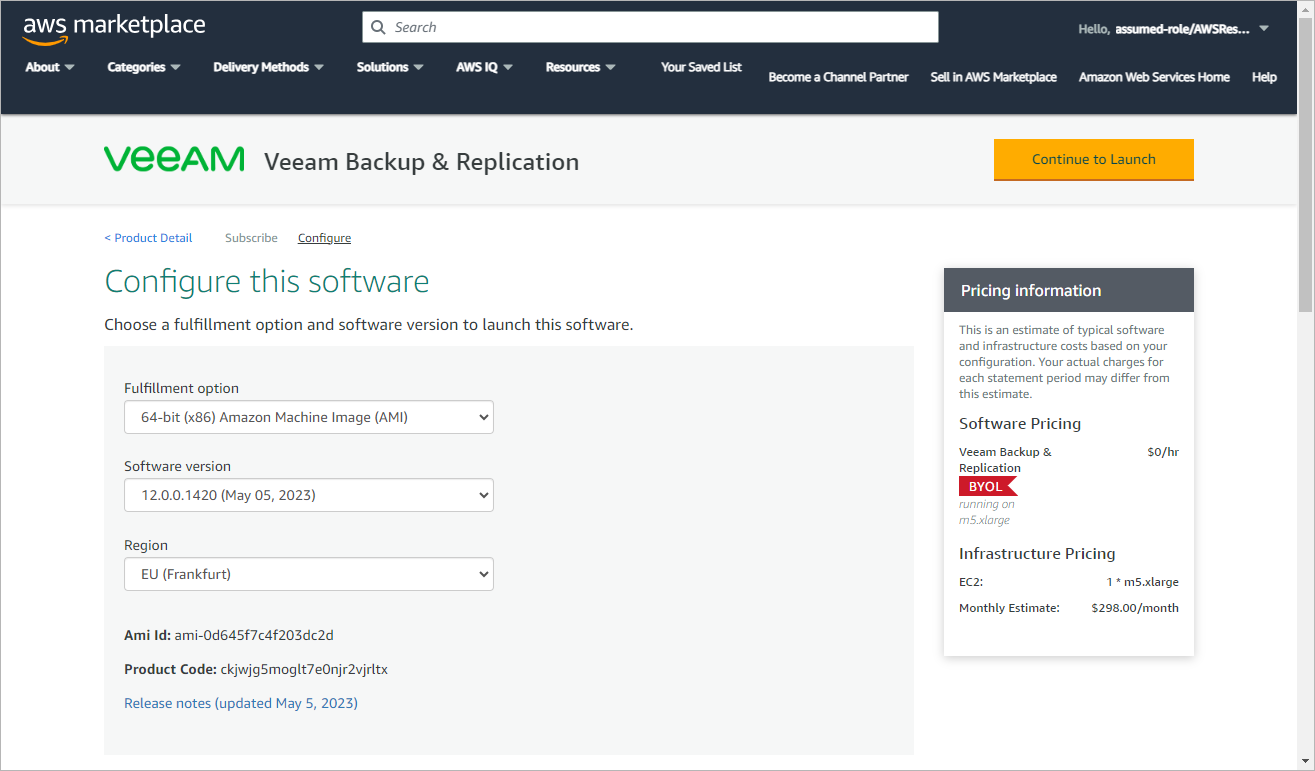
- From the Fulfillment option drop-down list, select the 64-bit (x86) Amazon Machine Image (AMI) option to further continue deployment from AMI.
- From the Software Version drop-down list, select the latest version of Veeam Backup & Replication.
- From the Region drop-down list, select an AWS Region in which the EC2 instance running Veeam Backup & Replication will reside.
For more information on AWS Regions, see AWS Documentation.
Click Continue to Launch.
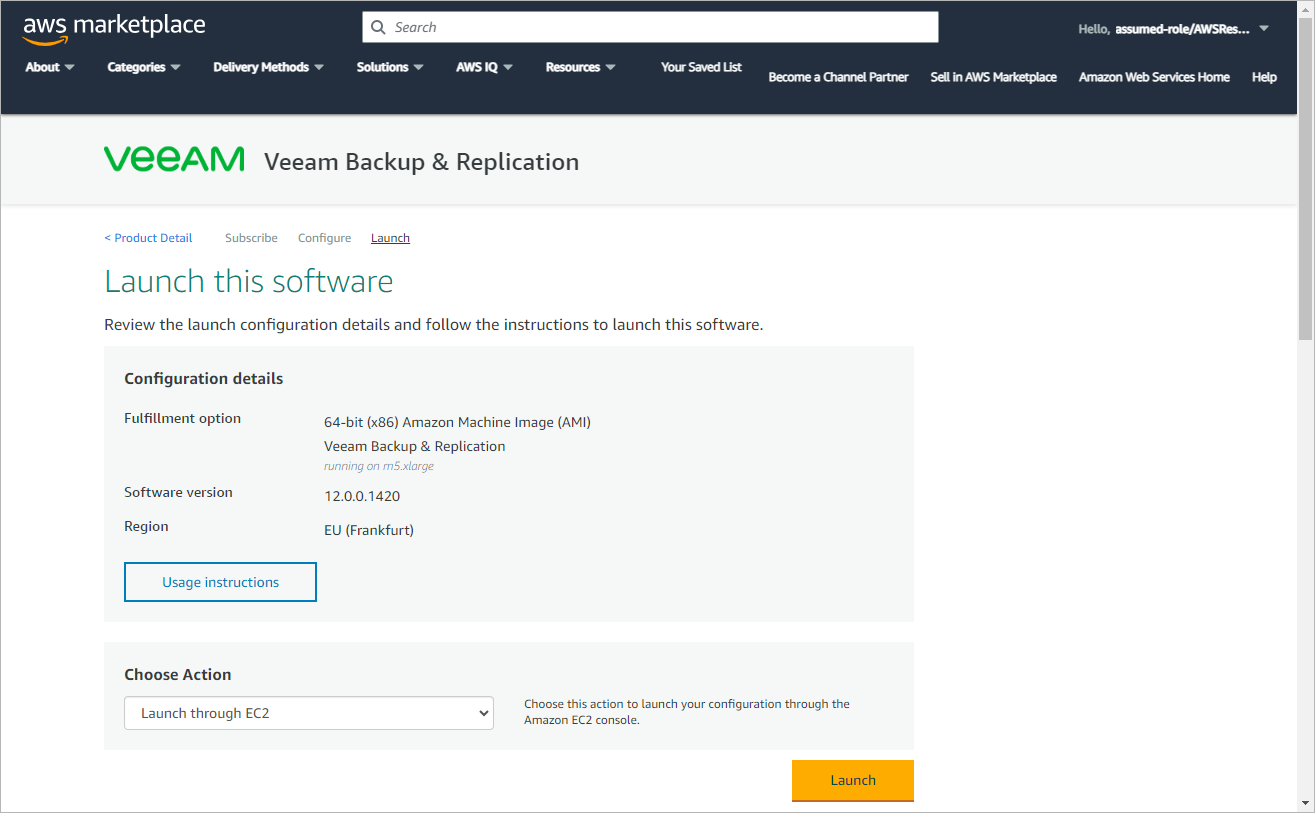
- On the Launch this software page, do the following:
- In the Configuration Details section, review the product deployment settings.
- From the Choose Action drop-down list, select Launch through EC2.
- Click Launch.
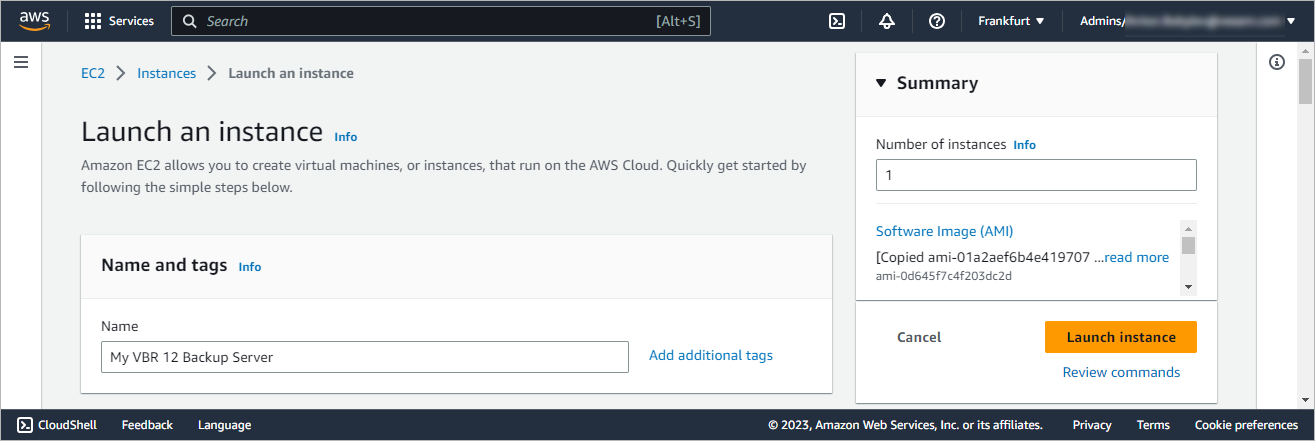
The Launch an instance wizard will open.
- At the Name and tags step of the Launch an instance wizard, specify the EC2 instance name. Add additional tags, if required.
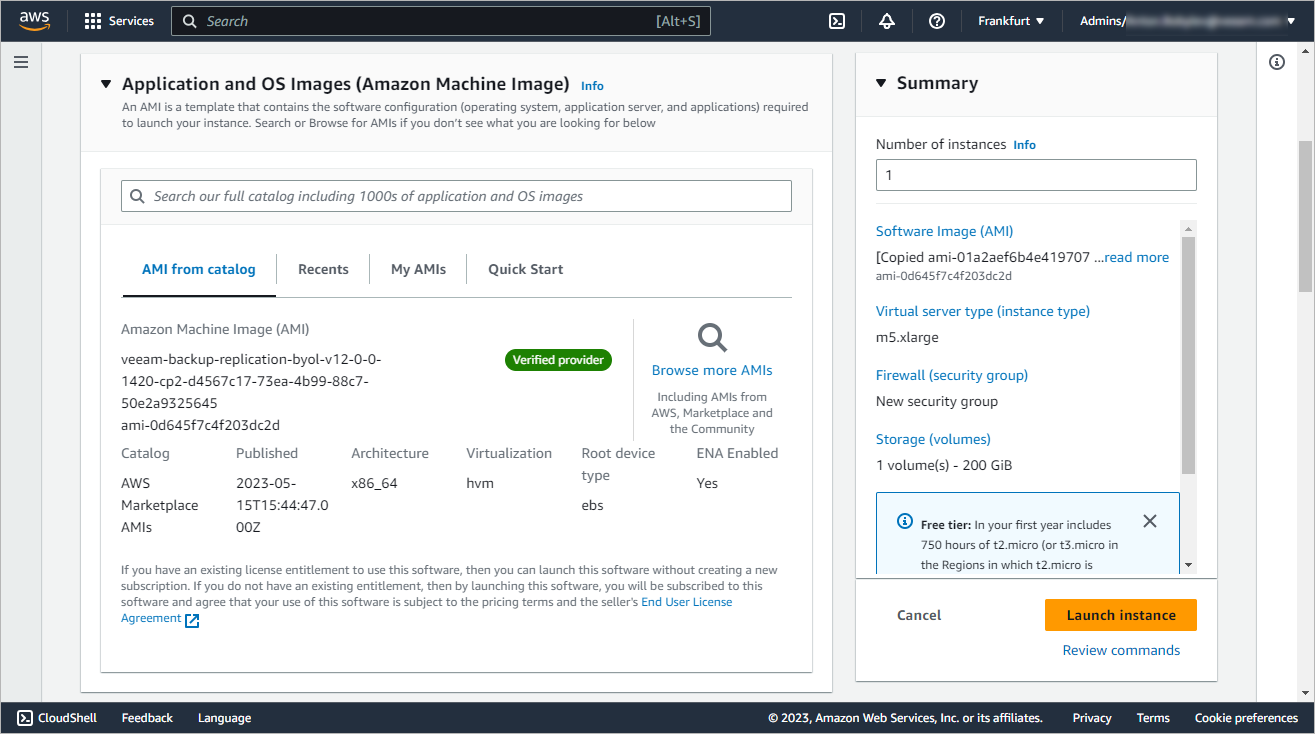
- At the Application and OS Images (Amazon Maching Image) step of the wizard, control that the correct AMI is selected.
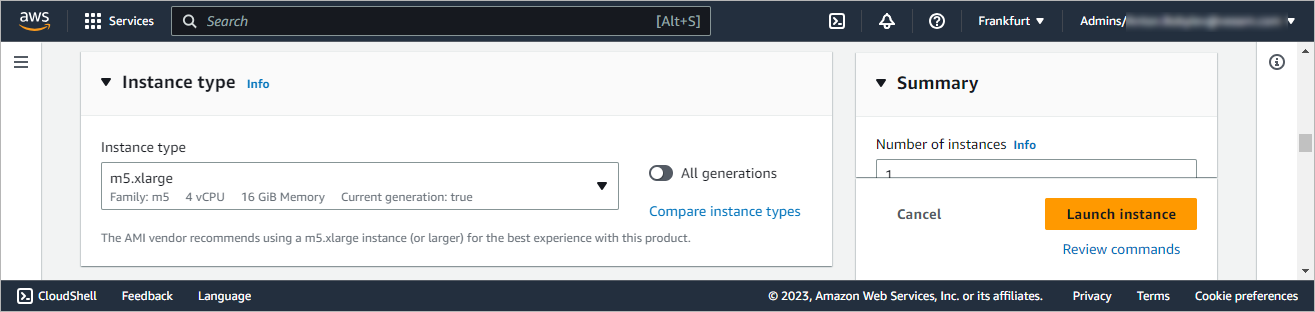
- At the Instance type step of the wizard, select an EC2 instance type for the backup solution. The minimum recommended EC2 instance type is m5.xlarge.
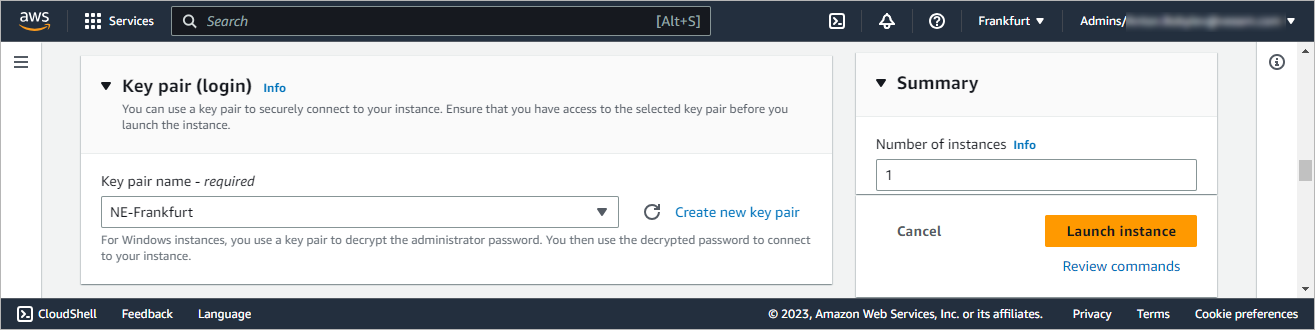
- In the Key pair (login) section, select a key pair to use for login. If necessary, you can create a new key pair as described in AWS Documentation.
- At the Network settings step of the wizard, do the following:
- In the Network and Subnet fields, specify an Amazon VPC and subnet to which the backup appliance will be connected. You can either select an existing Amazon VPC and subnet, or create a new Amazon VPC and subnet.
For more information on Amazon VPCs and subnets, see AWS Documentation.
Important |
Mind that no public access is required to use Veeam Backup & Replication unless you plan to access the Veeam Backup & Replication server from the internet. If the access over the internet is required, ensure that the specified Amazon VPC and subnet allow the inbound internet access from the local machine that you plan to use to access Veeam Backup & Replication in AWS. To learn how to enable internet access for Amazon VPCs and subnets, see AWS Documentation. |
- From the Auto-assign public IP drop-down list, select Enable.
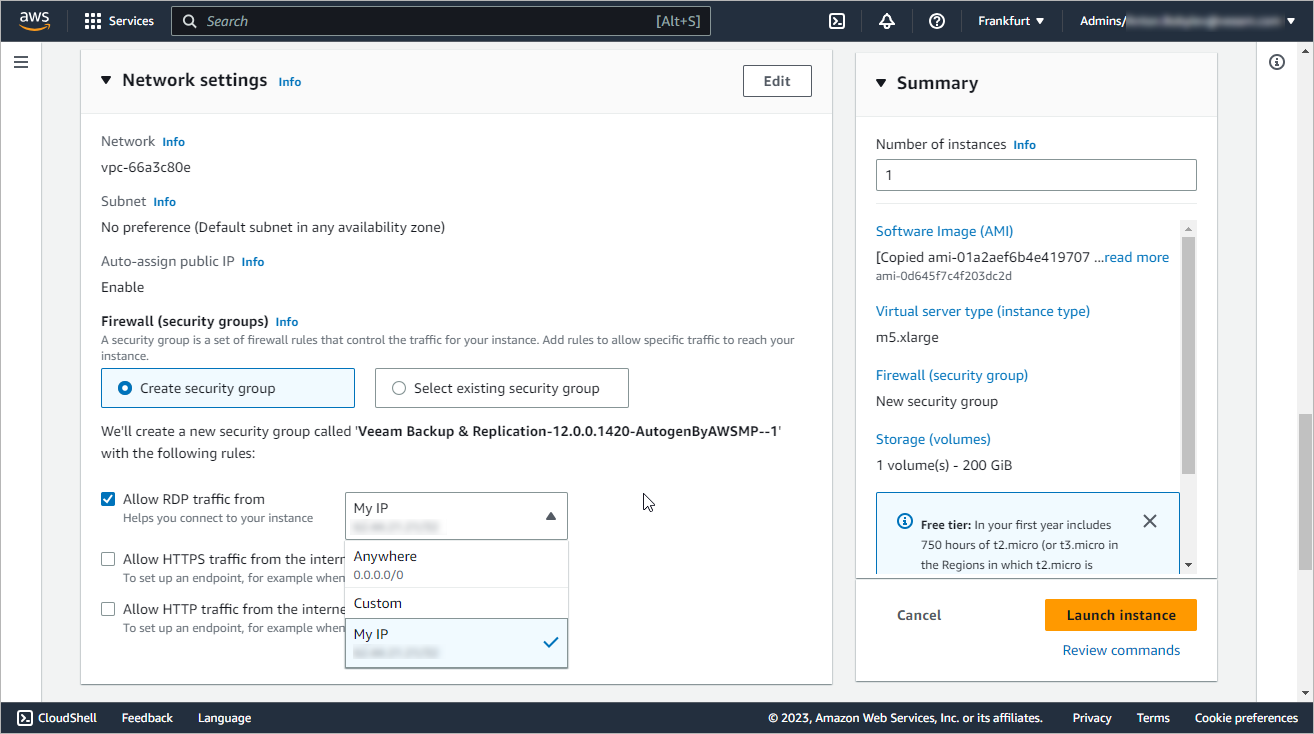
- At the Network settings step of the wizard, choose a security group that will control the inbound and outbound traffic for the Veeam Backup & Replication instance. You can either associate an existing security group with the instance or create a new security group.
- If you choose an existing security group, make sure it allows access to the Amazon Simple Storage Service (S3) AWS service.
- If you choose to create a new security group, you may want to modify the default inbound rule for the RDP traffic. To do that, from the drop-down list next to the Allow RDP traffic from check box, select My IP or select Custom and specify the IPv4 address ranges from which Veeam Backup & Replication will be accessible.
Make sure the IPv4 address of the local machine from which you plan to access Veeam Backup & Replication lies within the specified IPv4 ranges.
IPv4 address ranges must be specified in the CIDR notation (for example, 12.23.34.0/24). To allow unrestricted access to the backup appliance, you can specify 0.0.0.0/0. However, the latter is not recommended since unrestricted access to Veeam Backup & Replication can violate your organization security policy.
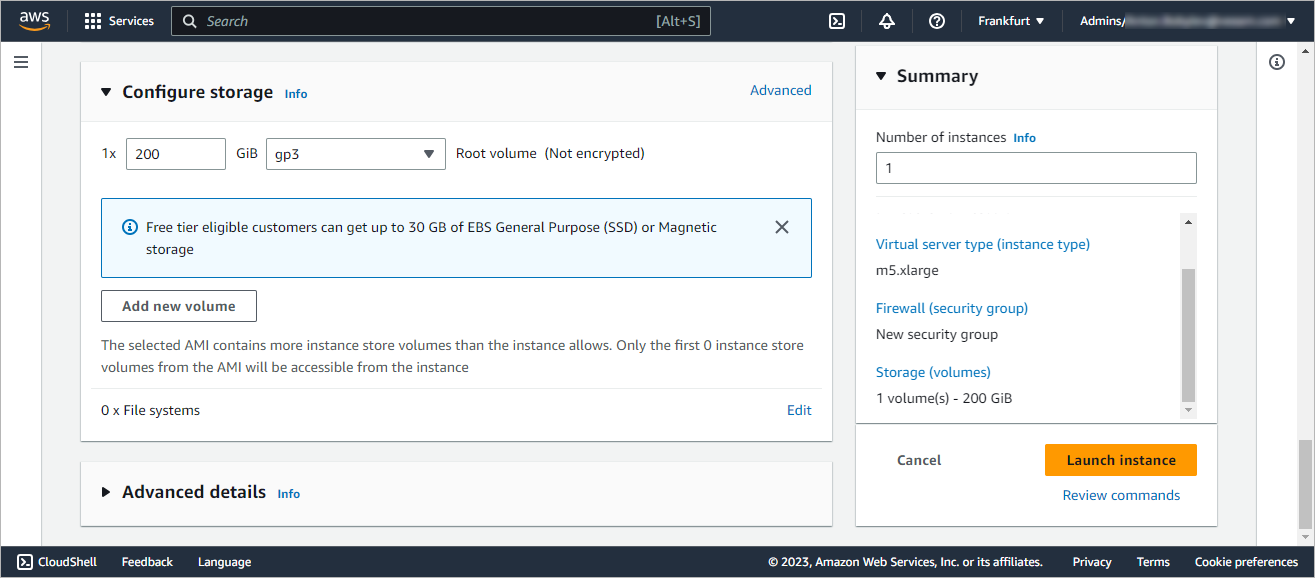
- At the Configure storage step of the wizard, review the preconfigured storage settings and proceed to the next step. For technical reasons, it is not recommended to change these settings.
Note |
AWS encryption of the root volume is not required as all the data can be encrypted by means of Veeam Backup & Replication. For more information, see Security Considerations. |
- Skip the Advanced details step of the wizard.
- In the Summary section, review the configured settings and click Launch instance.
Right after installation, you must perform a number of additional actions for the backup appliance configuration. For more information, see After You Install.