This is an archive version of the document. To get the most up-to-date information, see the current version.
Step 11. Finalize Instant VM Recovery
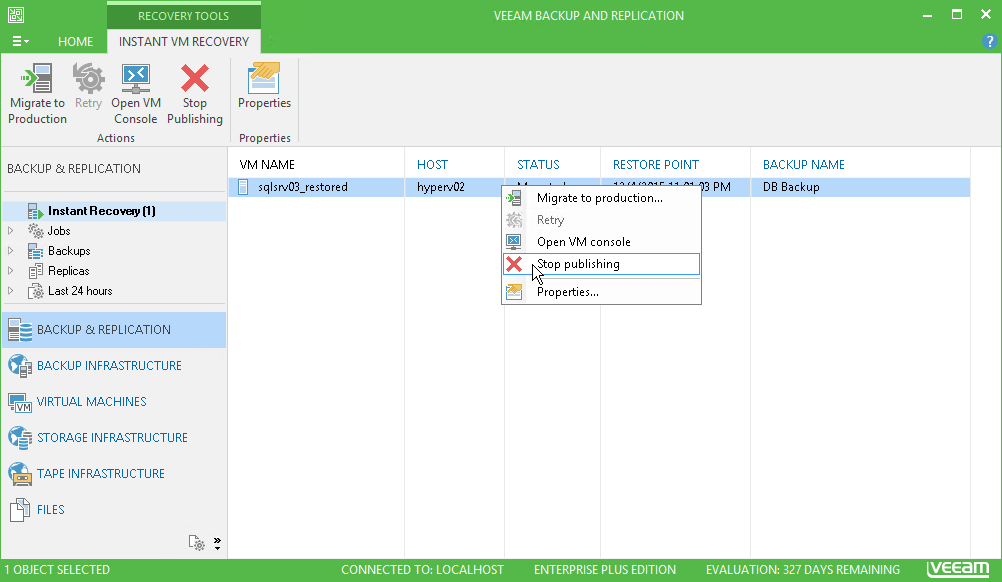
All VMs restored with Instant VM Recovery are displayed in the Backup & Replication view, under the Instant Recovery node.
To check the progress of Instant VM Recovery and view session details:
- Open the Backup & Replication view.
- In the inventory pane, click the Instant Recovery node.
- In the working area, right-click the VM and select Properties.
Alternatively, you can open the History view, select the Instant Recovery node under Restore in the inventory pane and double-click the Instant VM Recovery session.
After the VM has been successfully recovered, you can finalize Instant VM Recovery in one of two ways:
When Veeam Backup & Replication migrates the VM, it transfers VM disks data to the production storage that you have selected as a destination for the recovered VM.
To migrate the recovered VM to production:
- Open the Backup & Replication view.
- In the inventory pane, select the Instant Recovery node.
- In the working area, right-click the VM and select Migrate to production.
To remove the recovered VM:
- Open the Backup & Replication view.
- In the inventory pane, select the Instant Recovery node.
- In the working area, right-click the VM and select Stop publishing.
|
After the VM has been published from the backup, you can open the VM console directly from Veeam Backup & Replication. To do this, in the working area right-click the VM and select Open VM Console. |