Deploying Veeam Backup for Microsoft 365 from AWS Marketplace
Veeam Backup for Microsoft 365 is deployed in the AWS environment on a single EC2 instance. The EC2 instance is created as part of an AWS CloudFormation stack during the product installation.
To deploy Veeam Backup for Microsoft 365 from AWS Marketplace:
- Log in to AWS Marketplace using credentials of an AWS account in which you plan to install Veeam Backup for Microsoft 365.
Important |
Do not use the root user for login when deploying Veeam Backup for Microsoft 365. Deployment or operation of Veeam Backup for Microsoft 365 does not require the use of root privileges for the AWS account. |
If resources that you plan to back up with Veeam Backup for Microsoft 365 reside in AWS, you can deploy Veeam Backup for Microsoft 365 in the production site — in the same AWS account where the resources reside. It is recommended, however, that you use a separate AWS account for Veeam Backup for Microsoft 365 installation. In this case, if a disaster strikes in the production site, you will still be able to access Veeam Backup for Microsoft 365 and perform recovery operations.
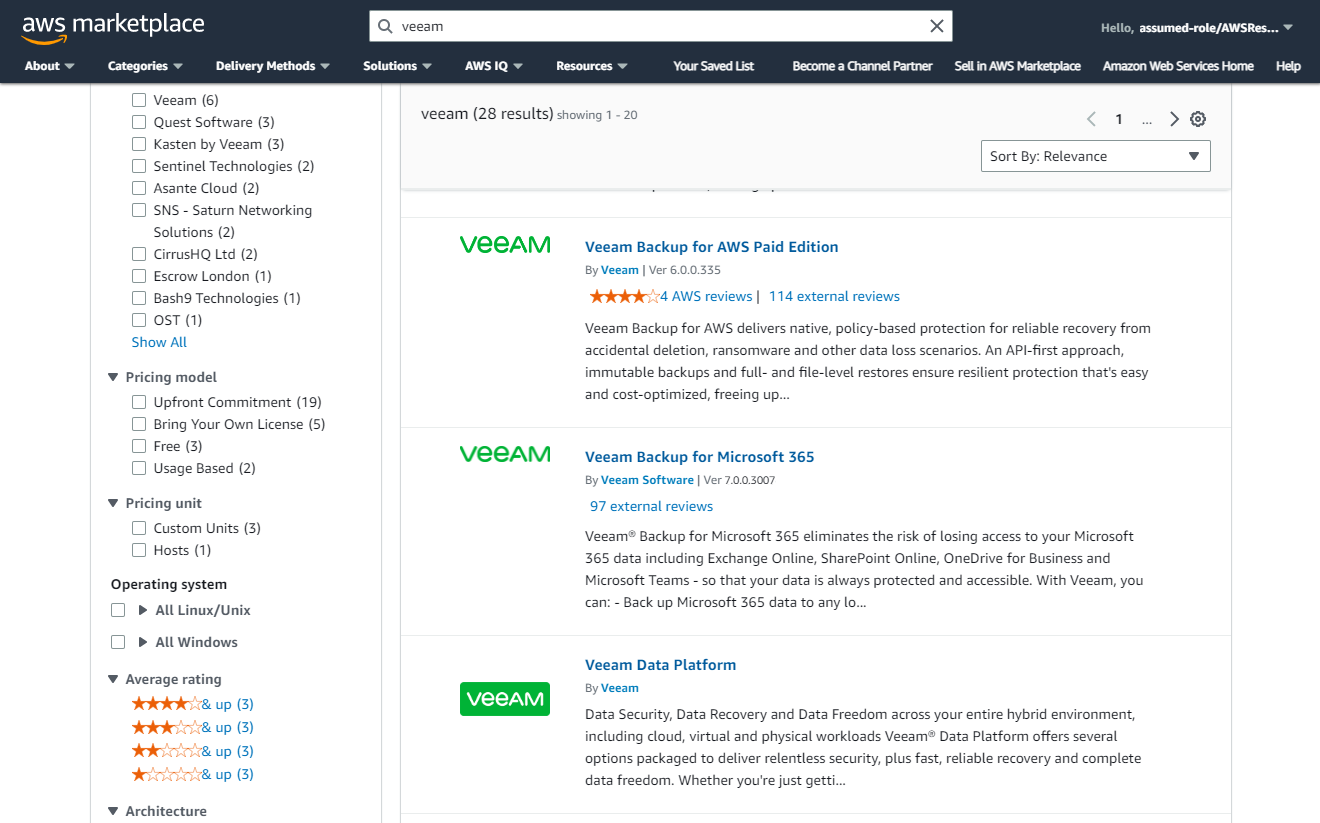
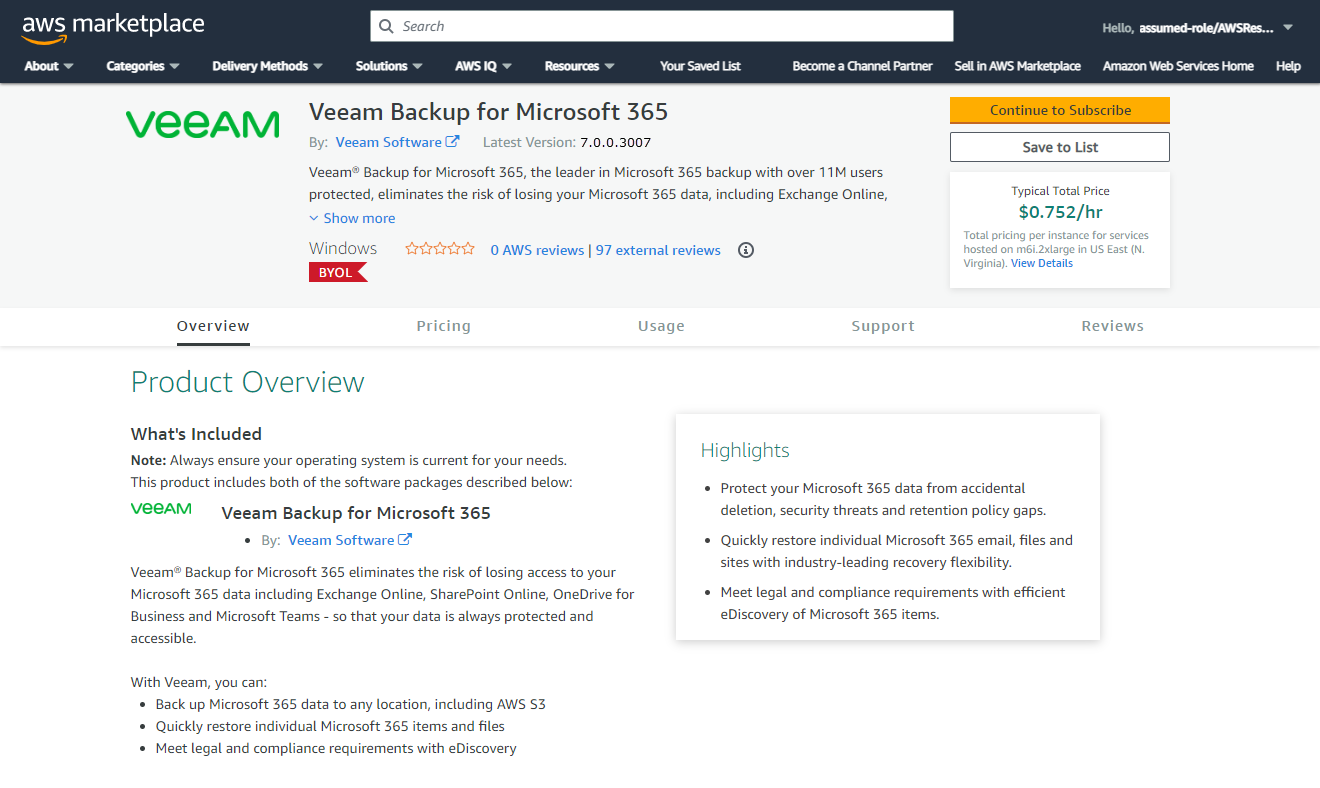
- Search for the Veeam Backup for Microsoft 365 offer in the AWS Marketplace and open its overview page.
- Click Continue to Subscribe.
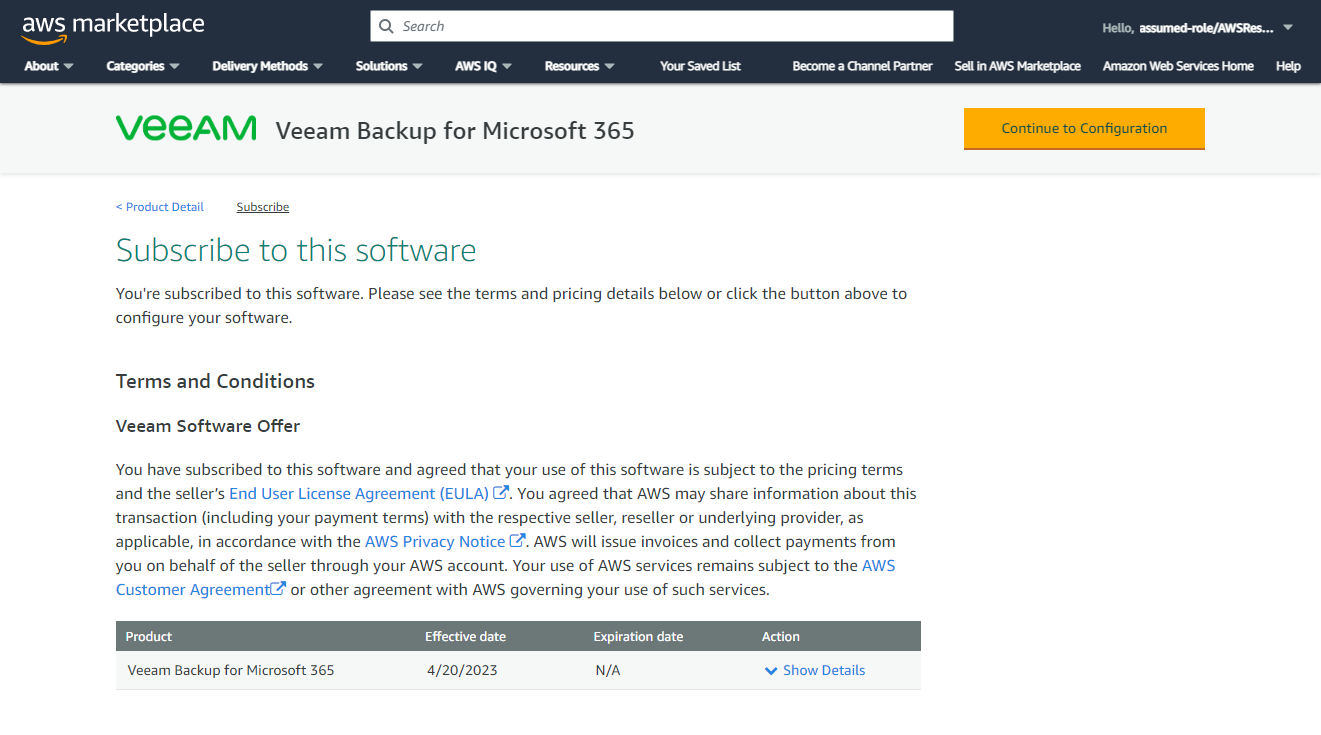
- On the Subscribe to this software page, in the Terms and Conditions section, click Accept Terms.
- Wait until the Effective date and Expiration date are populated for the Veeam Backup for Microsoft 365 offer and click Continue to Configuration.
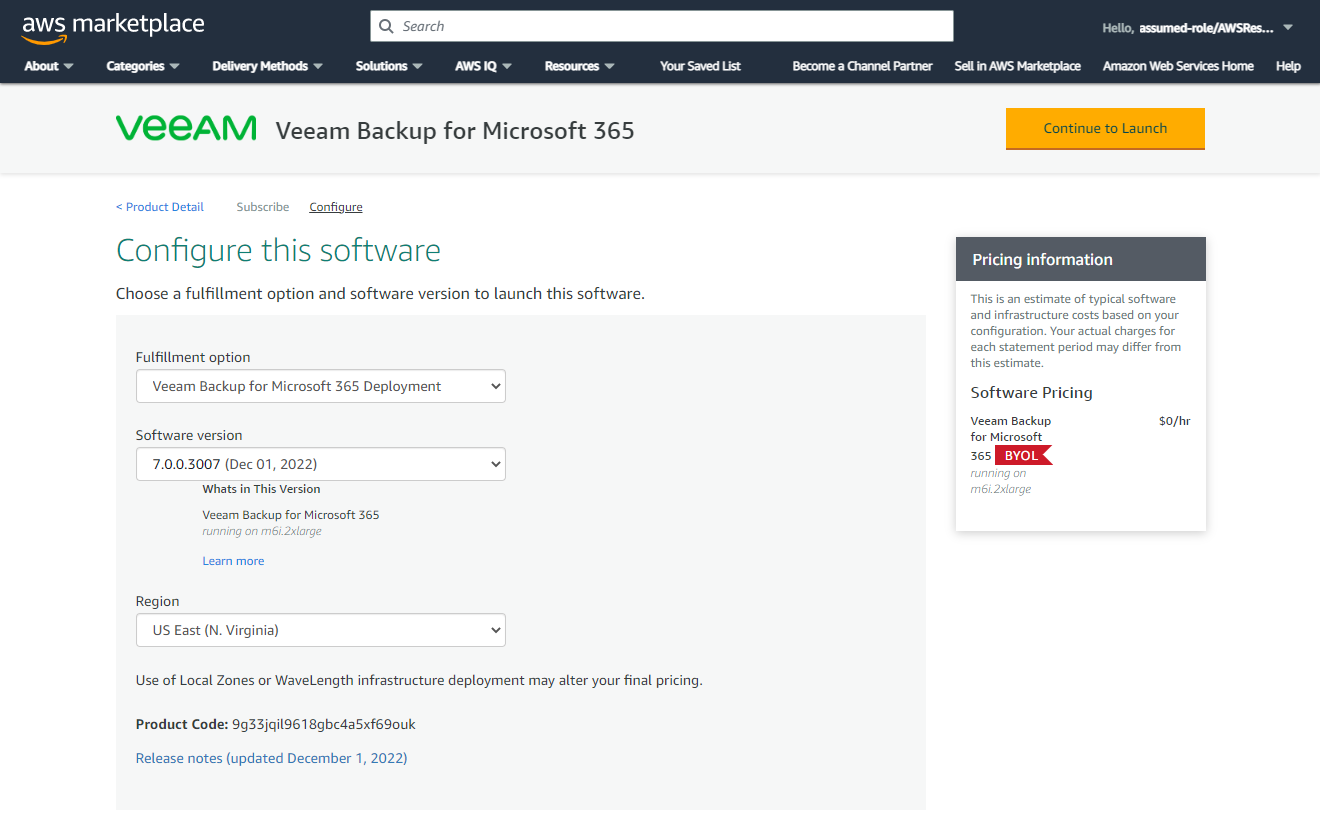
- From the Fulfillment option drop-down list, select Veeam Backup for Microsoft 365 Deployment.
- From the Software version drop-down list, select the latest version of Veeam Backup for Microsoft 365.
- From the Region drop-down list, select an AWS Region in which the EC2 instance running Veeam Backup for Microsoft 365 will reside.
For more information on AWS Regions, see AWS Documentation.
- Click Continue to Launch.
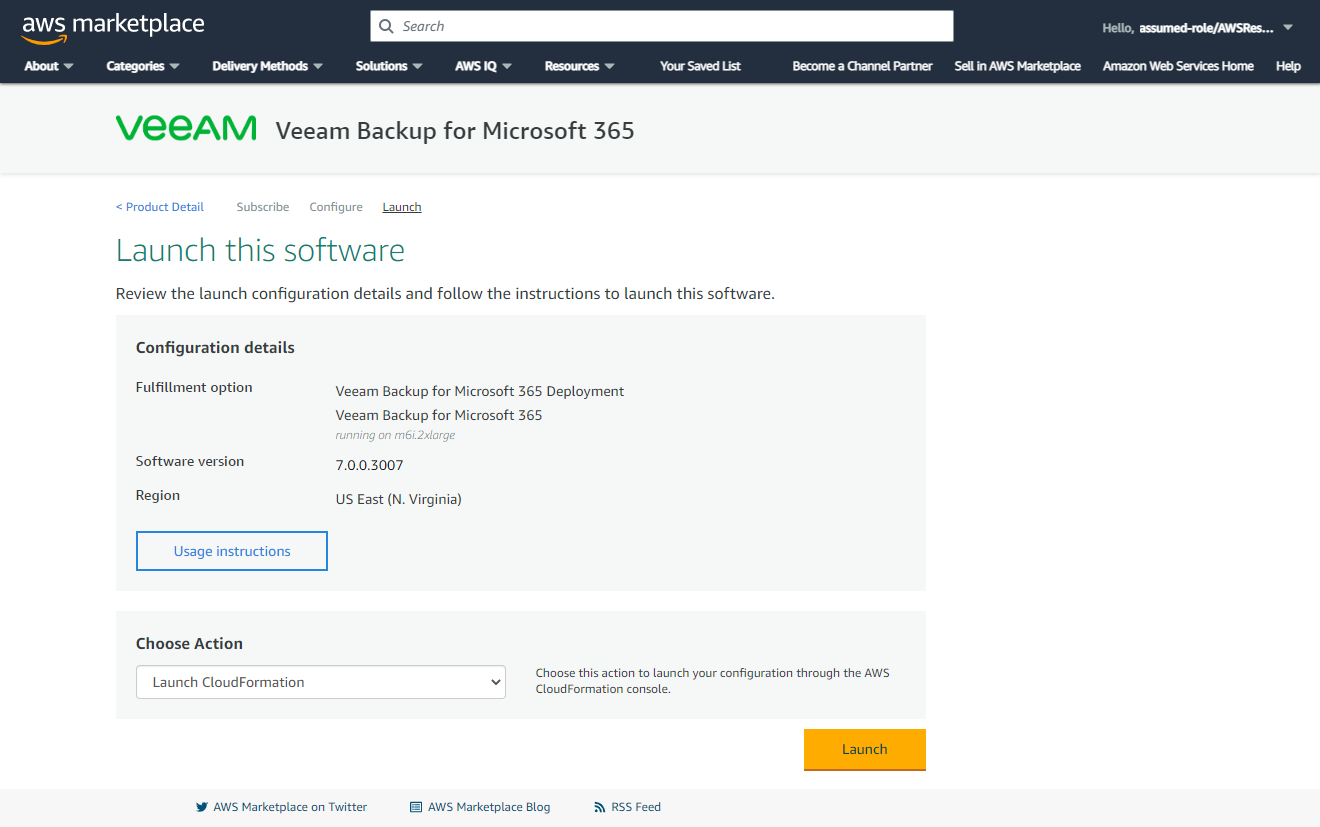
- On the Launch this software page, do the following:
- In the Configuration details section, review the product deployment settings.
- From the Choose Action drop-down list, select Launch CloudFormation.
- Click Launch.
The Create stack wizard will open.
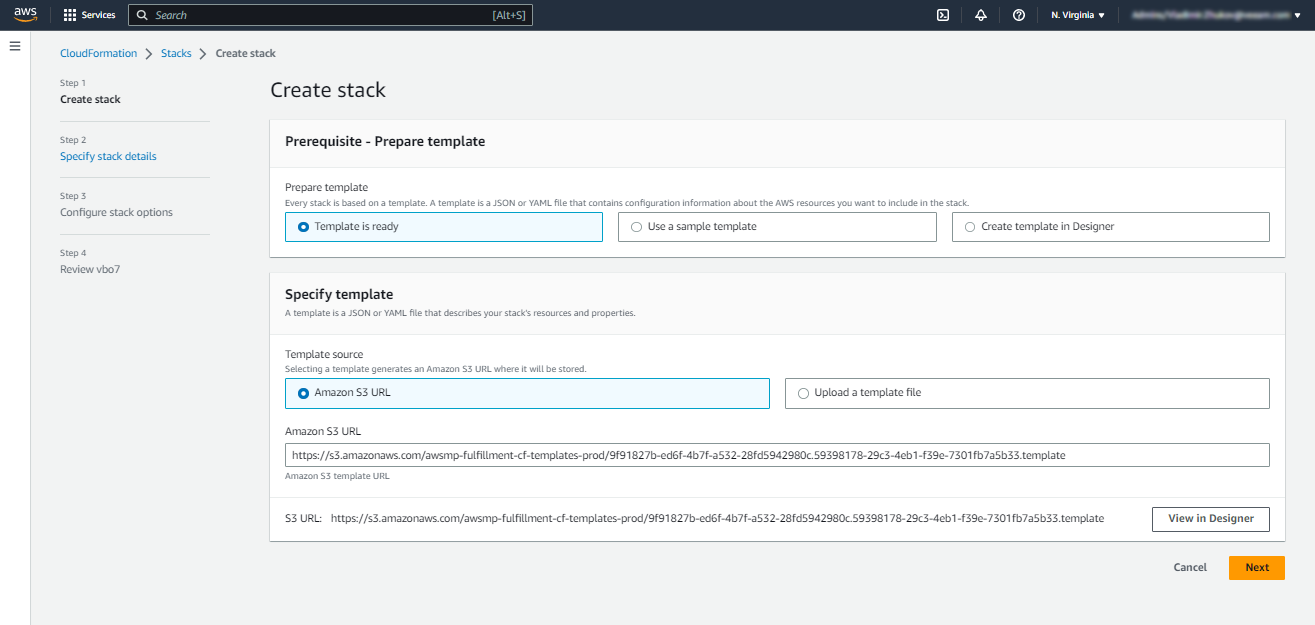
- At the Create stack step of the wizard, do the following:
- In the Prerequisite – Prepare template section, check that the Template is ready option is selected.
- In the Specify template section, check that the Amazon S3 URL option is selected.
- Click Next.
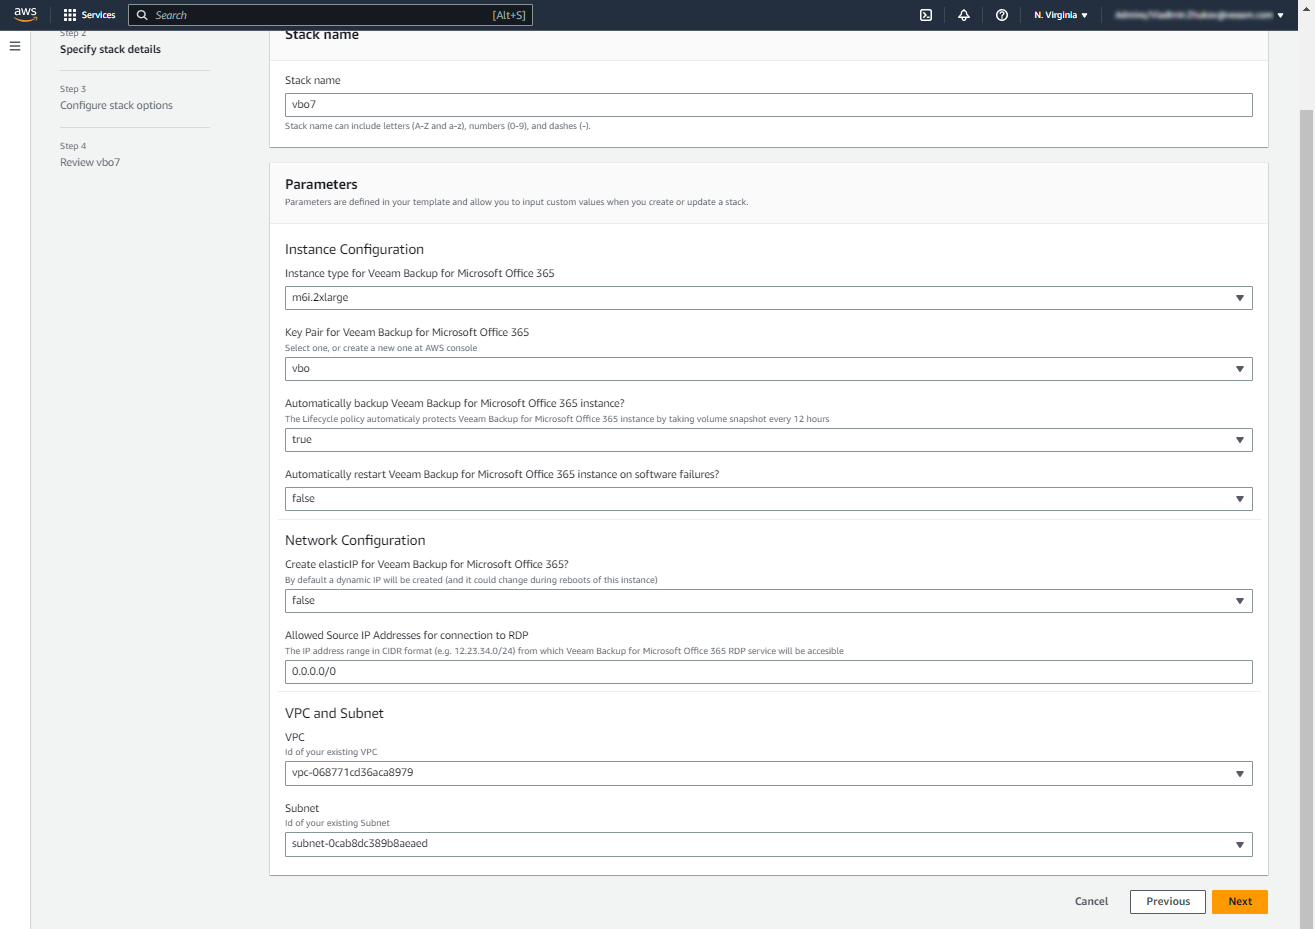
- At the Specify stack details step of the wizard, do the following:
- In the Stack name field, specify a name for the AWS CloudFormation stack where the Veeam Backup for Microsoft 365 instance will be deployed. The name of the stack will be applied to the EC2 instance as well.
- From the Instance type for Veeam Backup for Microsoft 365 list, select the type of the EC2 instance for Veeam Backup for Microsoft 365. The m6i.2xlarge instance type is recommended.
- From the Key Pair for Veeam Backup for Microsoft 365 list, select the encryption key pair that will be used to enable a secure connection to the Veeam Backup for Microsoft 365 instance. The key pair must be created in advance in the AWS Management Console. For information on how to create a new key pair, see AWS Documentation.
- From the Automatically restart Veeam Backup for Microsoft 365 instance on software failures? list, select false. This will to prevent the instance from restarting unexpectedly, for example, when a backup session is running.
- In the Allowed Source IP Addresses for connection to RDP, specify a range of IPv4 addresses from which you plan to connect to the Veeam Backup for Microsoft 365 instance over RDP.
- From the VPC and Subnet lists, select IDs of the Amazon VPC and subnet to which the Veeam Backup for Microsoft 365 instance will be connected. For more information on Amazon VPCs and subnets, see AWS Documentation.
- Click Next.
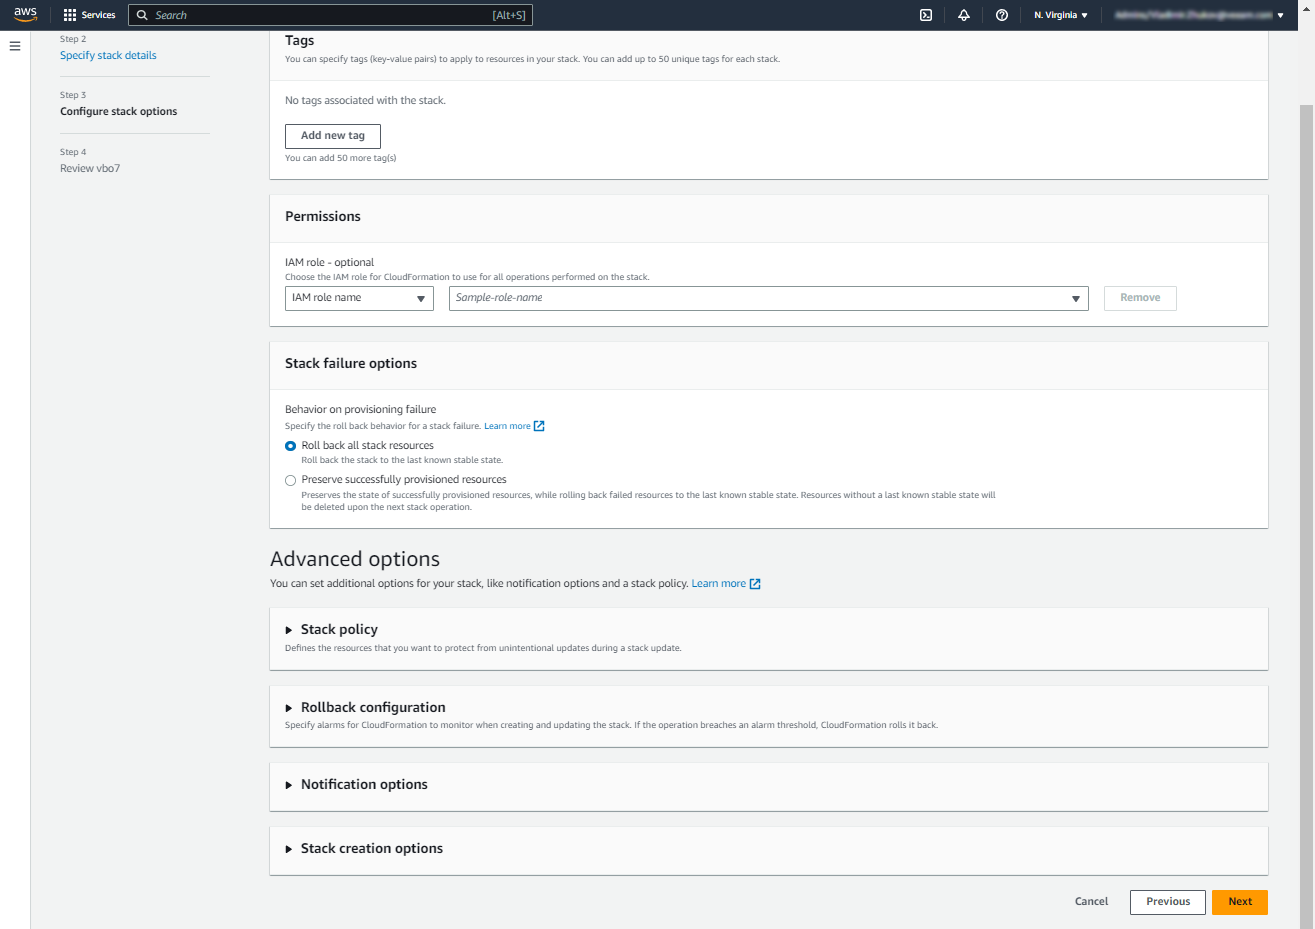
- At the Specify stack options step of the wizard, click Next.
You can also configure additional options for the created stack at this step of the wizard. For example, you may want to assign tags to the stack.
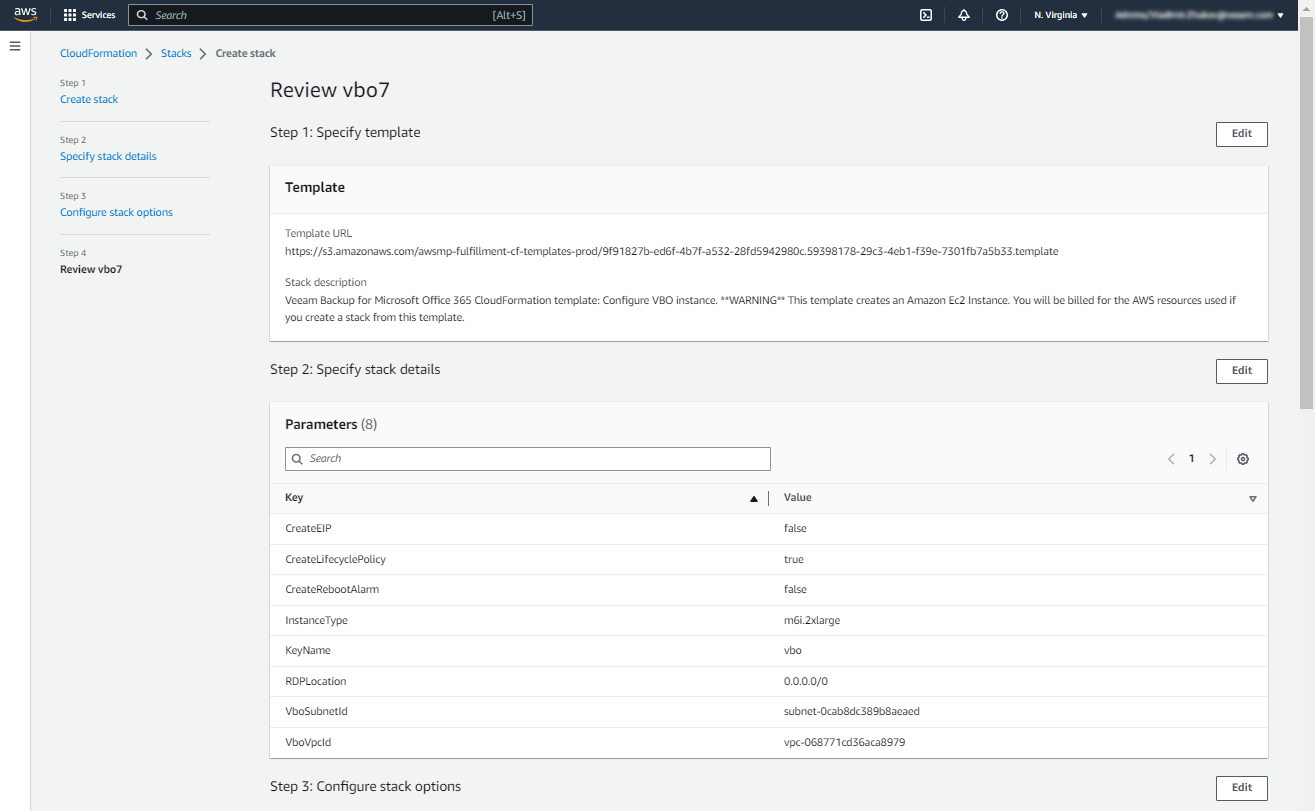
- At the Review <stack_name> step of the wizard, do the following:
- Review the configured stack settings.
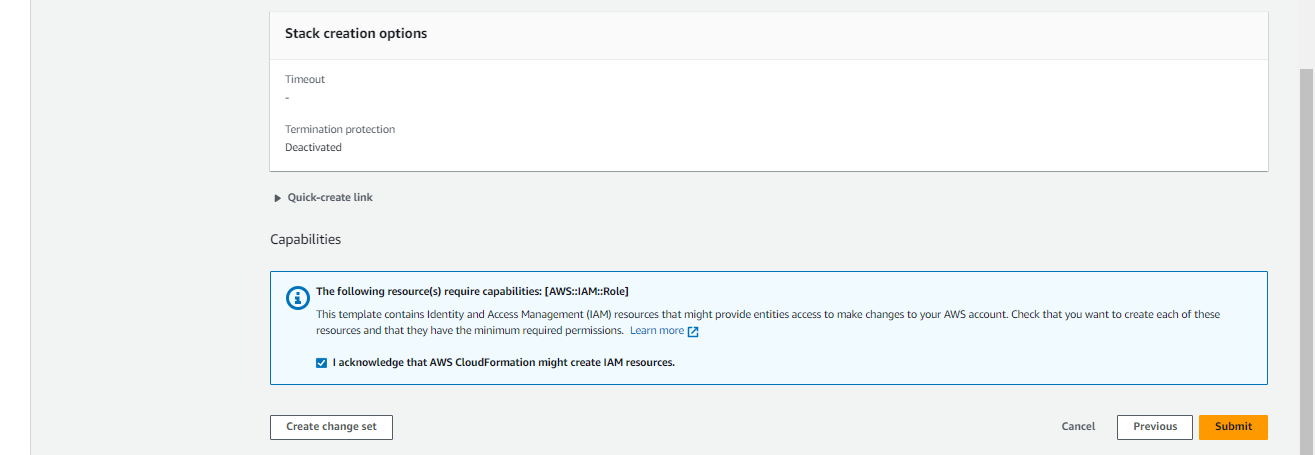
- Select the I acknowledge that AWS CloudFormation might create IAM resources check box.
- Click Submit.
The stack creation process will start, and the CloudFormation > Stacks > <stack name> page of the AWS Managemnent Console will open.
- Wait for the stack to be created. Once this operation is competed, the CREATE_COMPLETE status will be displayed next to the ID of the stack on the Events tab.
- To enable connection to the EC2 instance deployed with the stack, do the following:
- In the AWS Managemant Console, right-click the EC2 instance with Veeam Backup for Microsoft 365 and select Connect.
- On the Connect to instance page, open the RDP client tab and click Get password.
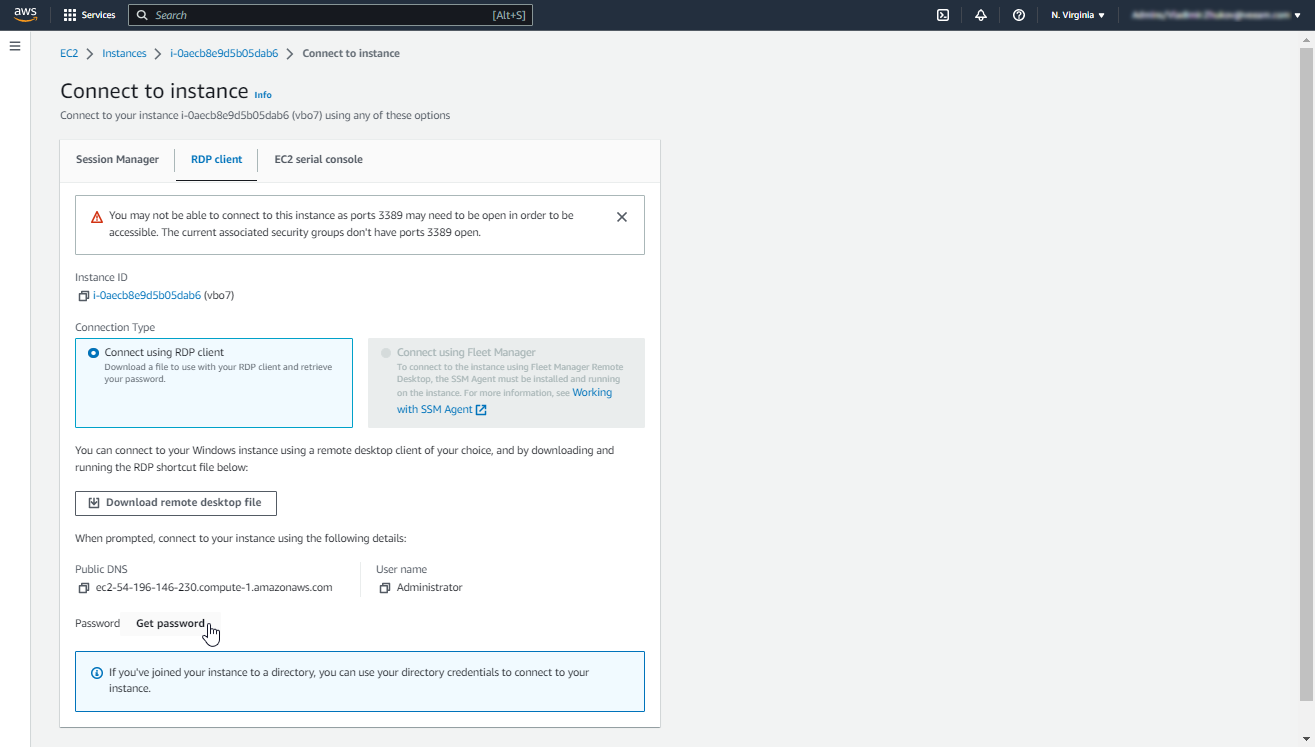
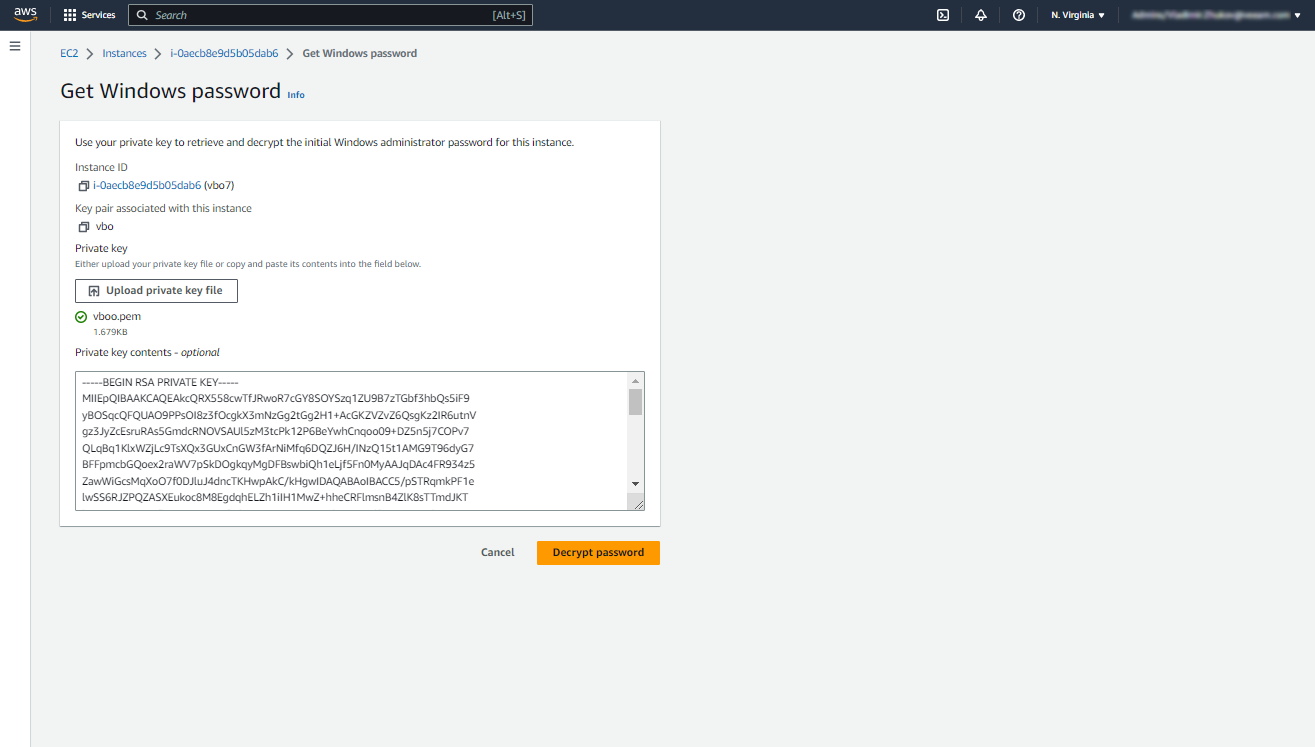
- On the Get Windows password page, upload the private key file for the key pair that you specified when creating the AWS CloudFormation stack with Veeam Backup for Microsoft 365 and click Decrypt password.
The password to connect to the instance will be displayed.
For more information on how to connect to Windows-based EC2 instances, see AWS Documentation.
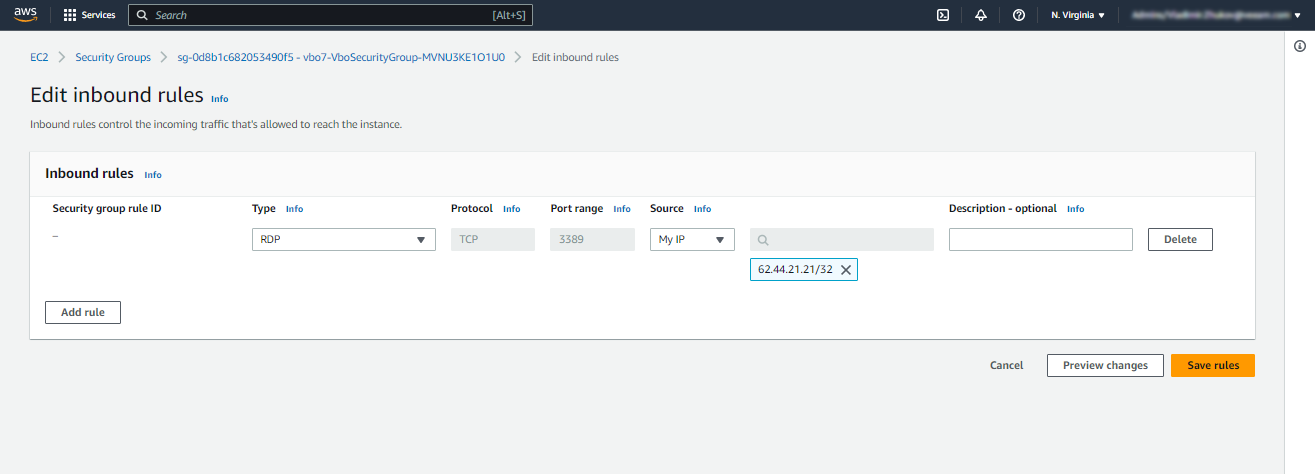
- In the AWS Management Console, in the properties of the security group associated with the EC2 instance, create an inbound rule to allow RDP traffic to the instances. For more information, see AWS Documentation.
Right after installation, you must perform a number of additional actions for the product configuration. For more information, see After You Install.
