Restoring VM Virtual Disks
Veeam Backup & Replication allows you to recover individual virtual disks of a VMware vSphere VM. Recovered virtual disks can be attached to the original VM or to any other VM. This recovery option can be helpful if a VM virtual disk becomes corrupted.
You can restore VM virtual disk to the latest state or any valid restore point. You can preserve the format of a recovered virtual disk or convert it to the thin or thick provisioned disk format.
|
Note: |
|
Restore of VM virtual disks is not available for Microsoft Hyper-V VMs. |
Before You Begin
Before you restore VM virtual disks from a backup, consider the following:
- You can restore virtual disks from a backup that has at least one successfully created restore point.
To check whether restore points are created, open the inventory pane of the Home view and select the Backups node. Then, expand the backup job and verify that there is at least one restore point available for the VM.
- During the virtual disk restore, Veeam Backup & Replication turns off the target VM (the VM to which you plan to attach the restored virtual disk) to reconfigure its settings and connect restored disks. It is recommended that you stop all activities on the target VM for the restore period.
Restoring Virtual Disks
To restore a VM virtual disk and attach it to another VM as a new drive, do the following:
- Open the Home view.
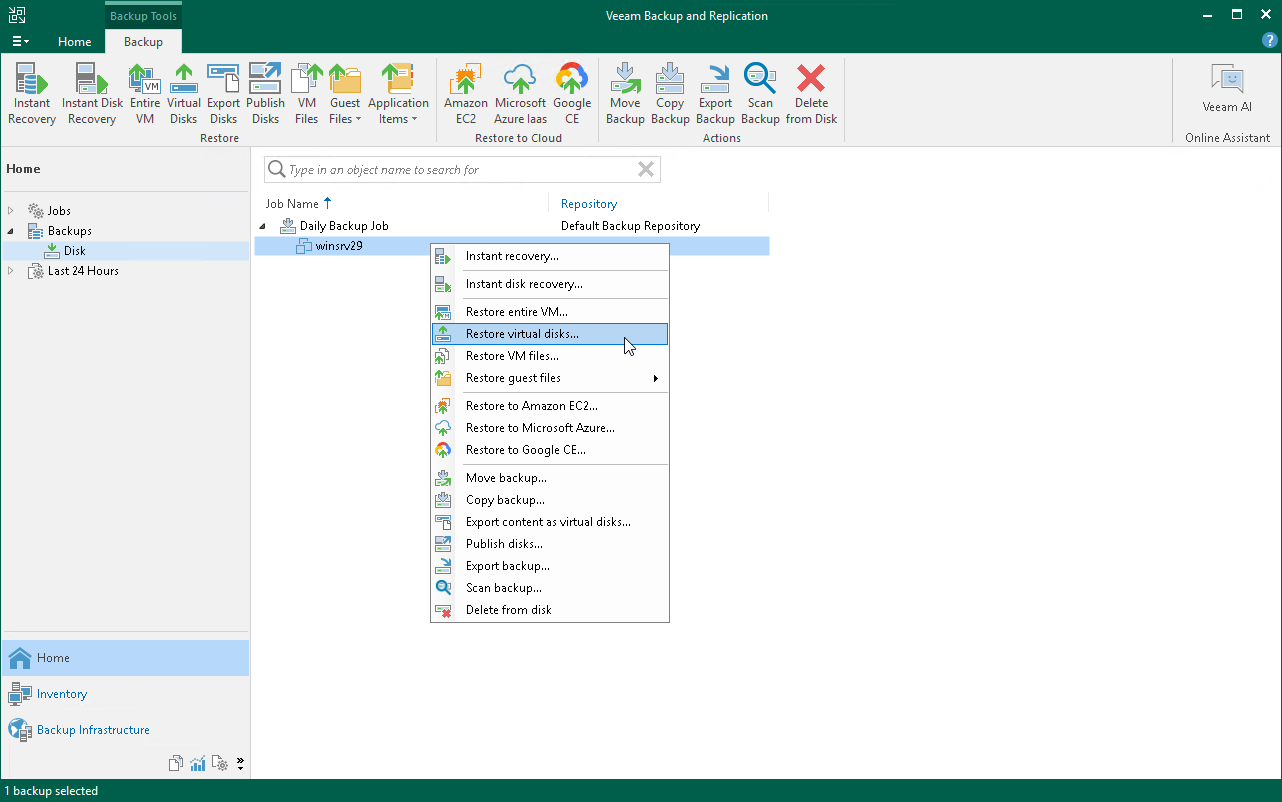
- In the inventory pane, select the Backups > Disk node. Expand the backup job in the working area, right-click a VM and select Restore virtual disks > VMware vSphere to launch the Virtual Disk Restore wizard.
- At the Restore Point step of the wizard, select a restore point.
If you select an incremental restore point, Veeam Backup & Replication automatically restores data blocks from the full backup file and the chain of incremental backup files.

- At the Disk Mapping step of the wizard, do the following:
- Click Browse and select the VM to which the restored hard disk must be attached.
- Select the virtual hard disk that you want to restore.
- To change the disk format, select the required option from the Restored disk type list: same as the original disk, thin or thick (lazy or eager zeroed).
- Select the VM disk in the list and click Change. From the Virtual device node list, select a node that is not occupied yet. Click OK.

- At the Secure Restore step of the wizard, enable scanning of the machine or leave the default setting.
If secure restore is enabled, Veeam Backup & Replication uses antivirus software to scan machine data before restoring the machine to the production environment. For details, see the Secure Restore section in the Veeam Backup & Replication User Guide.
- At the Reason step of the wizard, specify the reason for restoring.
- At the last step of the wizard, select the Power on VM after restoring check box and click Finish.
Reference
For more information on restoring virtual disks, see the Virtual Disks Restore section in the Veeam Backup & Replication User Guide.