This is an archive version of the document. To get the most up-to-date information, see the current version.
Step 4. Specify Target Server
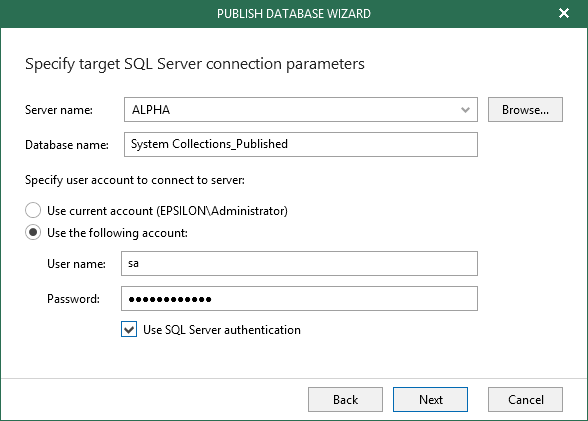
At this step of the wizard, do the following:
- In the Server name field, specify a target SQL server name/SQL server instance/SQL cluster to which you want to restore your database.
Use the server_name\instance format. You can select a server/instance/cluster from the drop-down list or use the Browse button on the left, as described in Browsing for Servers.
- In the Database name filed, specify a new name under which you want to publish your database.
Consider that if you leave the original database name, Veeam Explorer for Microsoft SQL Server will overwrite the associated database on the target server.
- Under the Specify user account to connect to server section, select either of the following options:
- User current account. To use the current account under which Veeam Explorer for Microsoft SQL Server is running.
- User the following account. To use a custom account.
Make sure the account you are using has been granted the sysadmin role on the target server.
- Select the Use SQL Server authentication check box to use SQL authentication.
|
Make sure that the administrative share (i.e., \\myserver\ADMIN$) on a target machine is available; Read and Write are minimum required, Full Control is recommended. |
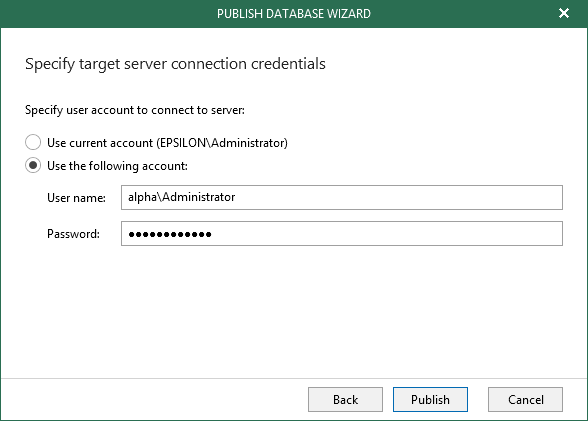
When selecting the Use SQL Server authentication check box and providing a SQL server account, you will be asked to provide a target server account in the next step, as shown below.
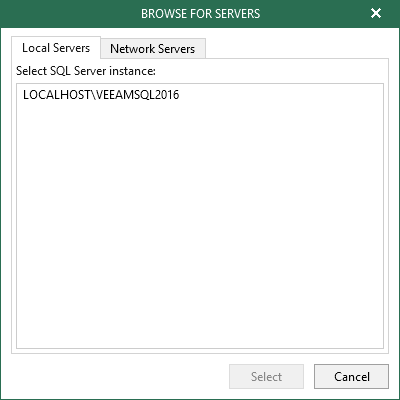
To browse for a server to which you want to restore your databases, do the following:
- On the Local Servers tab, select a local SQL server/instance/cluster that is located on a machine with Veeam Explorer for Microsoft SQL Server.
- On the Network Server tab, select a SQL server/instance/cluster over the network.