 This is an archive version of the document. To get the most up-to-date information, see the current version.
Updating Veeam Service Provider Console
Veeam Service Provider Console supports in-place upgrade that preserves settings and configuration of the previous version. You can upgrade product components if you run Veeam Service Provider Console version 3.0.
Note: |
If you run Veeam Availability Console version 2.0 or 2.0 Update 1, you must first perform an upgrade of all Veeam Availability Console components to version 3.0. For details on Veeam Availability Console upgrade, see Updating Veeam Availability Console. For details on upgrading management agents, see Upgrading Management Agents. |
Prerequisites
Before you begin the installation process:
- Perform backup of the Microsoft SQL Server configuration database used by Veeam Service Provider Console, so that you can go back to the previous version in case of issues with the upgrade.
- Make sure that there is enough space provided for Microsoft SQL Server configuration database upgrade. For details on database sizing, see Recommendations for Large-Scale Environments.
- Make sure that versions of Veeam Cloud Connect, Veeam Backup & Replication and Veeam backup agents in the Veeam Service Provider Console infrastructure are supported in version 4.0. For details on version compatibility, see System Requirements.
- Make sure that all active Veeam Service Provider Console Web UI sessions are closed.
If you deployed Veeam Service Provider Console using a distributed installation scenario, you must first update the Server component, and then the Web UI component.
Updating Veeam Service Provider Console
To update Veeam Service Provider Console to version 4.0, perform the following steps:
- Download the latest version of Veeam Service Provider Console installation image from www.veeam.com/downloads.html.
- Log on as Administrator to the machine where Veeam Service Provider Console server component is installed.
- Mount the installation image using disk image emulation software or burn the downloaded image to a CD/DVD.
If you are installing Veeam Service Provider Console on a VM, use built-in tools of the virtualization management software to mount the installation image to the VM.
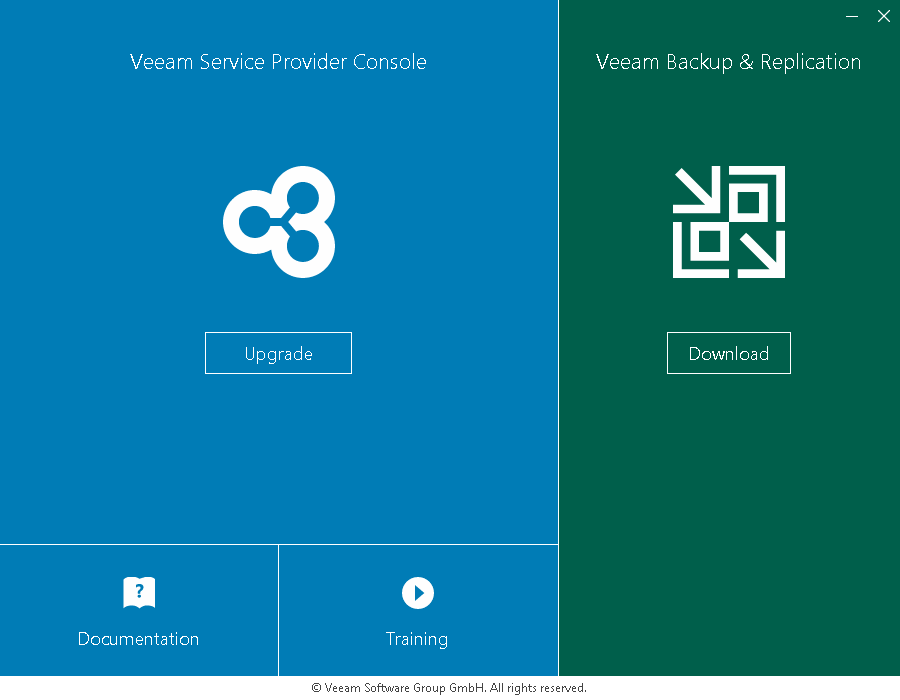
- Run the Setup.exe file from the image to launch the setup splash screen.
- On the splash screen, click the Upgrade tile to launch the Veeam Service Provider Console Setup wizard.
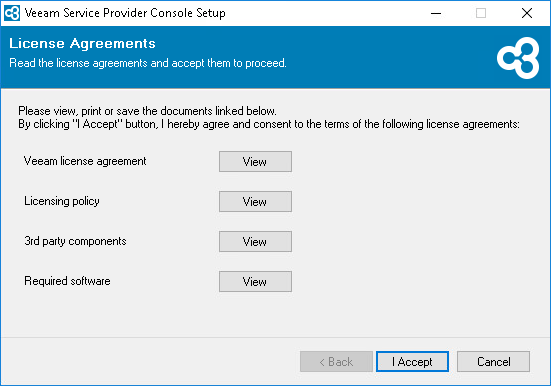
- At the License Agreement step of the wizard, read and accept the Veeam license agreement and 3rd party components license agreement.
If you do not accept the license agreement terms, you will not be able to continue the installation.
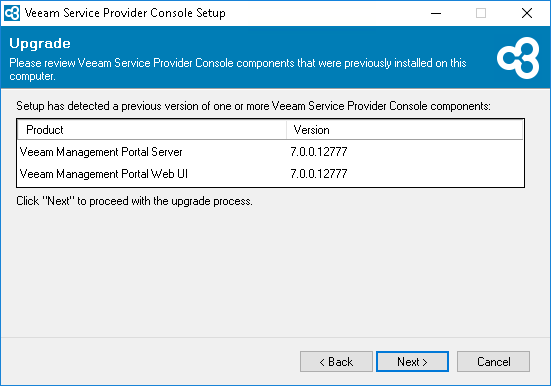
- At the Upgrade step of the wizard, review the components to upgrade.
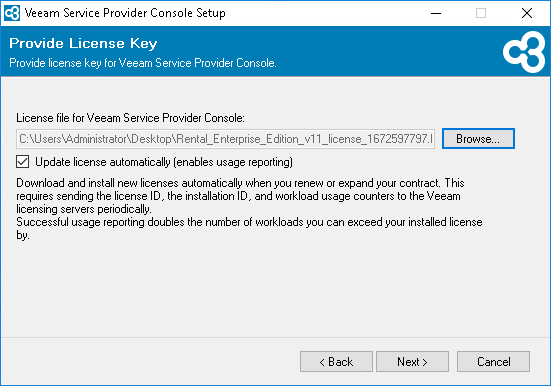
- At the Provide License Key step of the wizard, click Browse and point to the license file.
For details on license requirements, see section Licensed Objects of the Veeam Service Provider Console Guide for Service Providers.
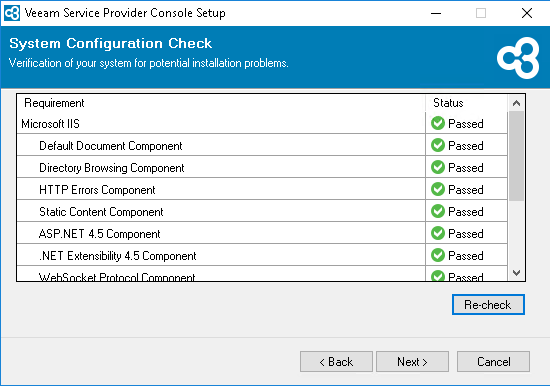
- At the System Configuration Check step of the wizard, check what prerequisite software is missing.
Before proceeding with the upgrade, the installer will perform system configuration check to determine if all prerequisite software is available on the machine. To learn what software is required for Veeam Service Provider Console, see System Requirements.
If some of the required software components are missing, the setup wizard will offer you to install the missing software components and enable missing features automatically. To install the missing software components and enable missing features automatically, click the Install button.
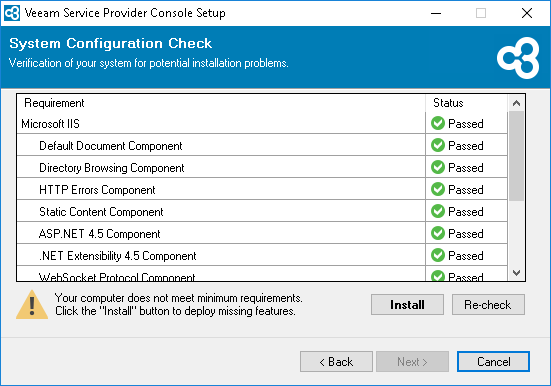
You can cancel automatic software installation. In this case, you will need to install the missing software components and enable missing features manually (otherwise, you will not be able to proceed to the next step of the setup wizard). After you install and enable all required software components, click Re-check to repeat the system configuration check.
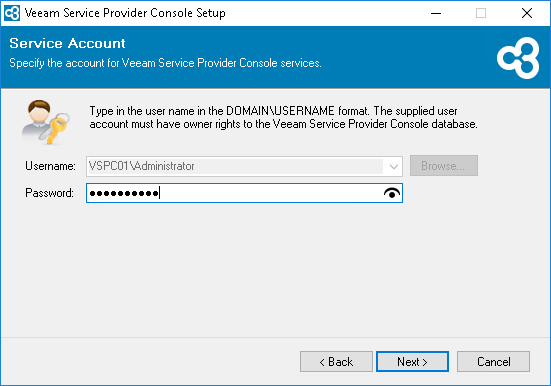
- At the Service Account step of the wizard, specify password for the account under which Veeam Service Provider Console services run.
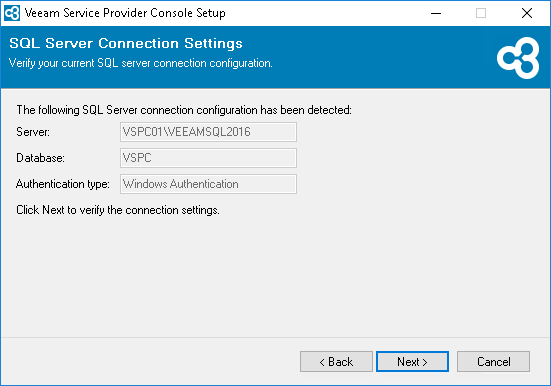
- At the SQL Server Connection Settings step of the wizard, check settings of a connection to Microsoft SQL Server instance and Veeam Service Provider Console database.
- At the Ready to Install step of the wizard, click Install to begin Veeam Service Provider Console upgrade.
- When update completes:
- Make sure all management agents are up-to-date.
For details on management agents upgrade, see section Upgrading Management Agents of the Veeam Service Provider Console Guide for Service Providers.
- Update managed Veeam backup agents.
For details, see section Updating Veeam Backup Agents of the Veeam Service Provider Console Guide for Service Providers.
- Collect data from Veeam Cloud Connect and Veeam Backup & Replication servers.
For details on data collection, see section Collecting Data of the Veeam Service Provider Console Guide for Service Providers.
Important! |
After upgrade completes, Veeam Service Provider Console will do the following:
For large-scale deployments, we recommend to shrink a database using SQL Server Management Studio. For details, see Microsoft documentation. |