Installing Server Component
To install the Veeam Service Provider Console Server component:
- Log on as Administrator to the machine where you want to install the Veeam Service Provider Console Server component.
- Mount the installation image using disk image emulation software or burn the downloaded image to a CD/DVD.
If you are installing Veeam Service Provider Console on a VM, use built-in tools of the virtualization management software to mount the installation image to the VM.
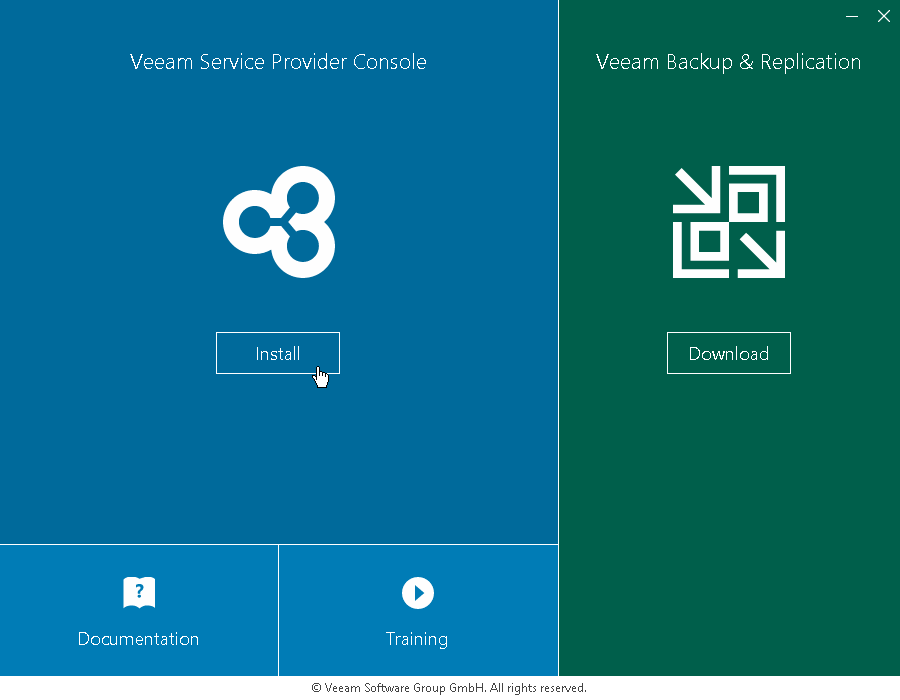
- Run the Setup.exe file from the image to launch the setup splash screen.
- On the splash screen, click the Install tile to launch the Veeam Service Provider Console Setup wizard.
|
Note: |
|
The installer will verify what version of .NET Framework is currently present on the machine. If the required version is not found, the installer will prompt to automatically install .NET Framework that is included with the Veeam Service Provider Console installer. After installing .NET Framework, you may need to reboot the machine, and then continue with installation. |
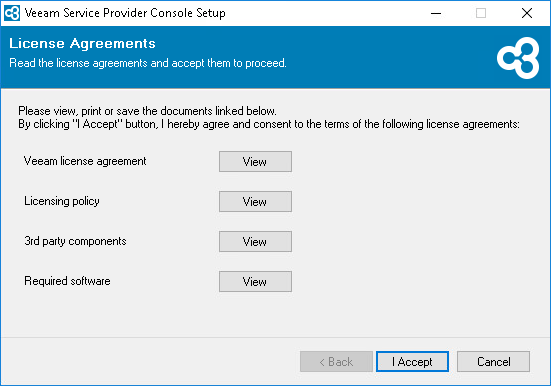
- At the License Agreements step of the wizard, read and accept the Veeam license agreement, Veeam licensing policy, 3rd party components license agreement and required software license agreement.
If you do not accept the license agreement terms, you will not be able to continue the installation.
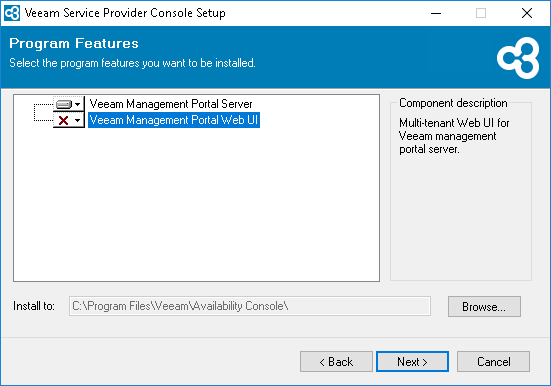
- At the Program Features step of the wizard, choose to install Veeam Service Provider Console Server only.
If necessary, you can change the installation directory at this step.
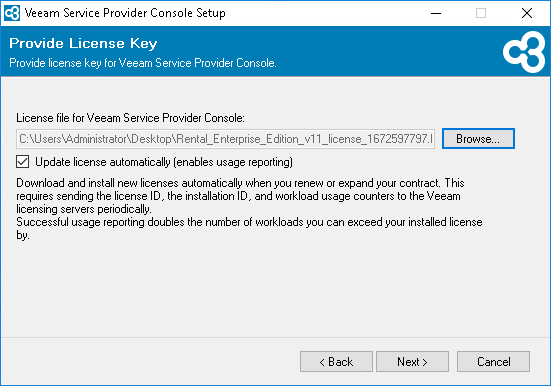
- At the Provide License Key step of the wizard, click Browse and point to the license file.
To install new licenses automatically when you renew or expand your contract, select the Update license automatically check box. If you enable the automatic license update, and therefore enable usage reporting, you will double the number of workloads by which you can exceed your installed license. For more information, see section Exceeding License Limit of the Guide for Service Providers.
Note that for Evaluation and NFR licenses automatic license update must be enabled. For details on license types, see section License Types of the Guide for Service Providers.
For details on license requirements, see section Licensed Objects of the Guide for Service Providers.
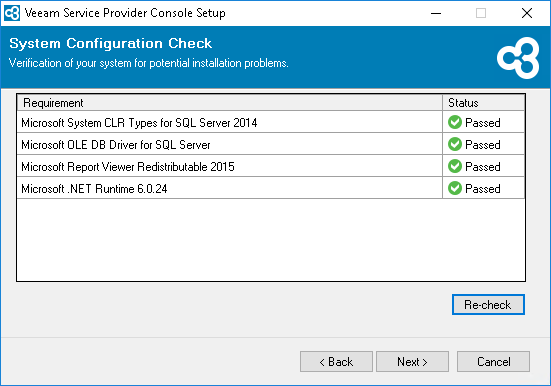
- At the System Configuration Check step of the wizard, check what prerequisite software is missing.
Before proceeding with the installation, the installer will perform system configuration check to determine if all prerequisite software is available on the machine. To learn what software is required for Veeam Service Provider Console, see Veeam Service Provider Console Release Notes.
If some of the required software components are missing, the setup wizard will offer you to install the missing software components and enable missing features automatically. To install the missing software components and enable missing features automatically, click the Install button.
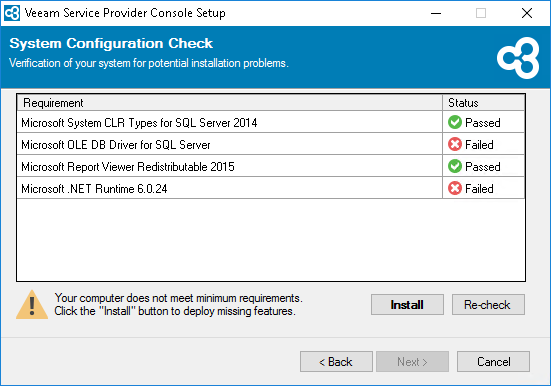
You can cancel automatic software installation. In this case, you will need to install the missing software components and enable missing features manually (otherwise, you will not be able to proceed to the next step of the setup wizard). After you install and enable all required software components, click Re-check to repeat the system configuration check.
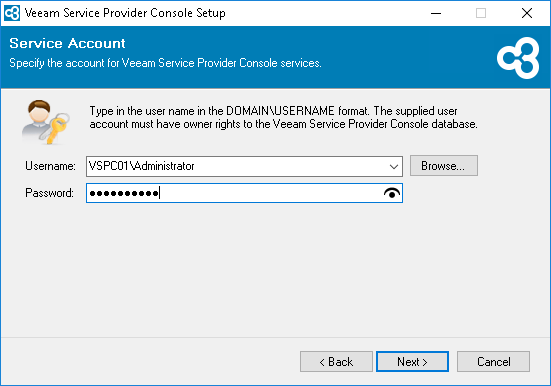
- At the Service Account step of the wizard, type credentials of the account under which Veeam Service Provider Console services will run.
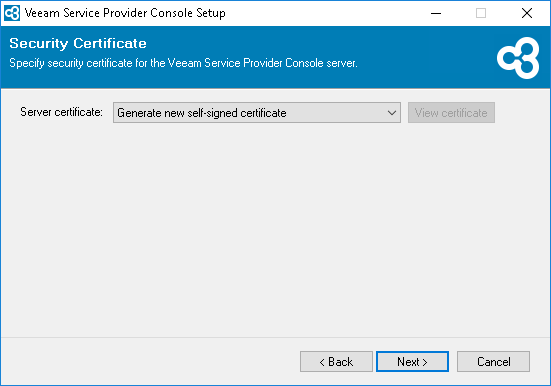
- At the Security Certificates step of the wizard, select certificate that will be used to establish secure connection with Veeam Service Provider Console Server component.
For details on security recommendations and certificates, see Veeam Service Provider Console Certificates.
- At the Infrastructure size step of the wizard, select the size of infrastructure that you plan to manage with Veeam Service Provider Console:
- Evaluation — select this option if you plan to manage not more than 250 Veeam backup agents and 1000 VMs.
With this option selected, you will be offered to install Veeam Service Provider Console with the default settings. To specify custom installation settings, on the Default Configuration step of the wizard, select the Let me specify different settings check box. If you want Veeam Service Provider Console to automatically check for managed Veeam products updates, select the Allow Veeam Service Provider Console to check the latest versions of Veeam products check box. When a new product build is published on the Veeam update server, a notification will be displayed in Veeam Service Provider Console.
- Production — select this option if you plan to manage up to 15 000 Veeam backup agents and 250 000 VMs.

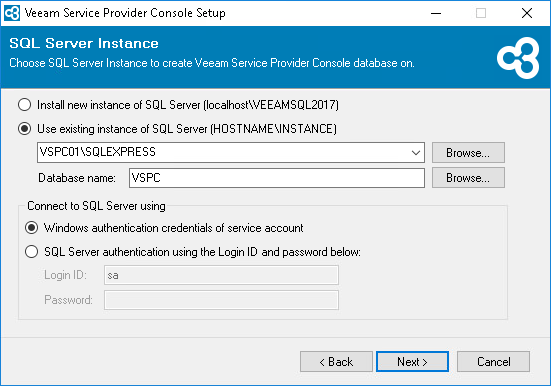
- At the SQL Server Instance step of the wizard, choose a Microsoft SQL Server instance that will host the Veeam Service Provider Console database.
- If you do not have a Microsoft SQL Server instance that you can use for Veeam Service Provider Console database, select the Install new instance of SQL Server option. This option is available if at the Infrastructure size step of the wizard you have selected Evaluation.
If this option is selected, the setup will install Microsoft SQL Server locally, on the machine where you are installing Veeam Service Provider Console, and will create a database with the default name VSPC.
|
Note: |
|
- If you want to use an existing local or remote Microsoft SQL Server instance, select the Use existing instance of SQL Server option and choose a local Microsoft SQL Server instance or browse to a Microsoft SQL Server instance running remotely. You can type the address of the Microsoft SQL Server manually or use the Browse button to choose among available remote instances.
If your Microsoft SQL Server instance uses dynamic ports to communicate with Veeam Service Provider Console Server, make sure to open these ports before installation.
In the Database name field, type the name of a database that will be created for Veeam Service Provider Console. You can also click the Browse button to choose an existing database.
Provide credentials of an account that will be used by Veeam Service Provider Console to access the database. You can specify credentials explicitly or use Windows authentication credentials of the Veeam Service Provider Console service account. For details on permissions required for the account, see Permissions.
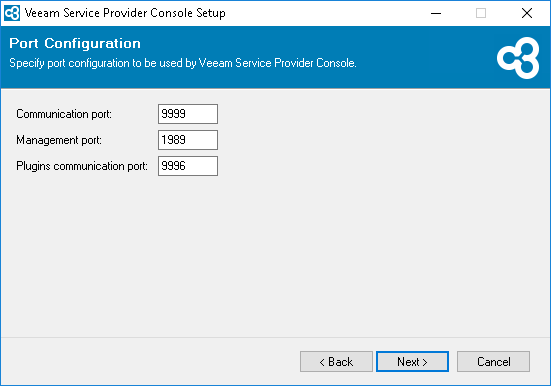
- At the Port Configuration step of the wizard, perform the following steps:
- In the Communication port field, type a number of the port on the Veeam Service Provider Console machine that will be used to collect data from cloud gateways and Veeam Cloud Connect server.
The default port number is 9999.
- In the Management port field, type a number of the port that the Veeam Service Provider Console Web UI component will use to communicate with the Server component.
The default port number is 1989.
- In the Plugins communication port field, type a number of the port that will be used to interact with ConnectWise Manage plugin.
The default port number is 9996.
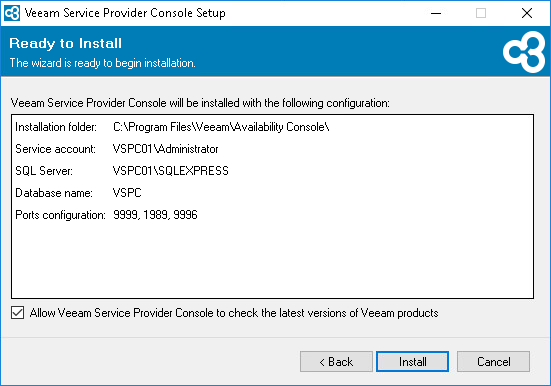
- At the Ready to Install step of the wizard, review the provided configuration settings and click Install.
If you want Veeam Service Provider Console to automatically check for managed Veeam products updates, select the Allow Veeam Service Provider Console to check the latest versions of Veeam products check box. When a new product build is published on the Veeam update server, a notification will be displayed in Veeam Service Provider Console. This option is available if at the Infrastructure size step of the wizard you have selected Production.
- After installation completes, click Finish to exit the wizard.