

In This Section
- Deployment Scenarios
- Installing Veeam Backup for Microsoft Office 365
- Installing Veeam Explorer for Microsoft Exchange
- Uninstalling the Program
Veeam Backup for Microsoft Office 365 can be installed on a physical or virtual machine. The tool can be downloaded from the Veeam website as a ZIP archive. This archive contains two versioned MSI files - one for Veeam Backup for Microsoft Office 365, and another for Veeam Explorer for Microsoft Exchange.
Important! |
If you have participated in the public beta of Veeam Backup for Microsoft Office 365, be sure to uninstall the pre-release versions of Veeam Backup for Microsoft Office 365 and Veeam Explorer for Microsoft Exchange, and delete the content of archive repository folder as well as C:\ProgramData\Veeam\Backup365 folder before running the setup. |
The following deployment scenarios can be implemented:
- If Veeam Backup & Replication 9.5 was deployed in your environment:
- Co-install the product with Veeam Backup & Replication 9.5 (server or stand-alone console). In this case, you will only need to install Veeam Backup for Microsoft Office 365, as Veeam Explorer for Microsoft Exchange is already present on the target machine as part of Veeam Backup & Replication.
- Install the product on a dedicated VM. In this case, you will need to install both components. Using a virtual machine can be recommended for compliance with DR policies, as you can easily backup it with Veeam. If you want to install the product on a dedicated physical machine, also consider creating regular backups of that machine (for example, using Veeam Agent for Windows, earlier known as Veeam Endpoint Backup).
- If Veeam Backup & Replication was not deployed in your environment, you can install two components of the product on either physical or virtual machines, either together or on different servers. Consider, however, that Veeam Backup for Microsoft Office 365 provides for automatic launch of Veeam Explorer for Exchange and automatic opening of selected database in it. If you want to use this capability, you should install both components together. For details, refer to the Exploring Backups section of this guide.
Installing Veeam Backup for Microsoft Office 365
- Download the ZIP archive from Veeam website, and unpack it to a folder of your choice.
- Run the Veeam Backup for Microsoft Office 365 setup.
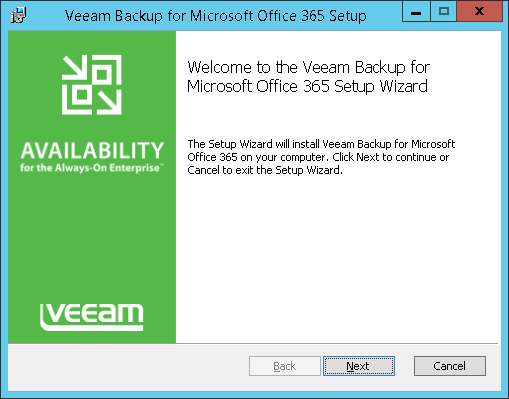
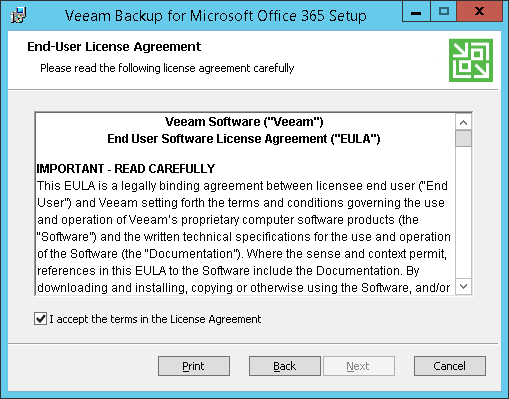
- At the License Agreement step of the wizard, you must accept the license agreement for the product. If you do not accept the license agreement, you will not be able to pass to next step of the setup wizard.
- Read the license agreement.
- Select the I accept the terms in the license agreement option and click Next.
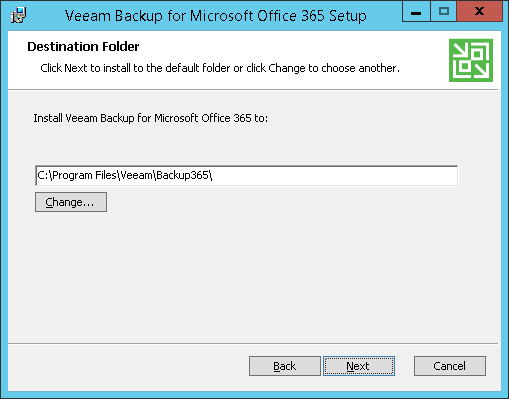
- By default, Veeam Backup for Microsoft Office 365 is installed to the C:\Program Files\Veeam\Backup365\ folder. To install to another location, at the Destination Folder step of the wizard, click Change, then in the Change Destination Folder window specify the destination folder you need.
- At the next step, click Install to begin the installation. (To get to the previous steps of the wizard, click Back; to quit the setup, use Cancel.) Wait for the installation process to complete and click Finish to close the setup wizard.
Installing Veeam Explorer for Microsoft Exchange
If you are using Veeam Backup for Microsoft Office 365 as a separate product (without Veeam Backup & Replication deployment), then you need to install Veeam Explorer for Microsoft Exchange:
- Run the Veeam Explorer for Microsoft Exchange setup.
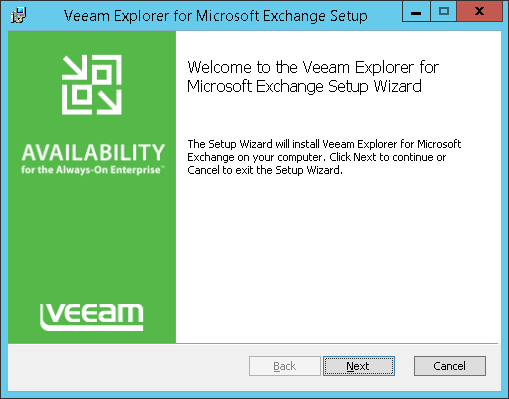
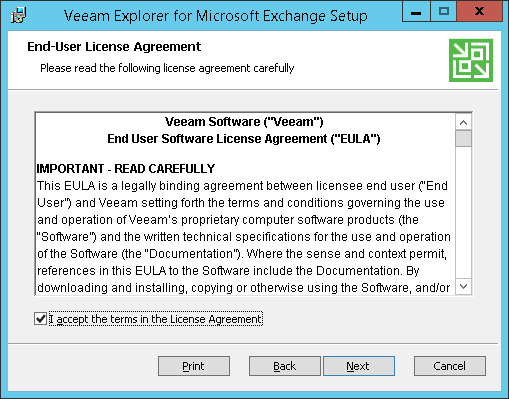
- At the License Agreement step of the wizard, accept the license agreement for the product.
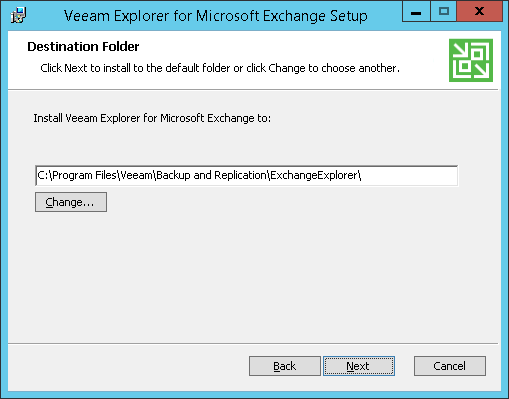
- By default, Veeam Explorer for Microsoft Exchange is installed to the C:\Program Files\Veeam\Backup and Replication\ExchangeExplorer\ folder. To install to another location, at the Destination Folder step of the wizard click Change, then in the Change Destination Folder window specify destination folder you need.
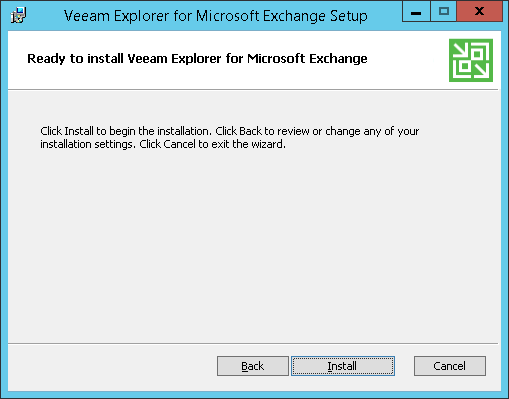
- At the next step, click Install to begin the installation. (To get to the previous steps of the wizard, click Back; to quit the setup, use Cancel.) Wait for the installation process to complete and click Finish to close the setup wizard.
To uninstall Veeam Backup for Microsoft Office 365:
- From the Start menu, select Control Panel > Programs and Features.
- In the programs list, select Veeam Backup for Microsoft Office 365 and click the Uninstall button.
- If you need to uninstall Veeam Explorer for Microsoft Exchange, go to the Start menu and select it from the list of applications, then use the Uninstall command.