Restoring VM Files
Veeam Backup & Replication can help you restore VM files. For example, your VM configuration file is missing and you need to restore it. Instead of restoring the entire VM image, you can restore a single VM file.
You can restore VM files to the latest state or any valid point in time. You can also restore them to the original or new location.
Before You Begin
Before you restore VM files from a backup, consider the following:
- You can restore VM files a backup that has at least one successfully created restore point.
To check whether restore points are created, open the inventory pane of the Home view and select the Backups node. Then, expand the backup job and verify that there is at least one restore point available for the VM.
- The server on which you plan to save the restored VM files must be added to the backup infrastructure.
Restoring VM Files
To recover VM files, do the following.
- Open the Home view.
- In the inventory pane, select the Backups > Disk node. Expand a backup job in the working area, right-click a VM and choose Restore VM files to launch the wizard.
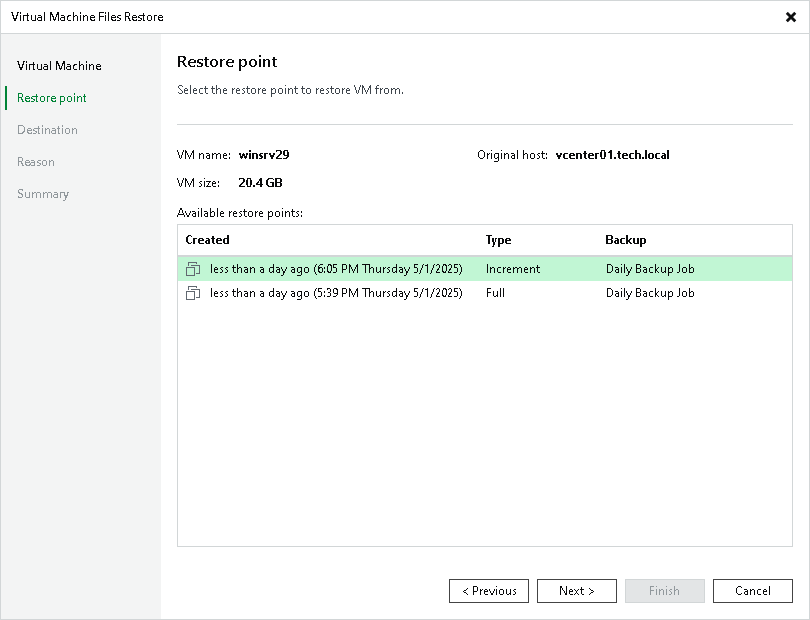
- At the Restore Point step of the wizard, select a restore point.
If you select an incremental restore point, Veeam Backup & Replication automatically restores data blocks from the full backup file and the chain of incremental backup files.

- At the Destination step of the wizard, do the following:
- In the Server list, select the server to which you want to restore VM files.
- In the Path to folder field, specify the path to the folder where you want to restore files.
- In the VM files to restore section, select the required files.
- At the Reason step of the wizard, specify the reason for restoring files.
- At the Summary step of the wizard, click Finish to restore the VM files.
Reference
For more information on restoring VM files, see the VM Files Restore (VMware vSphere) and VM Files Restore (Microsoft Hyper-V) sections in the Veeam Backup & Replication User Guide.
