This is an archive version of the document. To get the most up-to-date information, see the current version.
Step 2. Specify Company Details
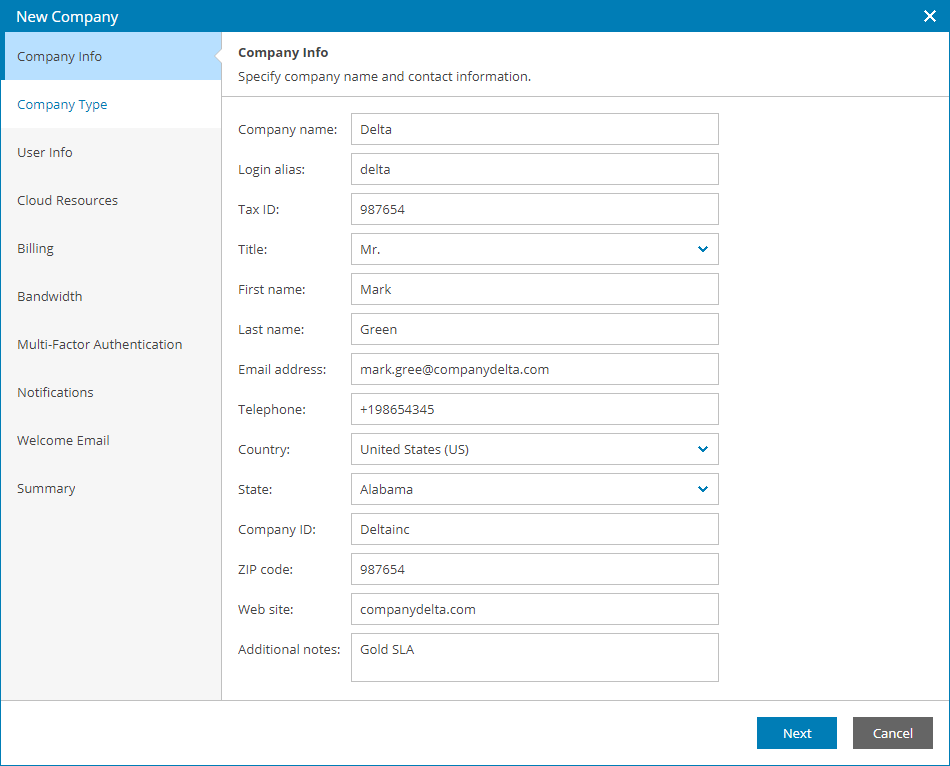
At the Company Info step of the wizard, specify general company details:
- In the Company name field, specify a company name.
- In the Login alias field, specify a short name for login to the backup portal.
- In the Tax ID field, type the company tax identification number.
- In the Title field, choose how to address a contact person in a company (Mr., Miss, Mrs., Ms.).
- In the First name and Last name fields, specify the first and last names of a contact person in a company.
The specified names will be assigned to the Company Owner.
- In the Email address field, specify a contact email address.
The email address will be assigned to the Company Owner and will be used to send to the client email notifications, such as welcome and alarm notifications.
- In the Telephone field, specify a contact phone number.
- In the Country list, choose a country where the company is located.
- [For United States] In the State list, choose a state where the company is located.
- In the Company ID field, type a company ID.
This field is used for integrating Veeam Service Provider Console with 3rd party systems. You can specify an ID that is assigned to the company in a 3rd party system, and synchronize company data between this 3rd party system and Veeam Service Provider Console through data export/import, using this ID.
- In the ZIP Code field, specify a postal code.
- In the Web site field, specify an URL of a company website.
- In the Additional notes field, type any additional details or comments.
The specified company name, tax ID, first and last name of the contact person, phone number, country and state will be displayed in invoices.