 This is an archive version of the document. To get the most up-to-date information, see the current version.
Installing Veeam Backup for Microsoft Azure
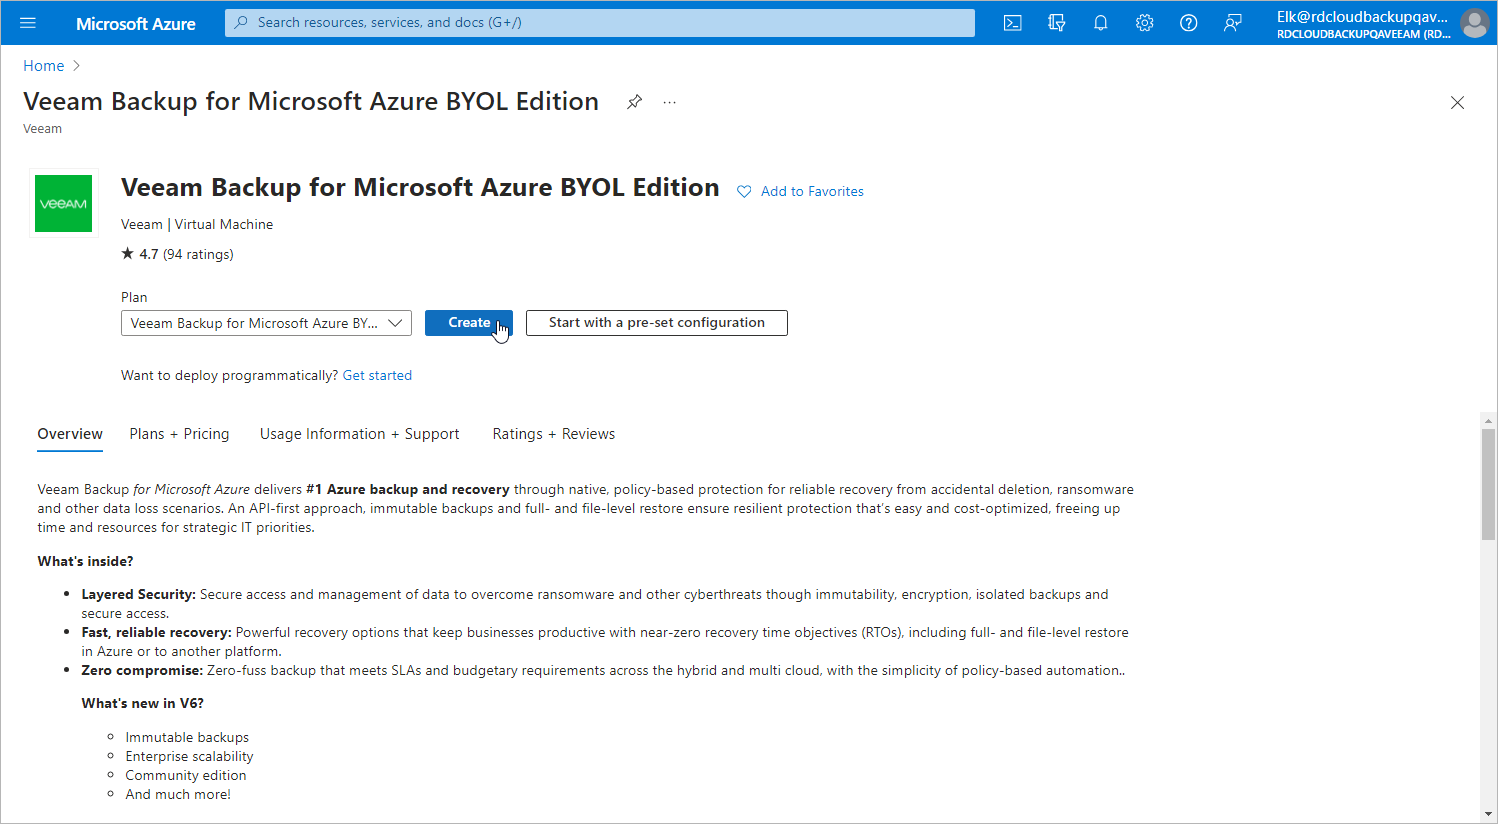
Veeam Backup for Microsoft Azure comes as an image of a Linux-based VM that you can install from Azure Marketplace.
To install Veeam Backup for Microsoft Azure, do the following:
- Open the Azure Marketplace portal.
- In the search field at the top, enter Veeam Backup for Microsoft Azure.
- Click Get It Now.
- Sign in to Microsoft Azure Marketplace.
- In the Create this app in Azure window, enter profile information and click Continue.
- On the Microsoft Azure portal, click Create.
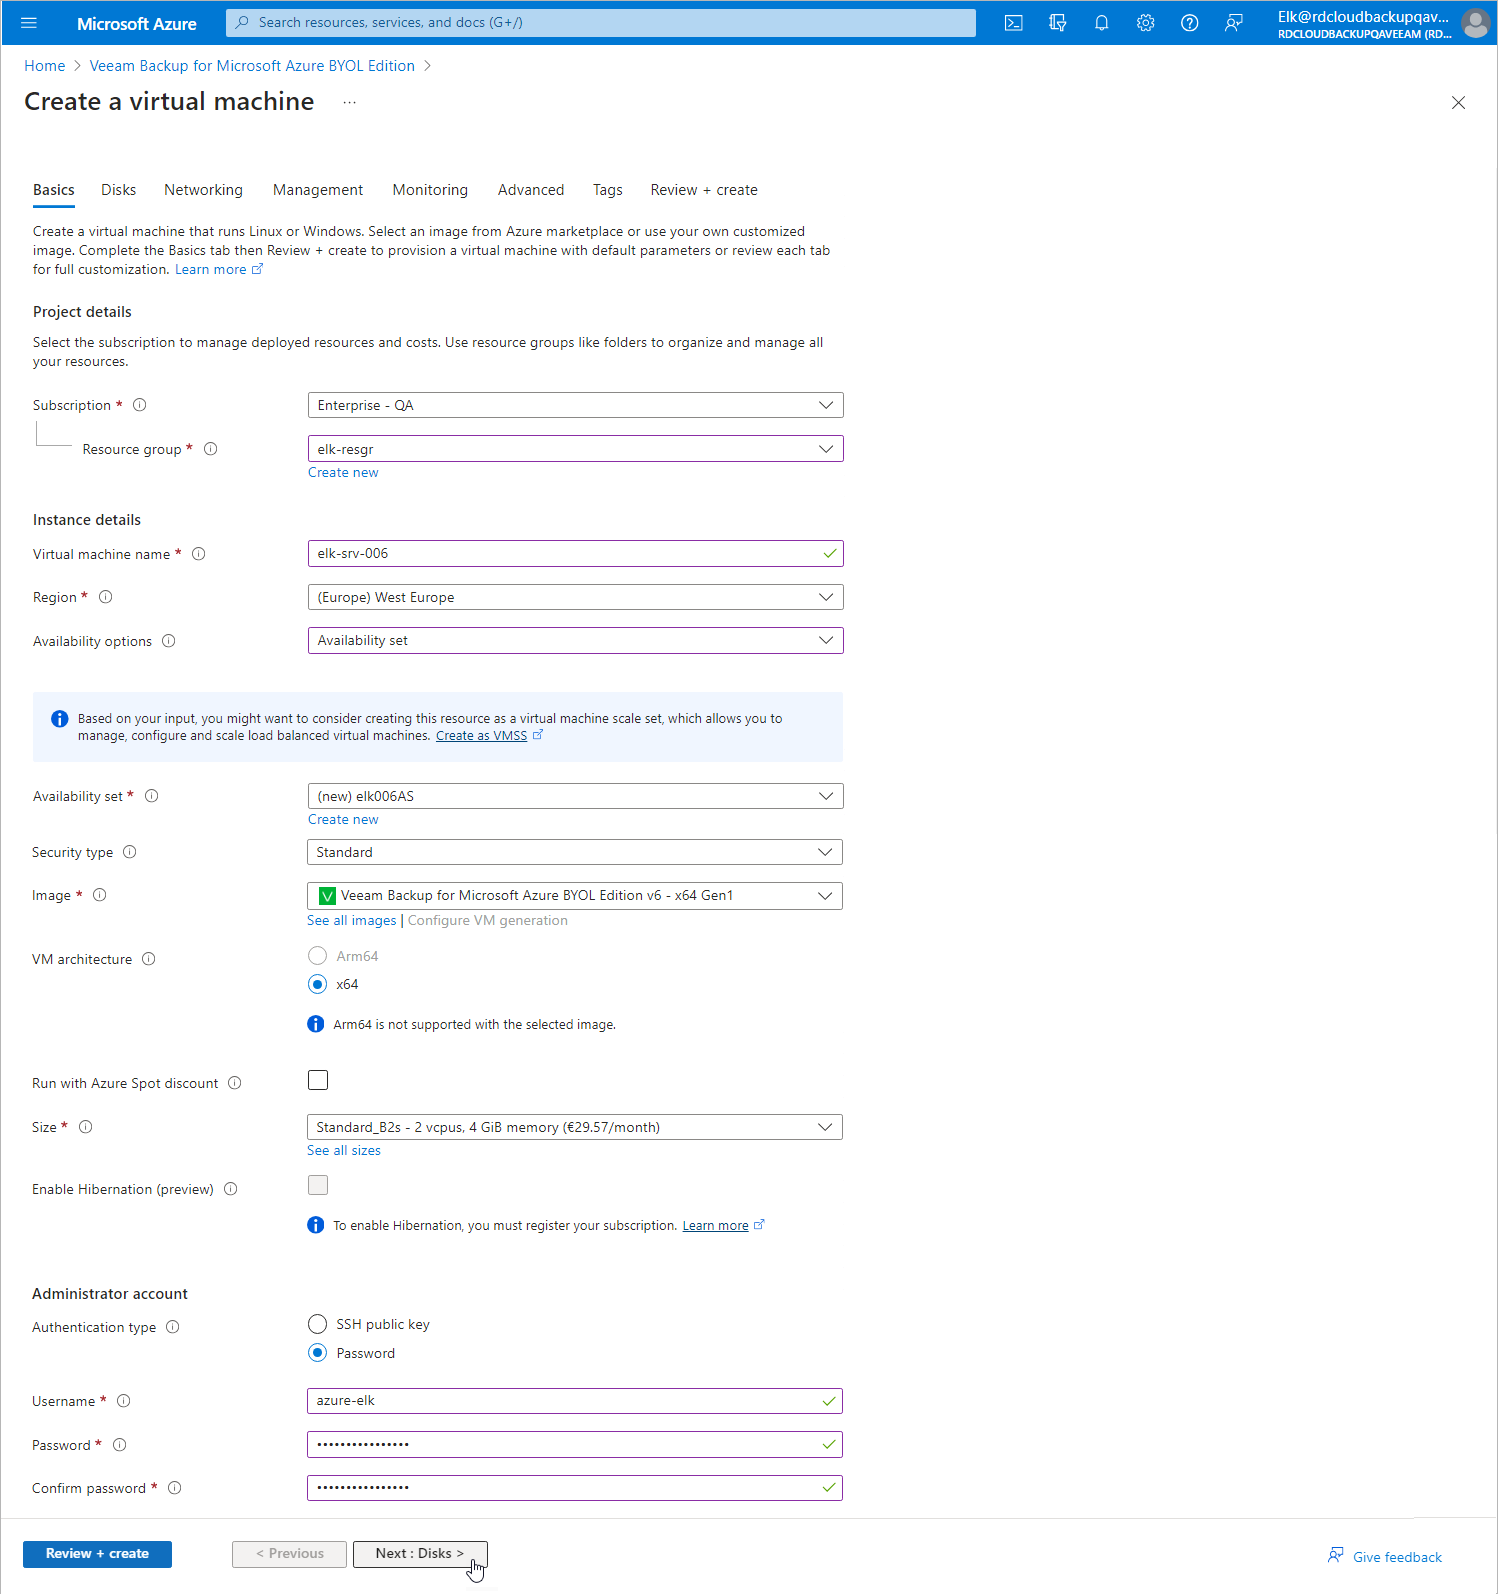
- On the Basics tab, do the following:
- In the Subscription drop-down list, select a Microsoft Azure subscription to which you want to deploy the VM with Veeam Backup for Microsoft Azure.
For more information about subscriptions in Microsoft Azure, see this Microsoft article.
- In the Resource group drop-down list, select a resource group.
Make sure to create a dedicated resource group for the VM with Veeam Backup for Microsoft Azure. You can create such a group in advance or during the deployment process.
For more information about resource groups in Microsoft Azure, see this Microsoft article.
- In the Virtual machine name field, enter a name for the VM with Veeam Backup for Microsoft Azure.
- In the Region drop-down list, select a Microsoft Azure region to which you want to deploy the VM with Veeam Backup for Microsoft Azure.
Regardless of the region you select, you will be able to back up other VMs that belong to other Microsoft Azure regions as well.
For more information about regions in Microsoft Azure, see this Microsoft article.
- [Optionally] In the Availability options drop-down list, select Azure availability options such as availability set or availability zone.
- In the Image drop-down list, make sure to select Veeam Backup for Microsoft Azure.
- In the Size section, choose a size for the VM with Veeam Backup for Microsoft Azure.
By default, the installer selects the optimal VM size based on the performance and low cost maintenance. For more information about Microsoft Azure VM sizes, see this Microsoft article.
Veeam Backup for Microsoft Azure requires a minimum VM size of 2 vCPU and 4GB of RAM.
Do not enable the Azure Spot Instance option.
- Select the Password option in the Administrator account section and enter a username that you want to use to access the Veeam Backup for Microsoft Azure console and specify the password.
If you select to use SSH, you will not be able to access the Veeam Backup for Microsoft Azure portal.
- Click Next : Discs >.
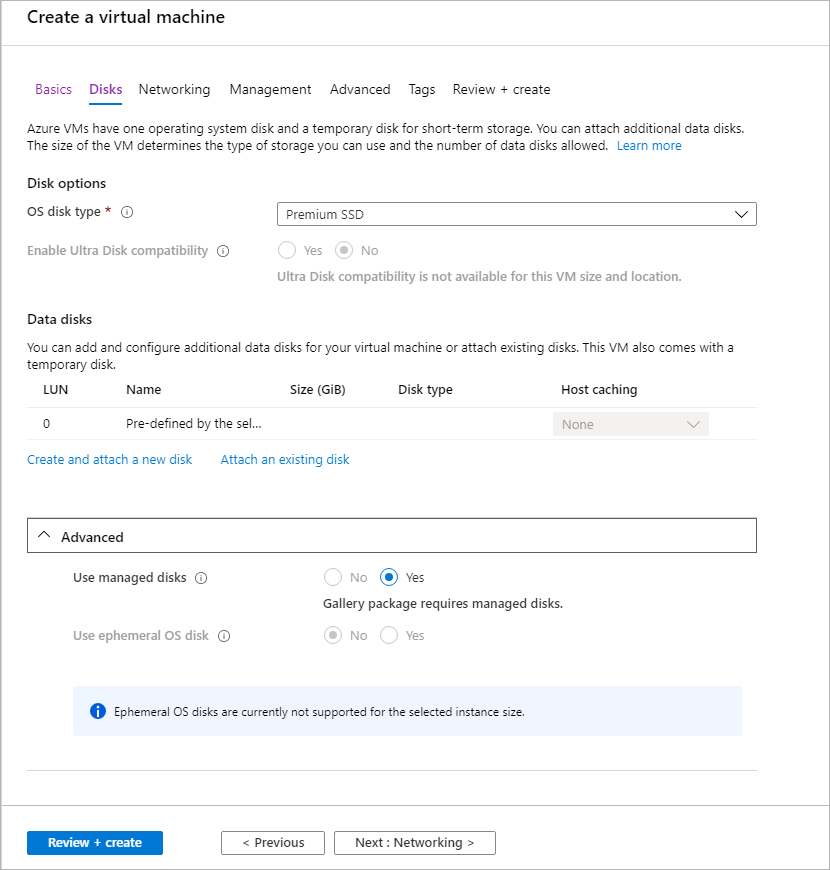
- On the Disks tab, in the OS disk type drop-down list, select a disk type.
It is recommended to use the Premium SSD option for better performance.
For more information about Microsoft Azure disk types, see this Microsoft article.
Some of the options on the Disk tab are pre-configured by the Veeam Backup for Microsoft Azure package and cannot be changed.
- Click Next : Networking >.
- On the Networking tab, do the following:
- In the Virtual network drop-down list, select a virtual network to which you want to deploy the VM with Veeam Backup for Microsoft Azure.
For more information about virtual networks in Microsoft Azure, see this Microsoft article.
- In the Subnet drop-down list, select a subnet.
- In the Public IP drop-down list, select a public IP that you want to use to access the VM with Veeam Backup for Microsoft Azure.
- In the Configure network security group drop-down list, select a security group or create a new one.
For more information about network security group, see this Microsoft article.
- The Accelerated networking option is pre-configured by Veeam Backup for Microsoft Azure and cannot be changed.
For more information, see this Microsoft article.
- Do not select the Place this virtual machine behind an existing load balancing solution option.
For more information, see this Microsoft article.
Some of the options are pre-configured by the Veeam Backup for Microsoft Azure package and cannot be changed.
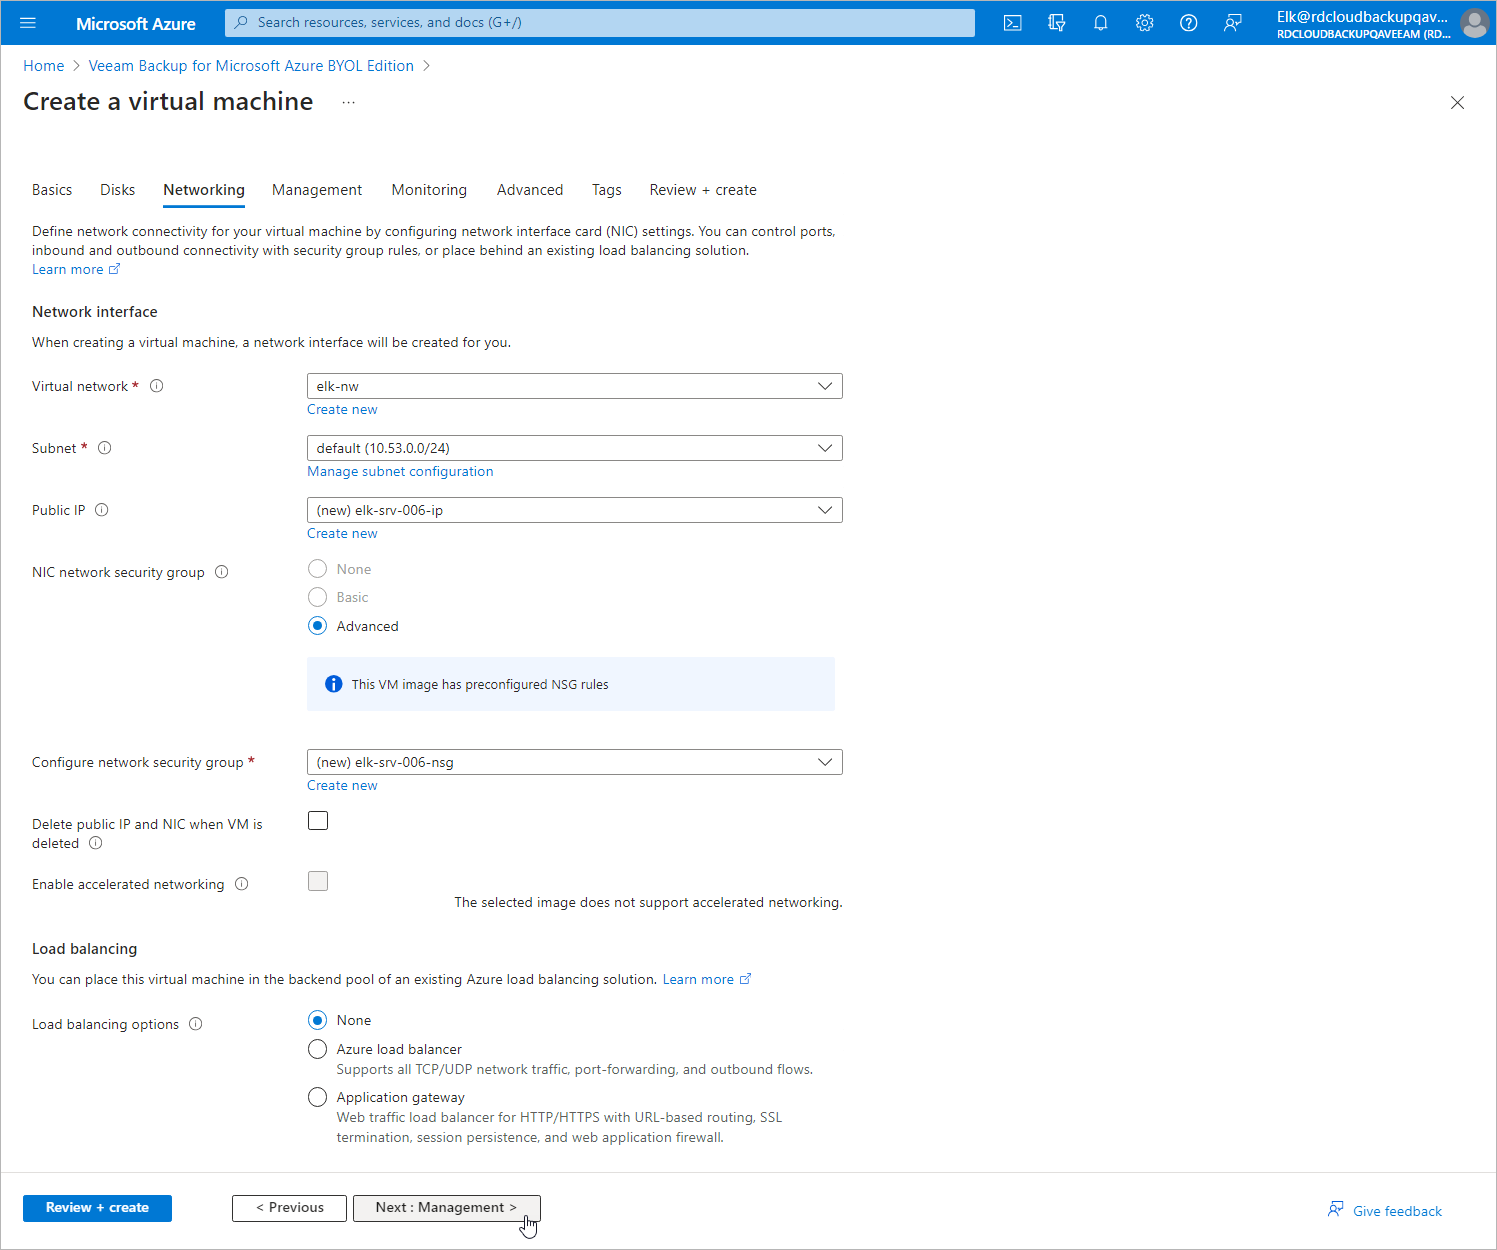
- Click Review + create to review summary information and finish the wizard.
Note: |
Consider the following:
|
In This Section