Removing VM Snapshots Created Manually
To remove all cloud-native snapshots created for an Azure VM manually, follow the instructions provided in Removing VM Backups and Snapshots. If you want to remove a specific cloud-native snapshot created manually, do the following:
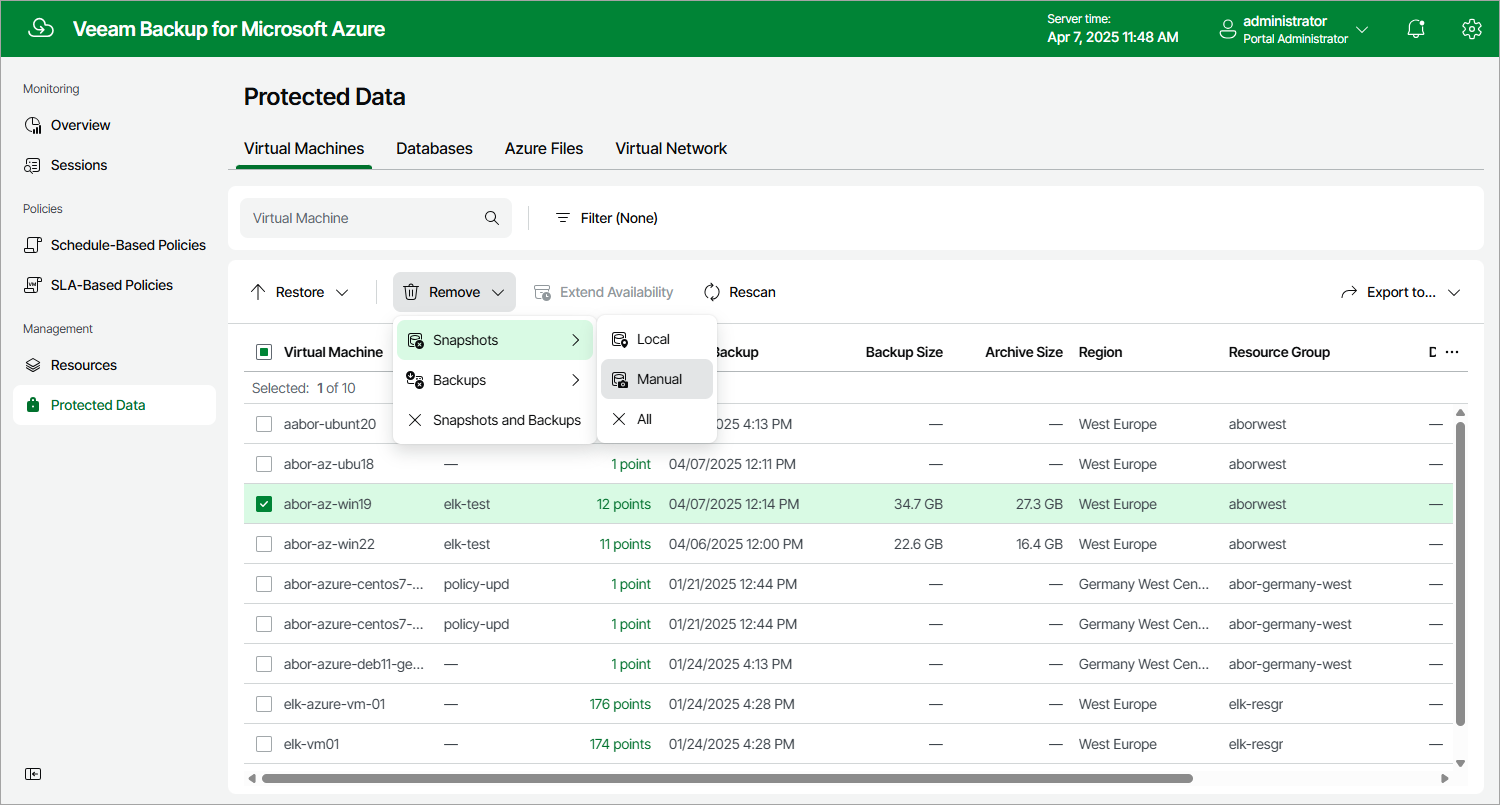
- Navigate to Protected Data.
- Select the check box next to the necessary Azure VM, and click the link in the Restore Points column.
- In the Available Restore Points window, select the necessary snapshot and click Remove Manual Snapshot.
Related Topics