Step 2. Define Time Interval(s)
Next, you need to define the time range for the report. You can set only one time interval to analyze the alerting activity for a specific time range, or define two time intervals to compare the alerting activity during two periods.
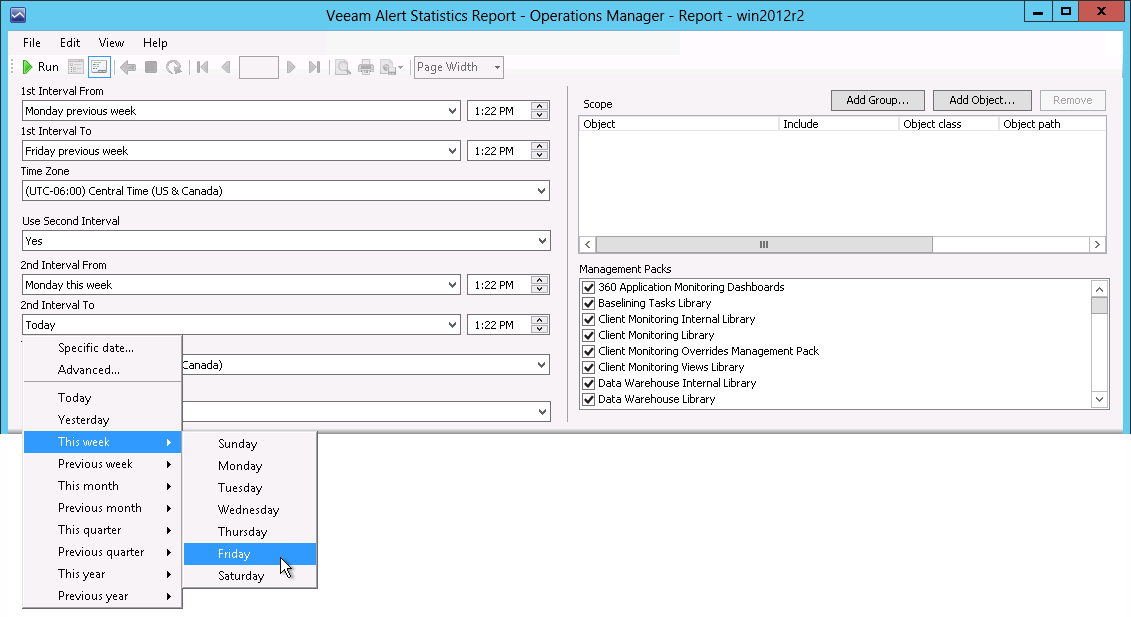
In our example, the report will analyze the alerting activity for the following intervals: a week before monitors and rules were changed (1st interval) and a week after the changes were made (2nd interval).
- From the 1st Interval From list, choose Previous Week > Monday. From the 1st Interval To list, choose Previous Week > Friday.
- From the Use Second Interval list, choose Yes.
- From the 2nd Interval From list, choose This Week > Monday. From the 2nd Interval To list, choose This Week > Friday.
|
If you want to create a report for one time range, choose No from the Use Second Interval list. In this case, you will still need to select the beginning and the end of the second interval (these can be any values). This is by design of Microsoft; the behavior of report parameter controls cannot be changed. |