 This is an archive version of the document. To get the most up-to-date information, see the current version.
Step 3. Install VE Service and Veeam UI, and Import Management Packs
Install VE Service, Veeam UI, and import Veeam management packs:
- Log on to a Management Server using an account with local Administrator rights.
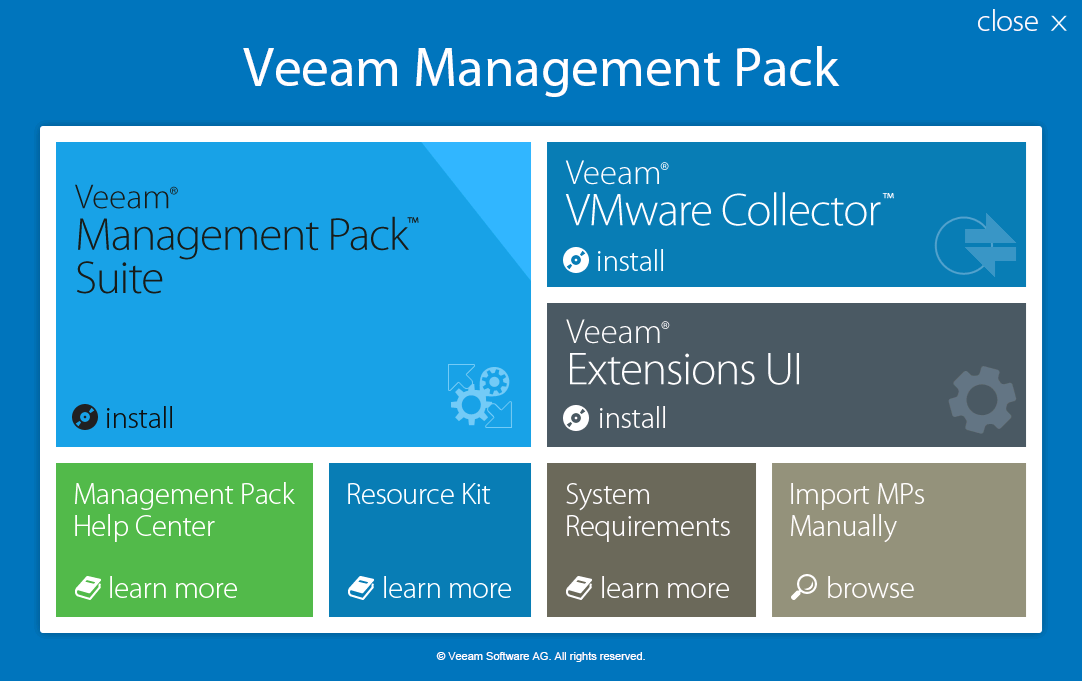
- Insert the installation disc into the CD/DVD drive or mount the installation image. The setup will open the splash screen with Veeam Management Pack installation options.
On the install menu of the splash screen, click Veeam Management Pack Suite.
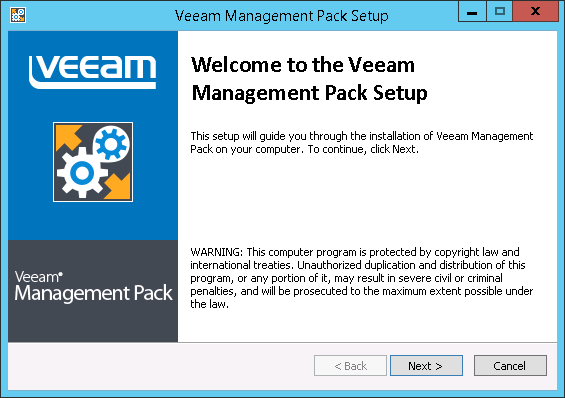
- Click Next to start the installation.
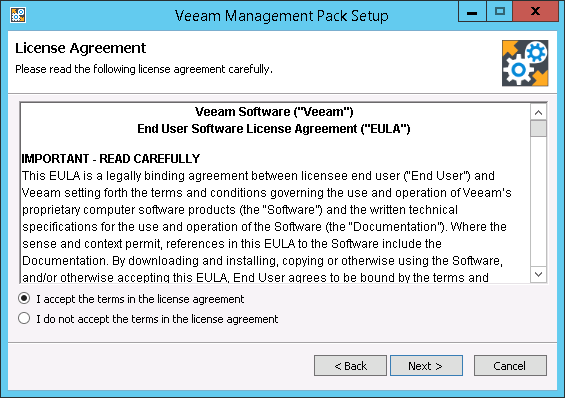
- Read and accept the license agreement. If you reject the agreement, you will not be able to continue installation.
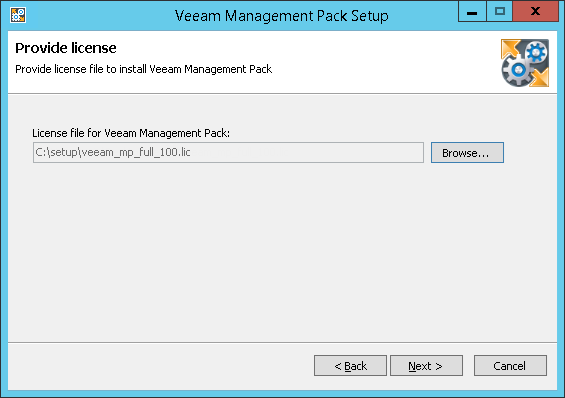
- Click Browse to locate the .lic file supplied to you by Veeam. You will not be able to continue installation without providing a license.
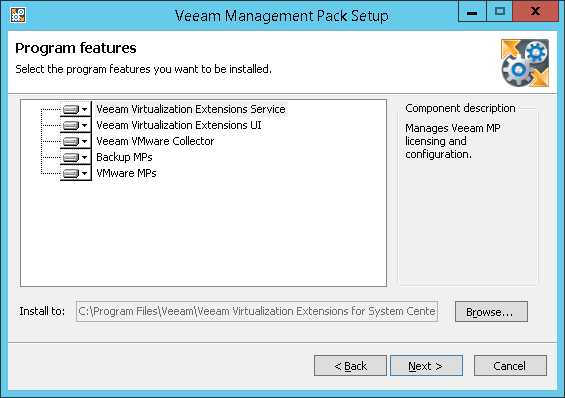
- Choose components to install. If necessary, you can change the installation directory.
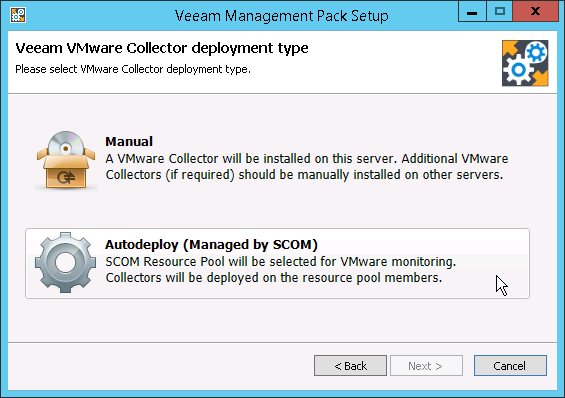
- Choose the Collector deployment type.
This scenario implies that the Veeam VMware Collector Auto-Deployment feature is used to automatically deploy Veeam Collectors on Management Servers. Click Autodeploy (Managed by SCOM) to proceed.
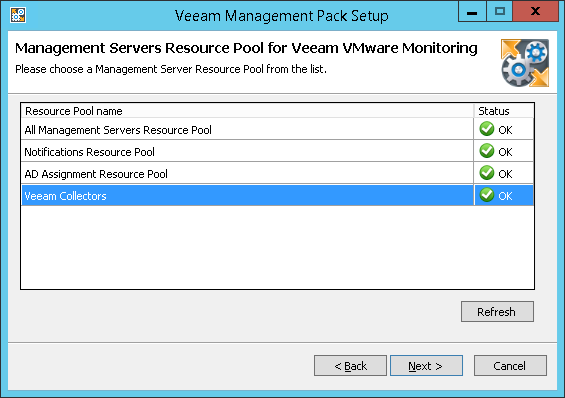
- Choose a Management Server resource pool and click Next.
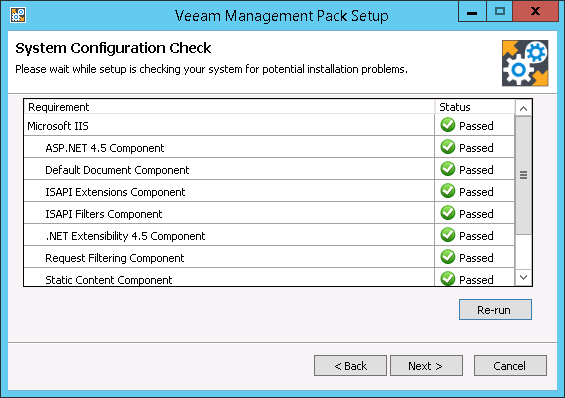
- Perform the system configuration check.
Before proceeding with the installation, the installer will check whether all prerequisite software is available on the target system. If some of the required software components are missing, the wizard will offer to install missing software automatically. To do that, click Install.
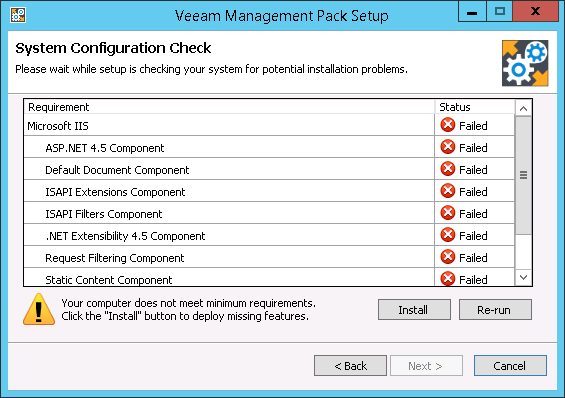
When all required software is installed, click Re-run to repeat verification.
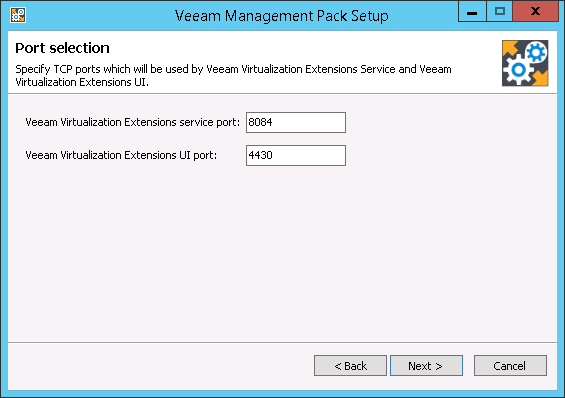
- Specify the TCP port that will be used by the VE Service and the port for connection with the UI website. Default ports are:
- 8084 for Veeam Virtualization Extensions Service
- 4430 for connection with the UI website
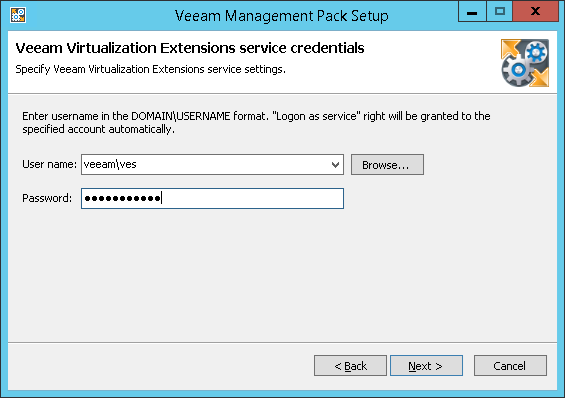
- Enter credentials of the account under which the VE Service will run. For the account requirements, see Accounts and Privileges.
The user name should be specified in the DOMAIN\USERNAME format.
- Review installation configuration. Click Install to begin installation.
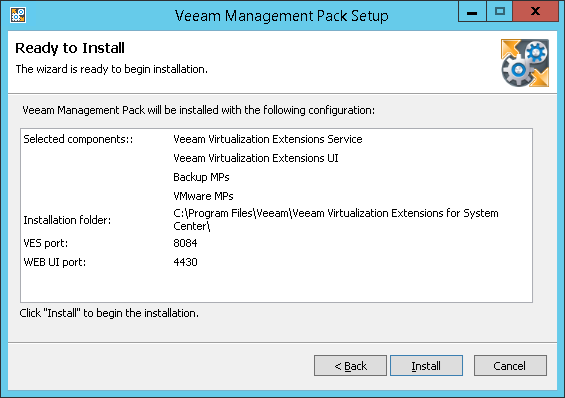
The setup will install Veeam MP components and import Veeam management packs to the Management Server.
When installation completes, perform the logoff/logon procedure to create the Veeam Virtualization Extensions Users local group that will be used to accommodate service account. Also add any other accounts to this group for users who will need to access the Veeam UI to configure VMware monitoring.
|
Keep in mind that MP deployment continues even after all Management Packs are imported: reports are deployed to the Ops Mgr reporting server; SQL Server stored procedures required for widgets are deployed in the background. This process might take several hours depending on the Ops Mgr infrastructure performance. During this period, some widgets may not function, and reports may not be visible in the Ops Mgr console. |