This is an archive version of the document. To get the most up-to-date information, see the current version.
Step 3. Install Veeam VMware Collector
To install Veeam VMware Collector:
- Log on to the server using an account with local Administrator rights.
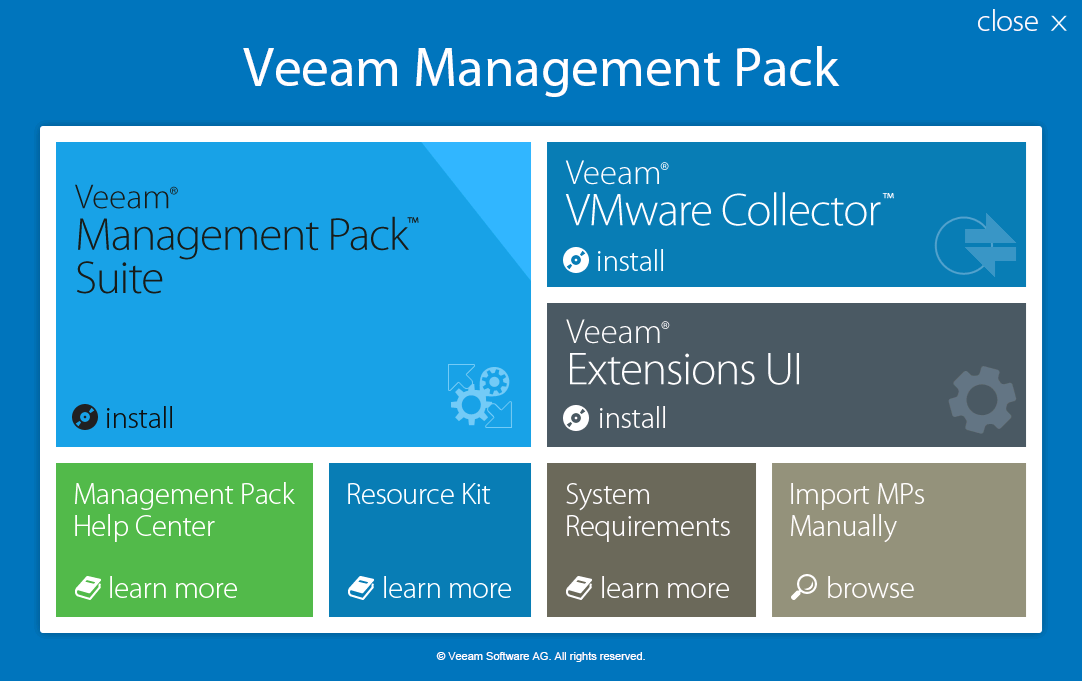
- Insert the installation disc into the CD/DVD drive or mount the installation image. The setup will open the splash screen with VE Service installation options.
On the install menu of the splash screen, click Veeam VMware Collector.
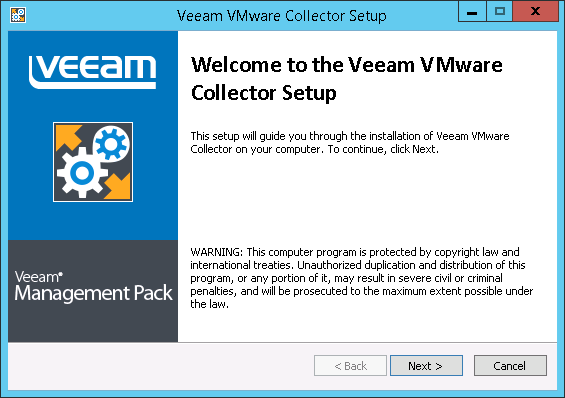
- Click Next to start the installation.
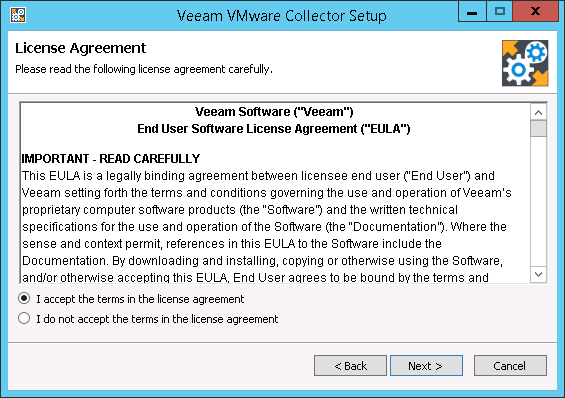
- Read and accept the license agreement. If you reject the agreement, you will not be able to continue installation.
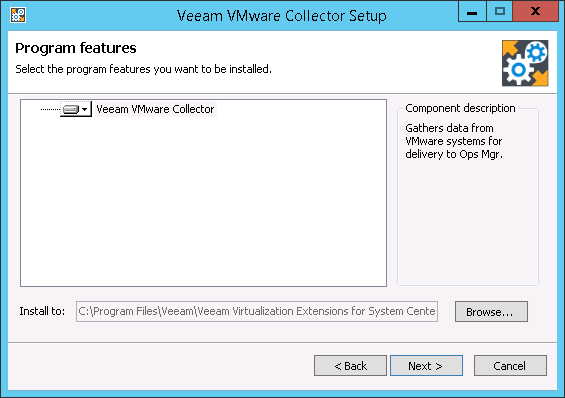
- If necessary, you can change the installation directory set by default.
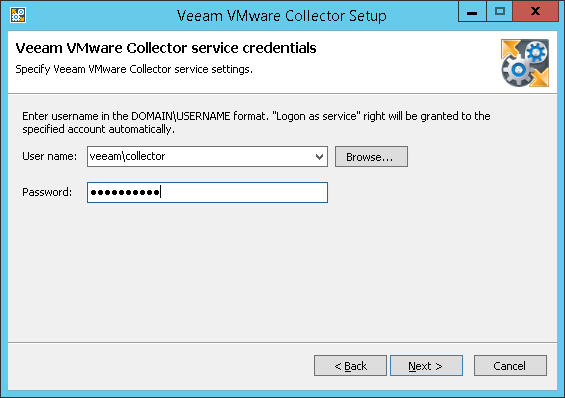
- Enter credentials of the account under which the Veeam VMware Collector service will run. The account must be both:
- An administrative account on the Collector server
- A member of the Veeam Virtualization Extensions Users local group on the server running Veeam Virtualization Extensions service.
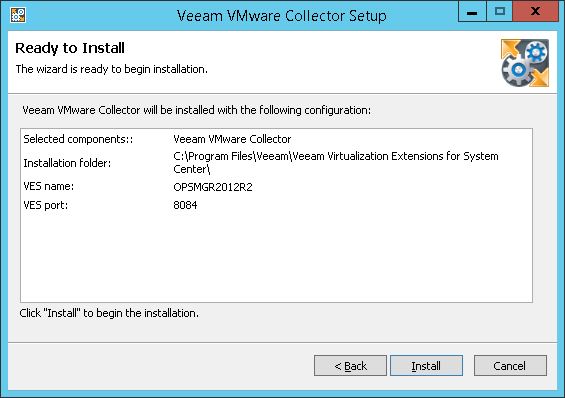
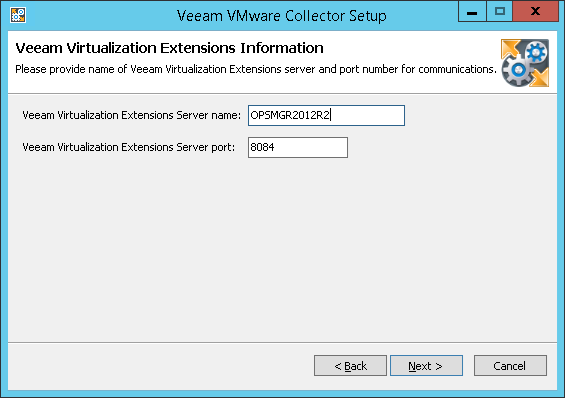
- Enter the name of the server running VE Service and specify the port for connection with VE Service. This must be the port that you specified during VE Service installation (8084 by default).
|
Ensure you have specified the port, which is used to connect to the server running the VE Service, not the UI. |
- Click Install to begin installation.