This is an archive version of the document. To get the most up-to-date information, see the current version.
Editing and Removing Nutanix AHV Backup Proxies
You can edit the settings of AHV Backup Proxy or remove it from the Veeam Backup & Replication infrastructure.
Editing AHV Backup Proxy Settings
You can edit settings of AHV backup proxies you have added to Veeam Backup & Replication infrastructure.
Note |
If you change the number of maximum concurrent tasks in the settings of an AHV backup proxy, the hardware resources (number of CPU cores and RAM) of the AHV Backup Proxy VM will be changed accordingly. |
To edit an AHV backup proxy settings:
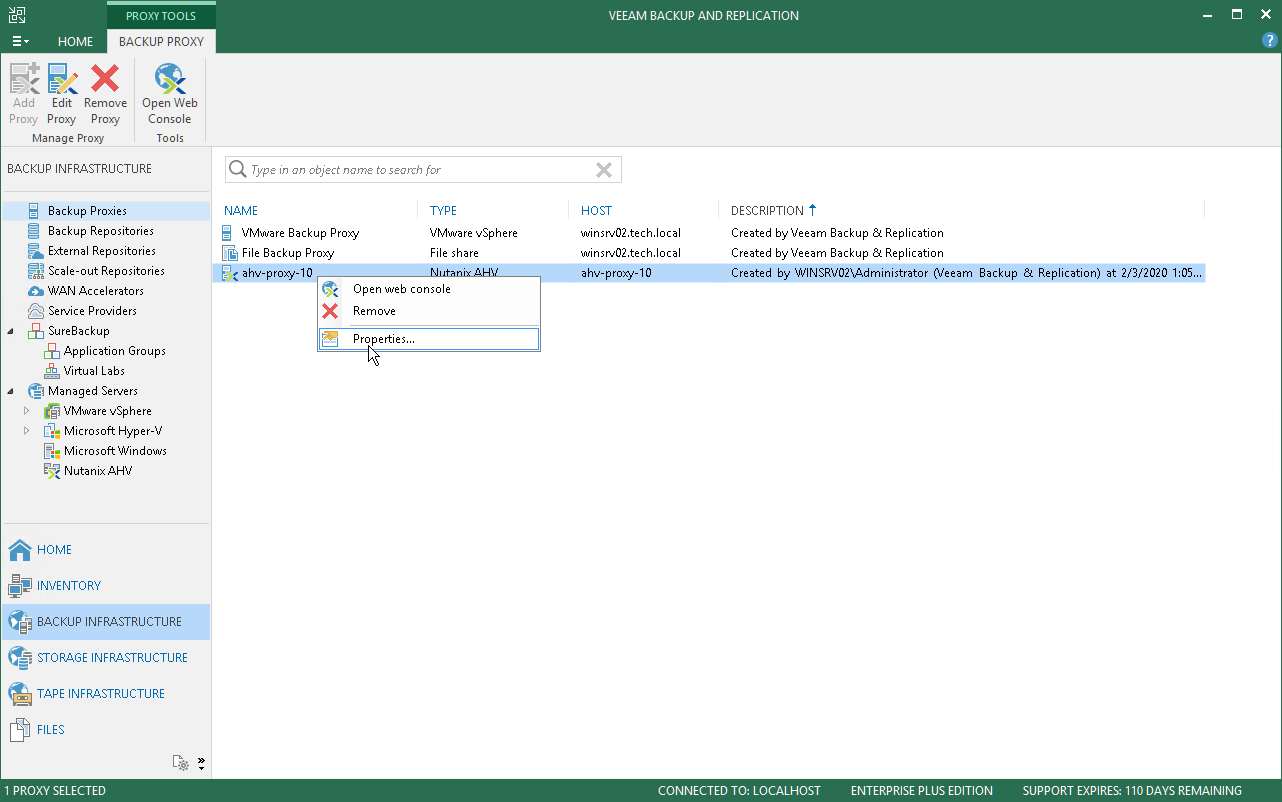
- Open the Backup Infrastructure view.
- In the inventory pane, select the Backup Proxies node.
- In the working area, select the AHV backup proxy and click Edit Proxy on the ribbon or right-click the AHV backup proxy and select Properties.
- Edit AHV backup proxy settings as required. You will be requested to go through the same steps as you have followed when adding an AHV backup proxy.
When you remove an AHV backup proxy from the Veeam Backup & Replication infrastructure, information about AHV VM snapshots, backup/snapshot of the removed AHV backup proxy are deleted from the Veeam Backup & Replication database.
To remove an AHV backup proxy:
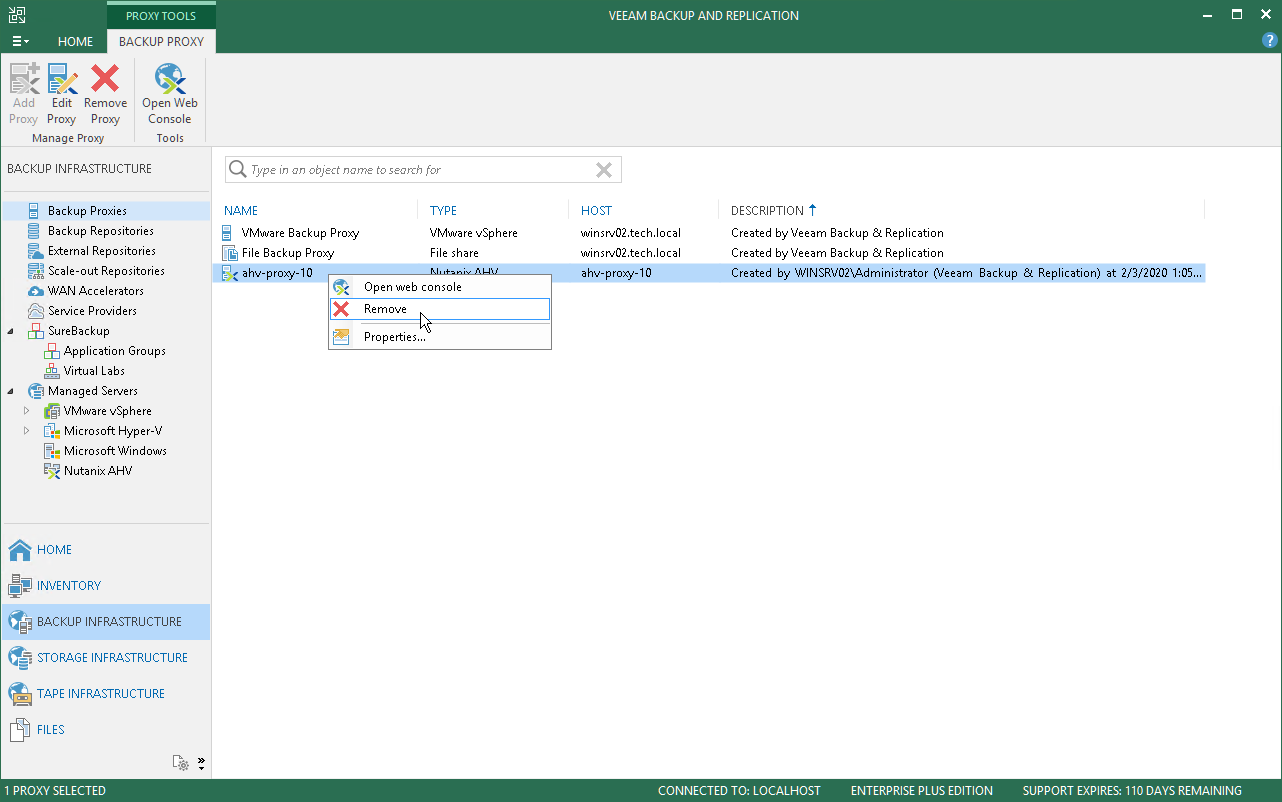
- Open the Backup Infrastructure view.
- In the inventory pane, select the Backup Proxies node.
- In the working area, select the AHV backup proxy and click Remove Proxy on the ribbon or right-click the AHV backup proxy and select Remove.
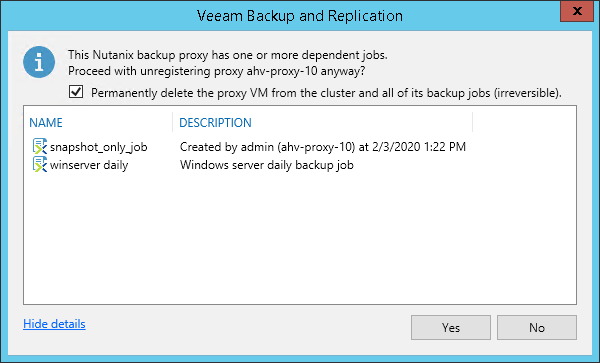
- In the Veeam Backup & Replication window, define whether you want to remove the AHV backup proxy VM from the AHV cluster.
By default, Veeam Backup & Replication removes information about the AHV backup proxy and its jobs only from the Veeam Backup & Replication database. In this case, AHV Backup Proxy VM and its backup jobs remain on the AHV cluster. This can be useful if you want to connect the AHV Backup Proxy server to another Veeam Backup & Replication server.
If you want to permanently delete the AHV Backup Proxy VM and its backup jobs, select the Permanently delete the proxy VM from the cluster and all of its backup jobs (irreversible) check box and click Yes.