 This is an archive version of the document. To get the most up-to-date information, see the current version.
Create VM for AHV Backup Proxy
Once you upload the AHV Backup Proxy image, you must create a VM where the AHV Backup Proxy will be deployed.
Note |
If you use Nutanix Prism Central, the VM management console will be on a different location. For details, see the Creating a VM section of the Prism Central Guide. |
To create a VM for the AHV Backup Proxy, do the following:
- On the main menu of Nutanix Prism web console, click Home and select VM.
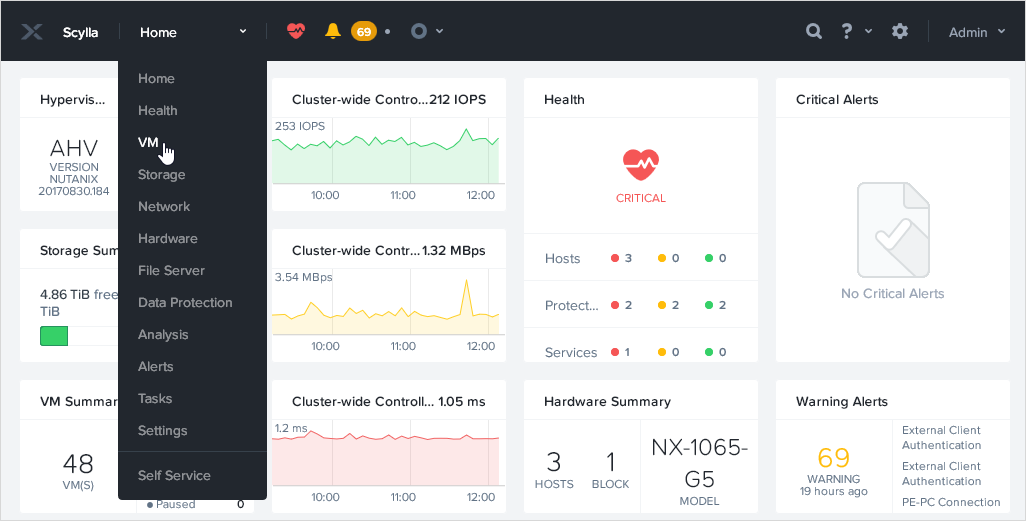
- Click Create VM.

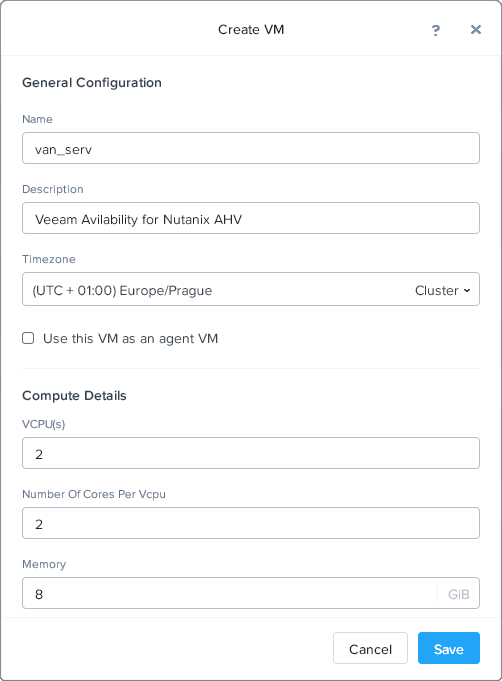
- In the Create VM window, assign a VM name and specify the compute details. Note that the VM must meet the following requirements:
- 2 CPUs, 2 cores per CPU plus 1 CPU core for each additional concurrent task (default concurrency level: 3 VMs at a time).
- 4GB RAM plus 1 GB for each concurrent task.
- At the Disks section, click Add New Disk to add a boot device.
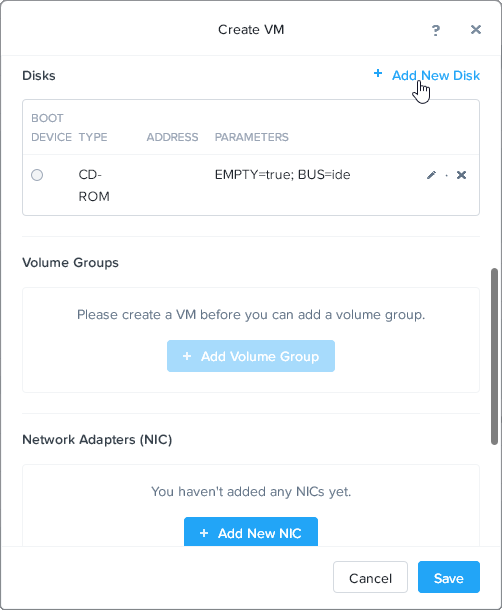
- In the Add Disk window, configure the disk characteristics:
- In the TYPE drop-down list, select DISK.
- In the OPERATION drop-down list, select Clone form Image Service.
- In the IMAGE drop-down list, select the appliance proxy VMDK file which you have uploaded in the previous step.
- Click Add.
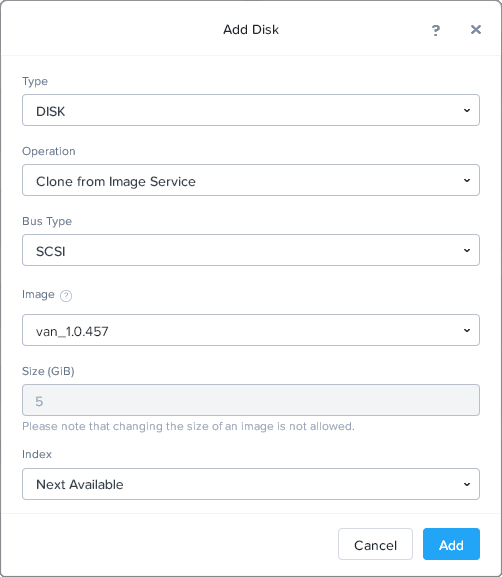
- After adding the disk, you must resize the added image disk. Open the disk settings and at the Size (GiB) field type 50.
- Click Update.
- At the Network Adapters (NIC) section, click Add New NIC.
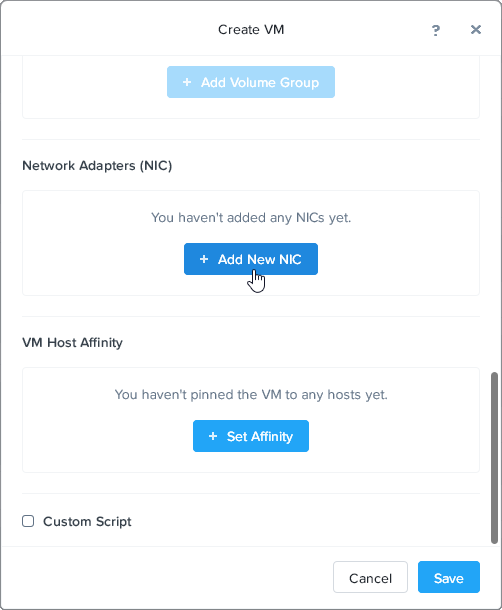
- AHV Backup Proxy version 2.0 and later has cloud-init integration. For this reason, AHV Backup Proxy VM takes 4-5 minutes to start. To avoid this, do the following.
- At the bottom of the Create VM window, select the Custom Script check box.
- Select the Type or paste script check box and copy the following script:
#cloud-config |
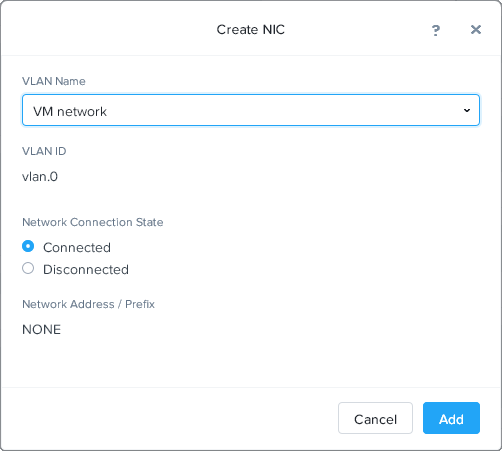
- In the Create NIC window:
- Select the required VLAN from the VLAN Name drop-down list.
- Select the Connected option.
- Click Add.
Important |
Make sure the specified virtual network has access to your DHCP server, Veeam Backup & Replication Server and Nutanix Cluster. |
- Click Save to apply settings.
Reference
For details on how to create a VM, see the Creating a VM (AHV) section of the Prism Web Console Guide.