 This is an archive version of the document. To get the most up-to-date information, see the current version.
Restoring Configuration Settings
In Veeam Backup for Nutanix AHV version 2.0, you can restore configuration settings only when you deploy a new AHV Backup Proxy instance.
To restore configuration settings, do the following.
- Create a new VM for AHV Backup Proxy. For details, see Create VM for Proxy Appliance.
- Log in to AHV Backup Proxy web UI. For details, see Log Into Proxy Appliance Web UI.
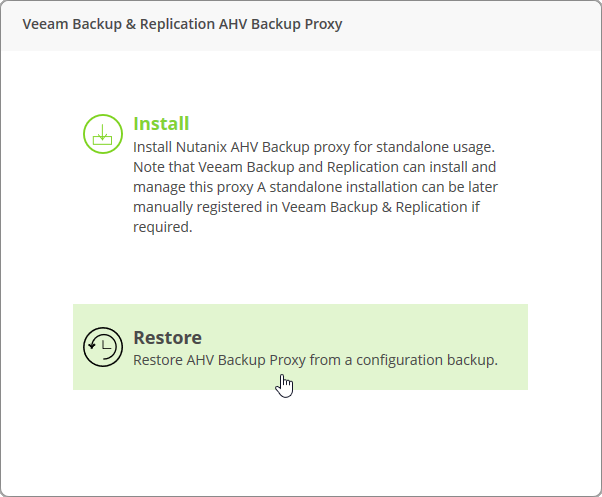
- In the Install-Restore wizard, click Restore.
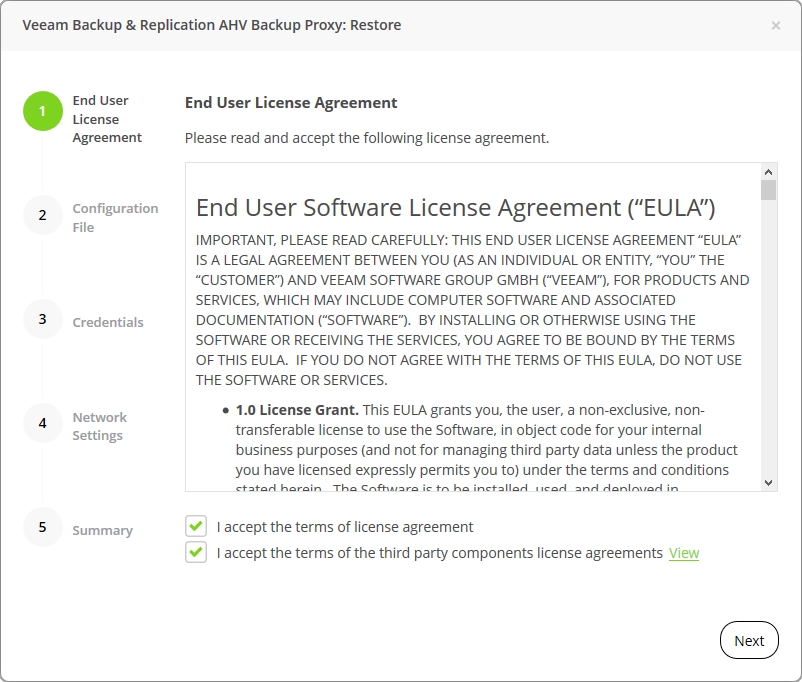
- At the End User License Agreement step of the wizard, accept the terms of license agreement and click Next.
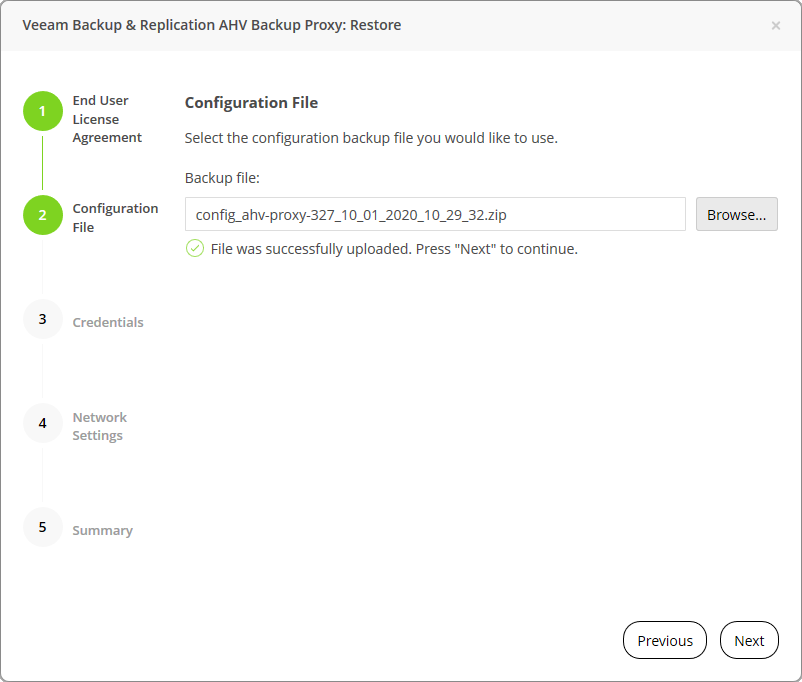
- At the Configuration File step of the wizard, select the configuration file from internal storage. The default naming scheme for the configuration backup file is config_AhvProxyName-DD_MM_YYYY_HH_MM_SS.zip.
Before uploading the configuration backup file, the wizard will request you to enter the password that you have specified when backing up the configuration.
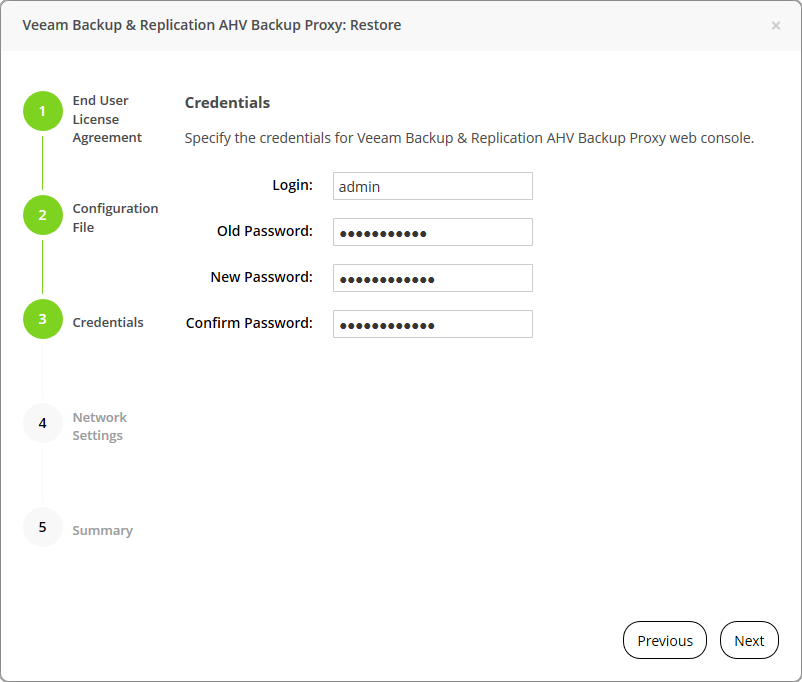
- At the Credentials step of the wizard, specify the credentials to enter the proxy appliance web UI. You can use existing credentials from the configuration backup or you can assign new credentials.
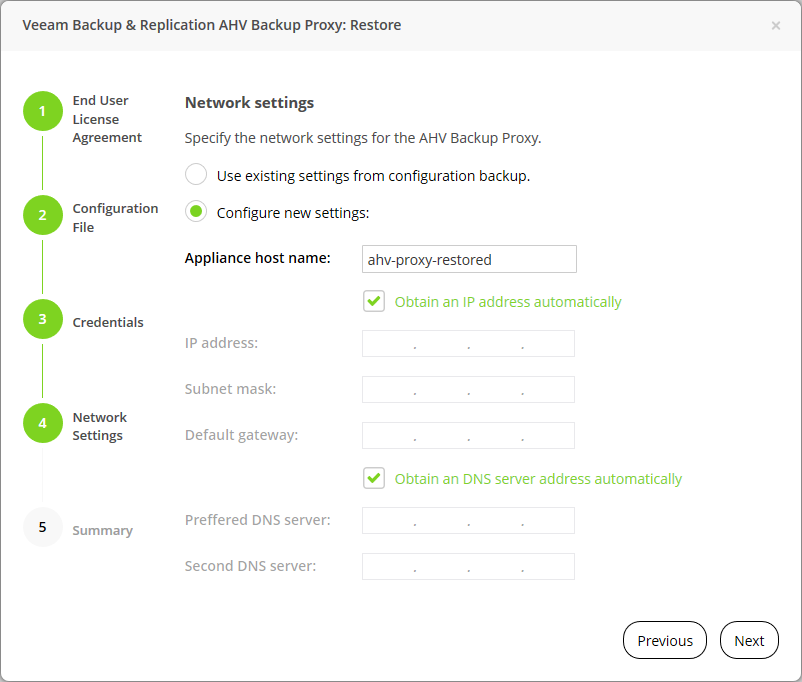
- At the Network Settings step of the wizard, specify hostname and network settings for AHV Backup Proxy. You can use the existing settings from the configuration backup or you can configure new settings.
- At the Summary step of the wizard, click OK.
After finishing configuration, the wizard will redirect you to AHV Backup Proxy web console with restored settings.
See Also