This is an archive version of the document. To get the most up-to-date information, see the current version.
Step 2. Select VMs
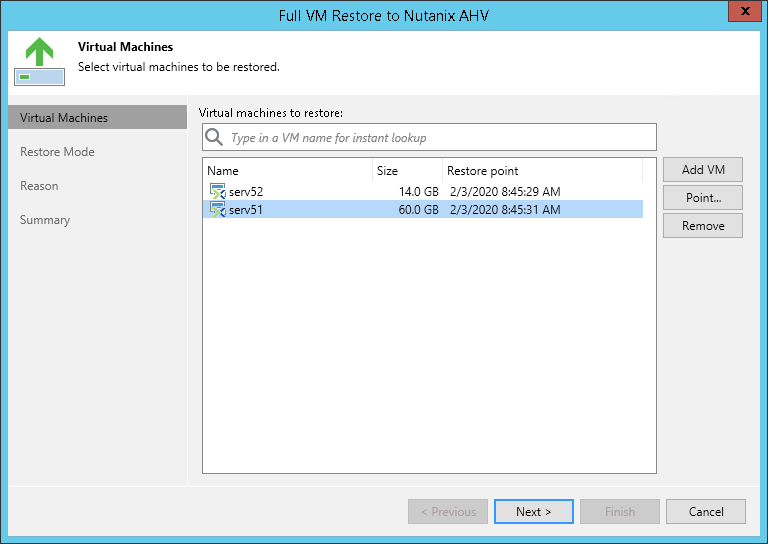
At the Virtual Machines step of the Full VM Restore to Nutanix AHV wizard, select VMs that you want to restore.
To select VMs:
- On the right of the wizard window, click Add VM.
- In the Backup Browser window, expand a backup job tree that contains backups of VMs you want to restore and select a VM. Hold [Ctrl] to select multiple VMs.
You can add VMs to a backup job from:
- VM backups created with AHV Backup Proxy
- VM snapshots created with AHV Backup Proxy
- VMware vSphere VM backups created with Veeam Backup & Replication or Veeam Agent for Windows/Linux
- Microsoft Hyper-V VM backups created with Veeam Backup & Replication or Veeam Agent for Windows/Linux
- Backups of physical machines created with Veeam Agent for Windows or Veeam Agent for Linux
- VeeamZIP backups
- By default, AHV Backup Proxy restores VMs from the latest backup. You can select to restore to an earlier restore point. Restore from a snapshot is significantly faster than restore from a backup. Note that you can restore from a snapshot only if a VM has at least one successful backup.
To restore a VM to an earlier point in time:
- Select the VM in the list and click Point.
- In the Restore Points window, select a backup.
- Click OK.