 This is an archive version of the document. To get the most up-to-date information, see the current version.
Customizing Report Branding
To customize appearance of reports according to your company branding, you can replace the default report header with a custom image, such as your company logo.
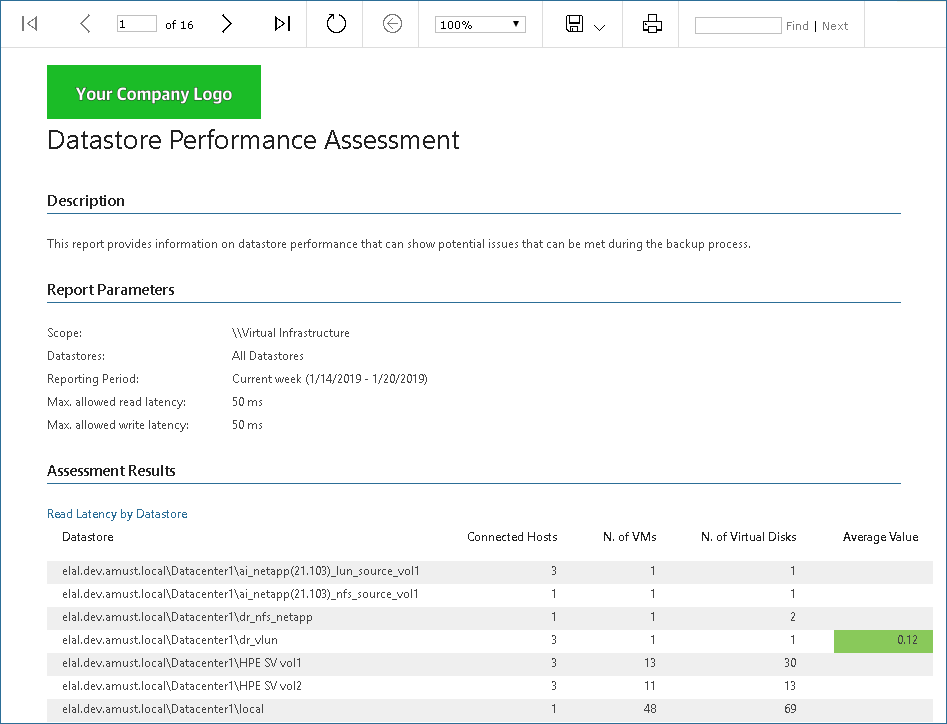
Image Requirements
Before creating an image that will replace the default report header, check the following requirements:
- Format: the image file must be saved in the PNG, JPEG, BMP, GIF or TIFF formats.
- Dimensions: the maximum recommended height for the image file is 54px.
If the image is more than 54px height, it will be compressed proportionally. The width of the image is dictated by the greatest width that can be observed in Veeam ONE reports. If a report width is less than the image width, the right part of the image will be cropped to fit the report width. For this reason, it is recommended to place the corporate logo or other graphics closer to the left part of the image.
Replacing Default Report Header
To replace the default report header with a custom image:
- Open Veeam ONE Reporter.
- Open the Configuration section.
- In the Configuration section menu, click Extension Modules.
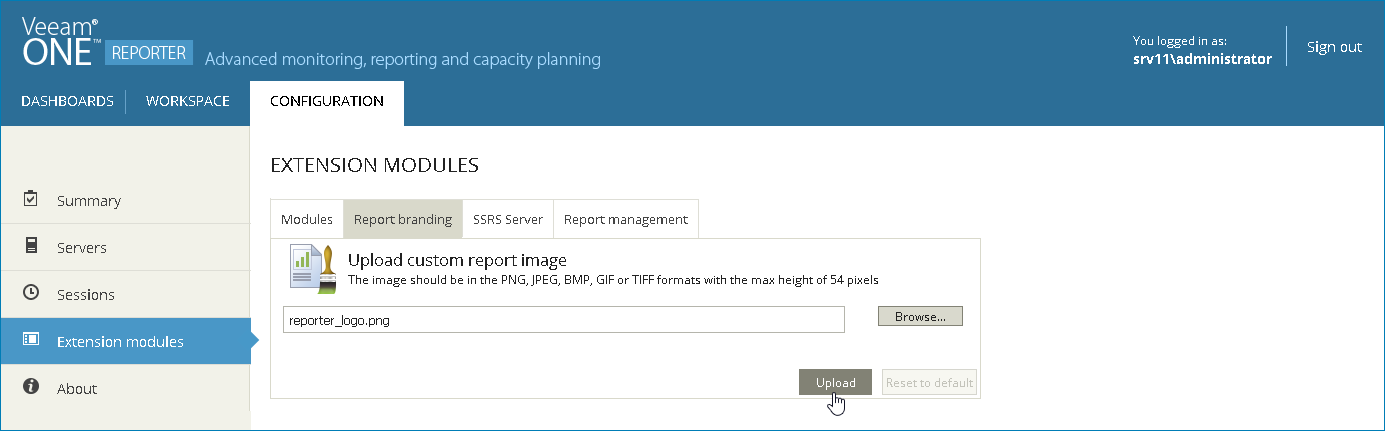
- Open the Report branding tab.
- Click Browse and specify path to the custom report image file.
- Click Upload.
Restoring the Default Report Header
To restore the default report header:
- Open Veeam ONE Reporter.
- Open the Configuration section.
- In the Configuration section menu, click Extension Modules.
- Open the Report branding tab.
- Click the Reset to default button.
Veeam ONE Reporter will open a dialog box with the reset result.
- In the dialog box, click OK to acknowledge the result.