 This document is not maintained any longer.
Step 2. Log in to Veeam PN Console
In this article
After you create an AWS CloudFormation stack for Veeam PN, you can log in to the Veeam PN web console and configure network hub settings.
To log in to the Veeam PN web console, do the following:
- In the AWS console, click Services and select EC2.
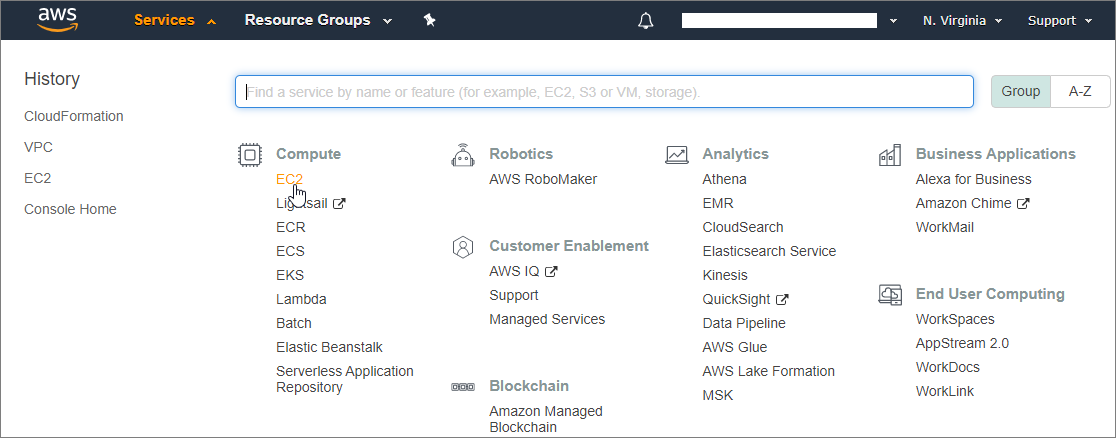
- From the list on the left of AWS console, select Instances.
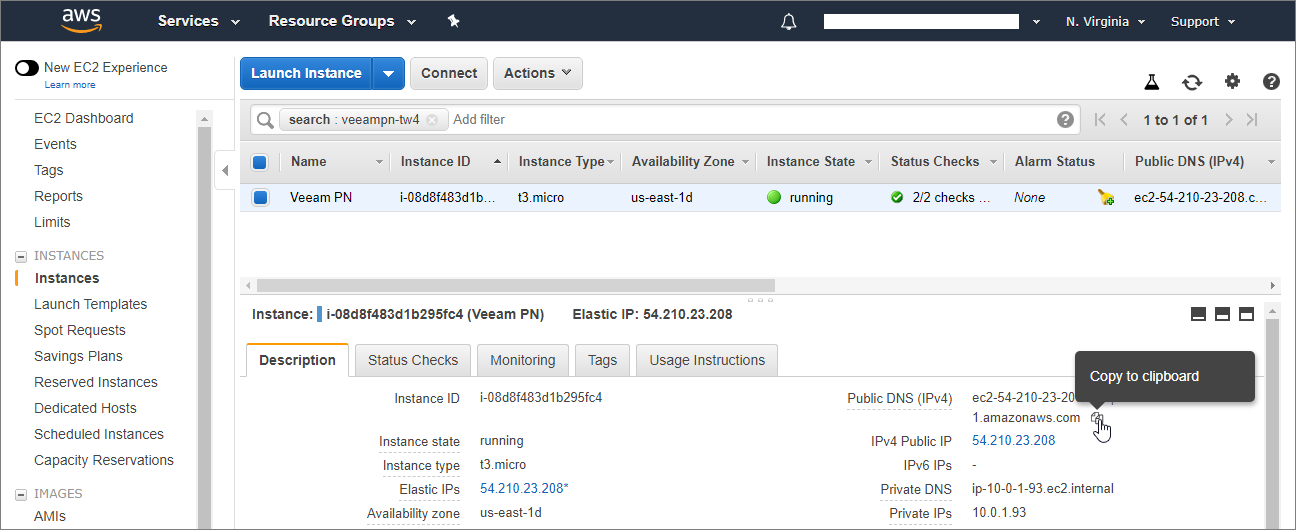
- From the list of instances, select the instance you have created on Step 3. Configure Network Hub Settings.
- At the Description tab of the instance settings, copy the public DNS name of the instance.
- In a web browser, access the network hub portal by the following address: https://publicDNS, where <publicDNS> is the public DNS address of the stack deployed in Amazon AWS.
When you access the network hub portal, the browser will display a warning notifying that the connection is untrusted. Ignore the warning and agree to proceed to the portal.
- At the welcome screen of the network hub portal, you will be asked to provide an instance ID. Do the following:
- Go back to AWS console and copy the instance ID of the created stack.

- At the welcome screen of the network hub, paste the instance ID and click Next.

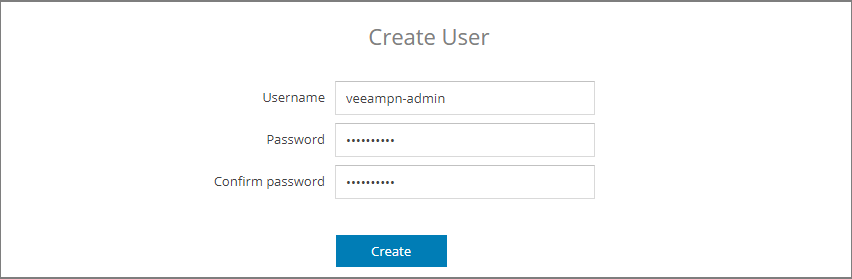
- When you open the network hub for the first time, you need to crate a user account.
- Specify a name and a password for the network hub user account.
- Click Create.
- Enter the username and password for the account created at the previous step and click Login.
