This is an archive version of the document. To get the most up-to-date information, see the current version.
Step 2. Specify Target Server
At this step of the wizard. specify valid user credentials to access the target Oracle server.
Windows-Based Oracle Server
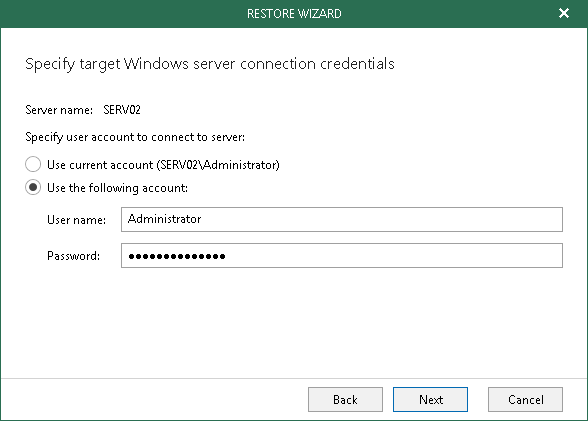
For a Windows-based Oracle server, select either of the following options:
- Use current account
Select this option to connect to the Oracle server using the current user account under which Veeam Explorer for Oracle is running.
- Use the following account
Select this option to connect to the Oracle server using a custom user account.
Consider the following:
- A user account must be a member of the local Administrator group and have sysdba privileges.
- A user account must be granted appropriate permissions to access Oracle databases; Read and Write are minimum required, Full Control is recommended.
Linux-Based Oracle Server
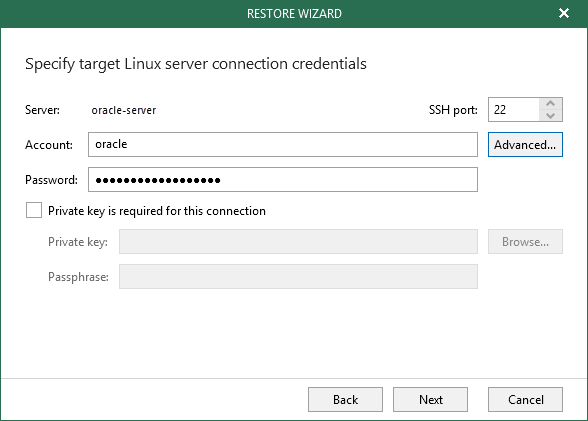
For a Linux-based Oracle server, specify the following:
- In the SSH port field, specify the port number of the Oracle server.
- In the Account filed, specify an account under which to connect to the Oracle server.
- In the Password field, enter the password.
- If a private key is required to connect to the Oracle server, do the following:
- Select the Private key is required for this connection checkbox.
- In the Private key filed, specify a key.
To select a key, click Browse and select a key.
- In the Passphrase field, enter the passphrase.
Consider that the user account must be a member of the dba group.
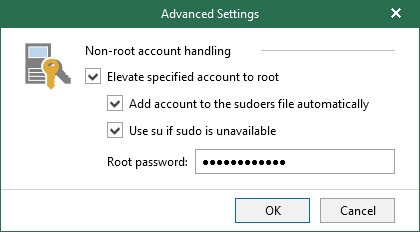
You can use the native Veeam Explorer abilities to elevate your account to root and add it to the sudoers file. To do this, click Advanced and select corresponding checkboxes.