Managing Triggered Alarms
Veeam App for ServiceNow allows you to monitor triggered alarms from your Veeam ONE servers and perform the following operations:
- Acknowledge alarms
- Resolve alarms
- Create incidents when alarms meet specific rules
For more information on triggered alarms, see the Working with Alarms section in the Veeam ONE User Guide.
Viewing Alarms
To view aggregated information on triggered alarms, click All > Veeam > Audit > Triggered Alarms. The data is automatically updated every 30 minutes using REST API requests. To get the latest data manually, click Collect Data.
To view detailed information on alarm, click the alarm name.

Acknowledging Alarms
You can acknowledge alarms that are being investigated or resolved. For more information on this operation, see the Acknowledging Alarms section in the Veeam ONE User Guide.
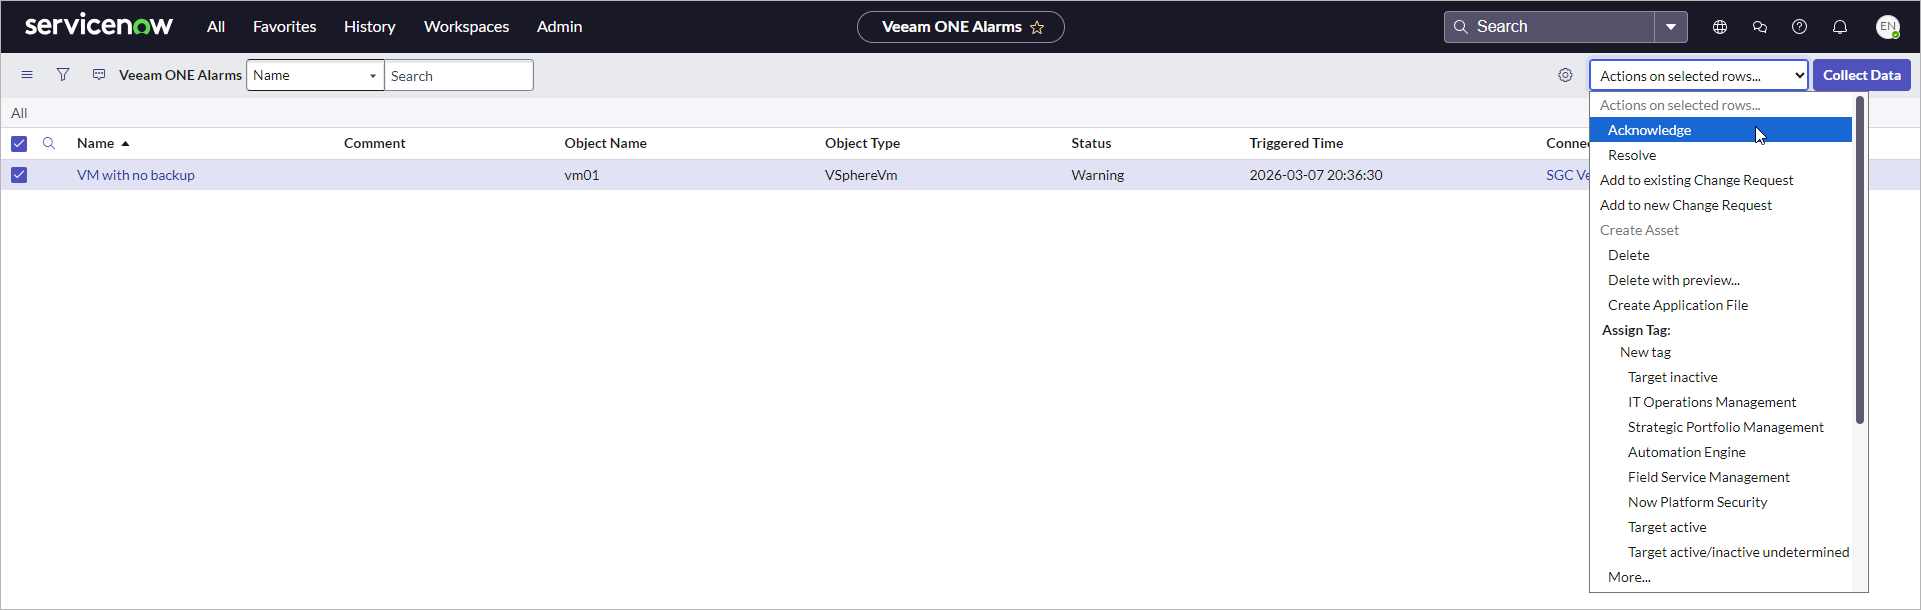
To acknowledge the alarm, perform the following steps:
- Click All > Veeam > Audit > Triggered Alarms.
- Select one or more alarms from the list.
- From the Actions on selected rows drop-down list, select Acknowledge.
- Specify a comment and click OK.
Resolving Alarms
You can manually resolve alarms if the state of the monitored object is back to normal, or if the alarm requires no further investigation and no corrective actions should be taken. For more information on this operation, see the Resolving Alarms section in the Veeam ONE User Guide.
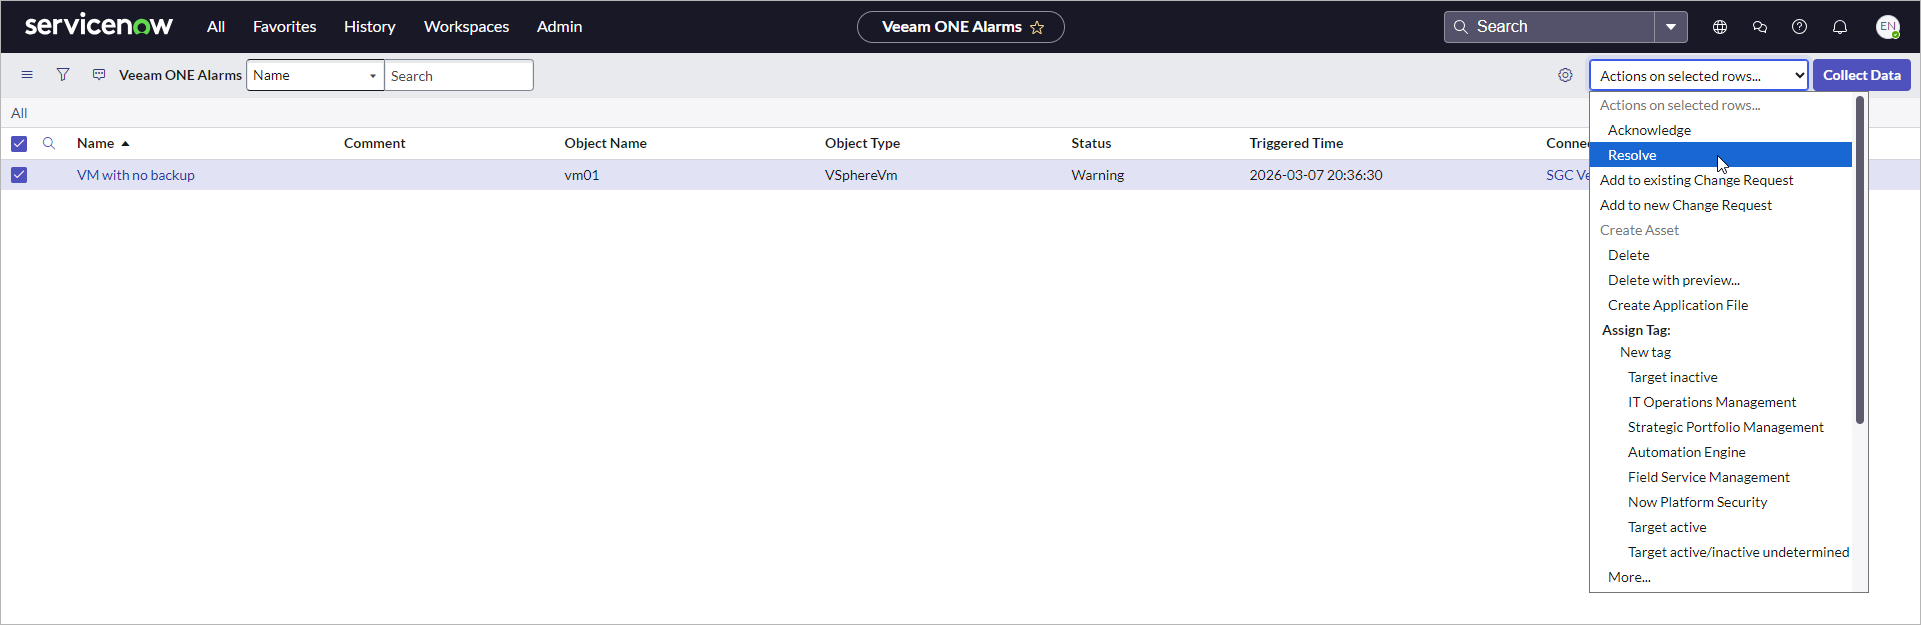
To resolve the alarm, perform the following steps:
- Click All > Veeam > Audit > Triggered Alarms.
- Select one or more alarms from the list.
- From the Actions on selected rows drop-down list, select Resolve.
- Specify a comment and click OK.
Note |
|
If you resolve the incident based on the alarm, this alarm will be automatically resolved. |
Creating Rules
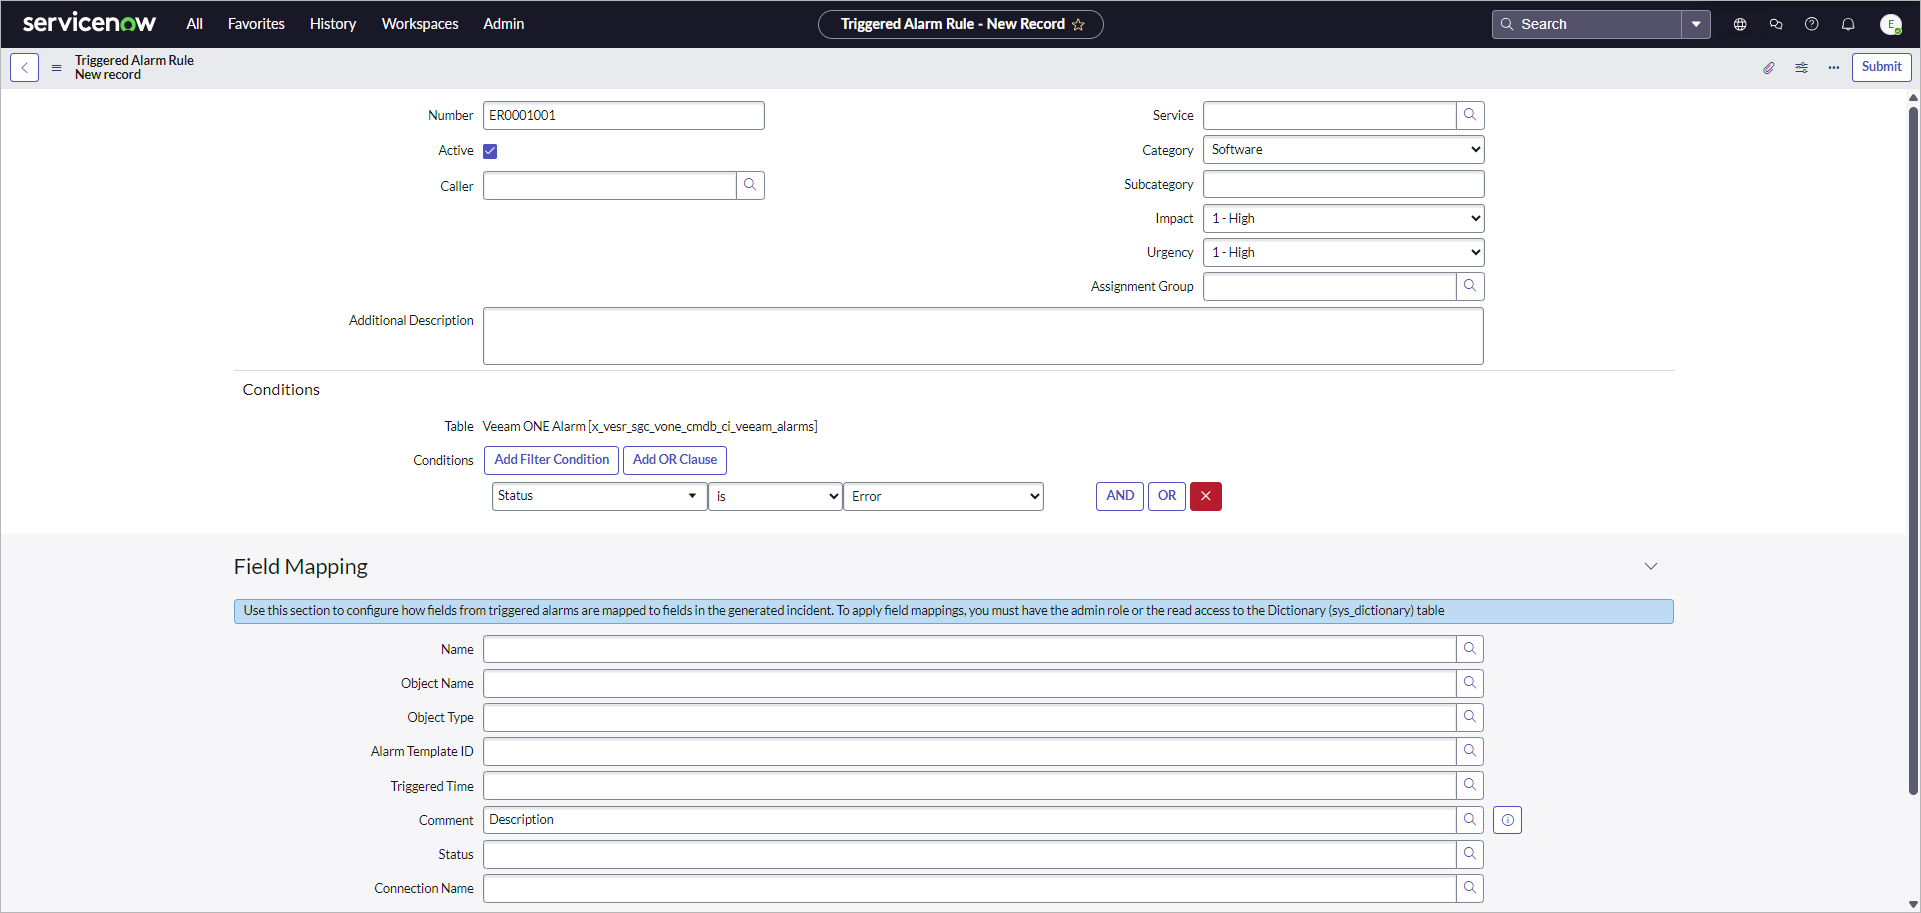
To create a triggered alarm rule that will trigger an incident, perform the following steps:
- Click All > Veeam > Audit > Triggered Alarm Rules.
- Click New.
- Fill in the following fields if applicable:
- Caller — incident reporter.
- Service — affected business service.
- Category — incident type.
- Impact — measure of the incident effect.
- Urgency — how long the resolution can be delayed until an incident has a significant business impact.
- Assignment Group — user group to work on the incident.
- Additional Description — specific details related to the incident.
- In the Conditions section, specify rule conditions that will trigger the incident.
- Click Submit.
To view information on all created incidents, click All > Self-Service > Incidents.
Tip |
|
By default, an incident contains minimum triggered alarm details displayed in the Correlation ID and Description fields. To provide more details, link the triggered alarm fields with the incident built-in or custom fields in the Field Mapping section. |