Step 2. Open File-Level Restore Portal
After you have enabled the file-level restore feature, you can access the file-level restore portal.
To open the file-level restore portal:
- At the top left corner, click Exit Configuration.
- In the menu on the left, click Protected Data.
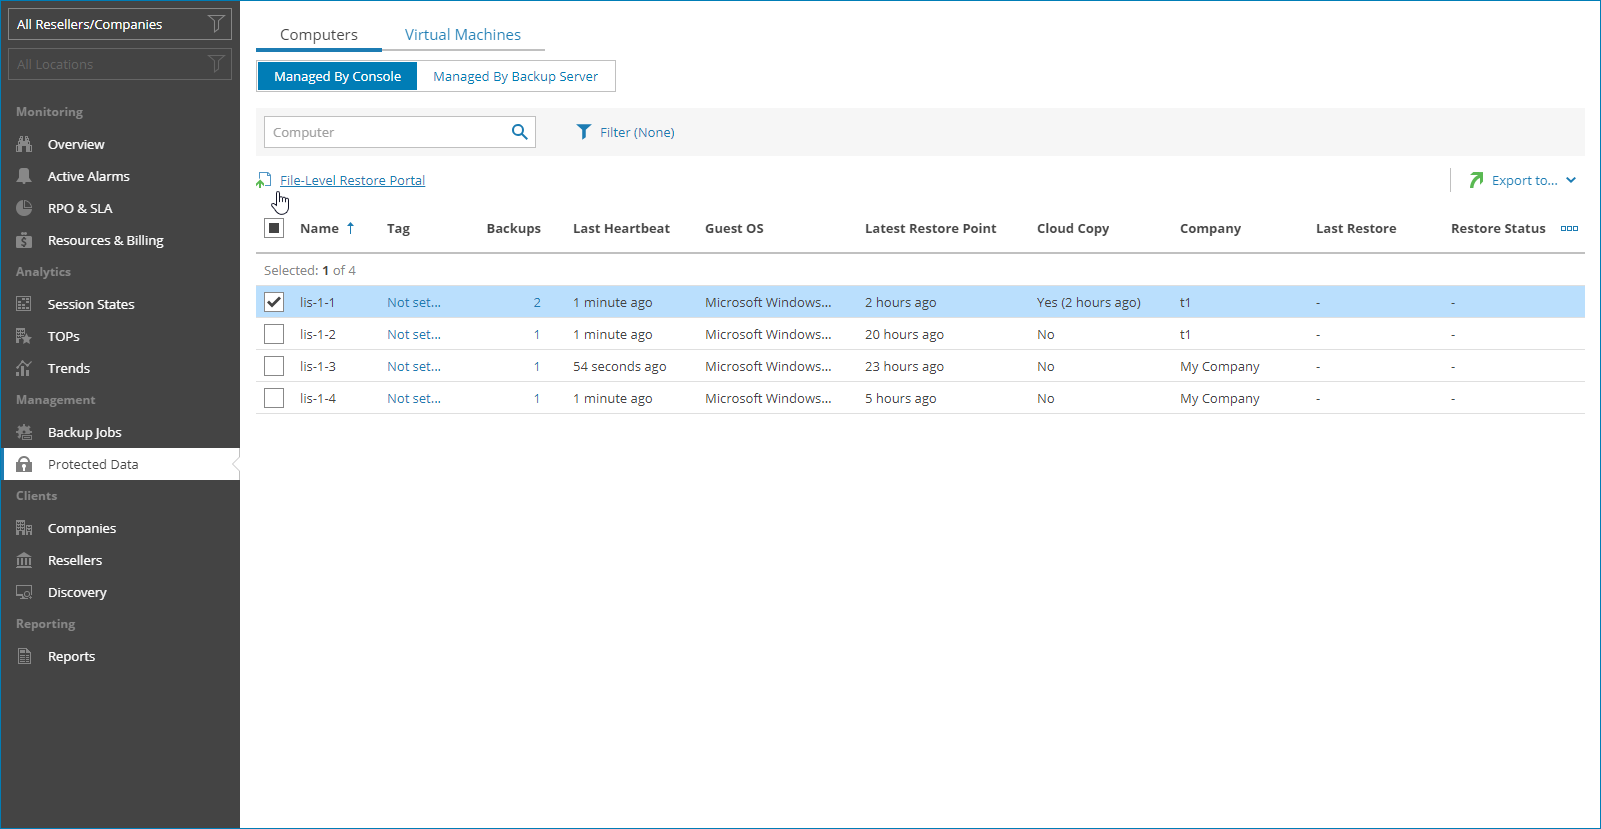
- Open the Computers tab and navigate to Managed by Console.
Veeam Service Provider Console will display a list of all computers that have least one successfully completed Veeam backup agent job.
- Select protected computers from the list.
To display all computers protected by Veeam Agent for Microsoft Windows, click Filter, in the Guest OS section select Windows and click Apply.
- At the top of the list, click File-Level Restore Portal.
Alternatively, you can right-click the protected computer and choose File-Level Restore Portal.
The file-level restore portal will open in a new tab.
More Information
For details on how to access the file-level restore portal for Veeam Agent for Linux and Veeam Agent for Mac, see the following sections of the Guide for Service Providers: