Configuring Advanced Settings
To configure backup job advanced settings, do the following:
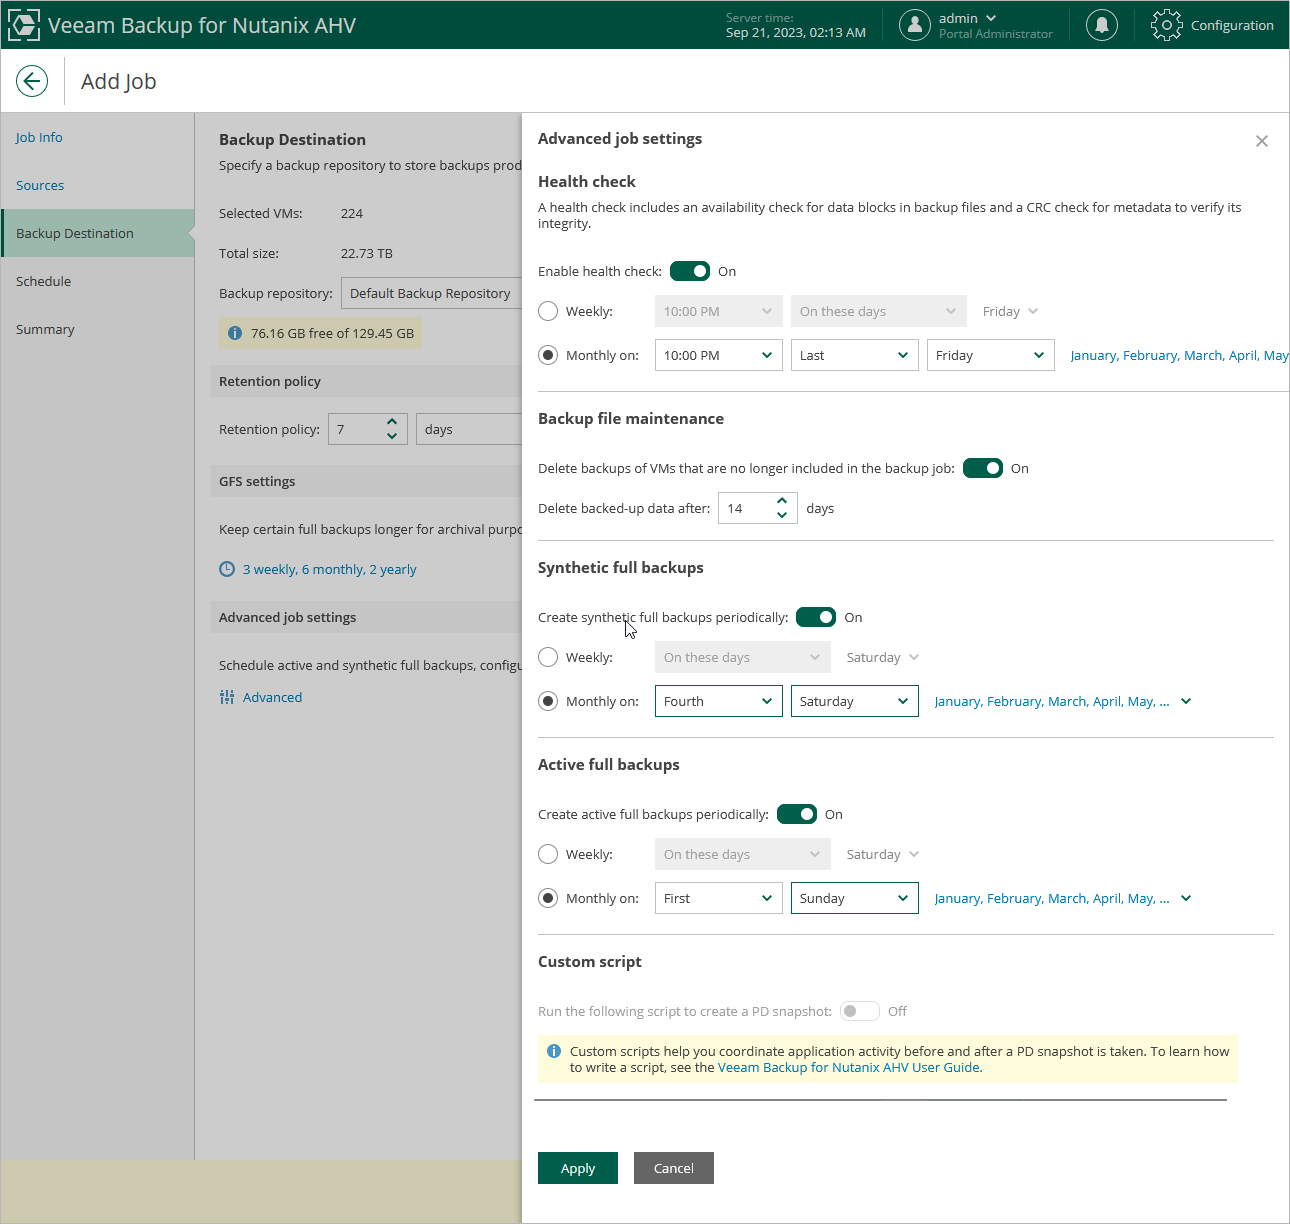
- To configure retention settings for backups of VMs that are no longer processed by the backup job, in the Backup file maintenance section of the Advanced job settings window, set the Delete backups of VMs that are no longer included in the backup job toggle to On, and specify the number of days during which Veeam Backup for Nutanix AHV will keep backups of VMs excluded from the job.
- From the Compression level drop-down list, select a compression level for the backup: None, Dedupe-friendly, Optimal, High or Extreme. For more information on data compression, see Compression and Deduplication.
- From the Storage optimization drop-down list, select the block size that will be used to process VMs. For more information on the data block sizes and how they affect performance, see Storage Optimization.
- To instruct Nutanix AHV to freeze applications running on VMs while snapshots are taken, set the Enable Nutanix Guest Tools quiescense toggle to On and choose how Nutanix AHV will process transaction logs.
Keep in mind that the Never truncate transaction logs (VSS_BT_COPY) option may significantly increase the amount of storage space consumed by VMs that function as Microsoft Exchange Mail Servers.
Note |
This setting will be applied only if guest processing is not configured for the backup job. |
- [Applies only if you have included protection domains in the backup job] To instruct Veeam Backup for Nutanix AHV to execute a custom script while running the backup job, set the Run the following script to create a PD snapshot toggle to On, and click Browse to upload a script file. For more information, see Writing Custom Scripts.
Note |
When running custom scripts, Veeam Backup for Nutanix AHV uses native Nutanix AHV capabilities to take PD snapshots. If Nutanix AHV fails to create a PD snapshot, the backup job will also fail to complete successfully. For more information on the prerequisites for creating PD snapshots, see Snapshot Types. |