 This is an archive version of the document. To get the most up-to-date information, see the current version.
Managing VMs
You can use vSphere Self-Service Backup Portal to perform the following operations with backed-up VMs:
- Search VMs and view VMs details
- Restore VMs
- Restore VM disks
- Delete VMs
You can restore vSphere VMs to the original (production) location using flexible restore options. To restore a VM, do the following:
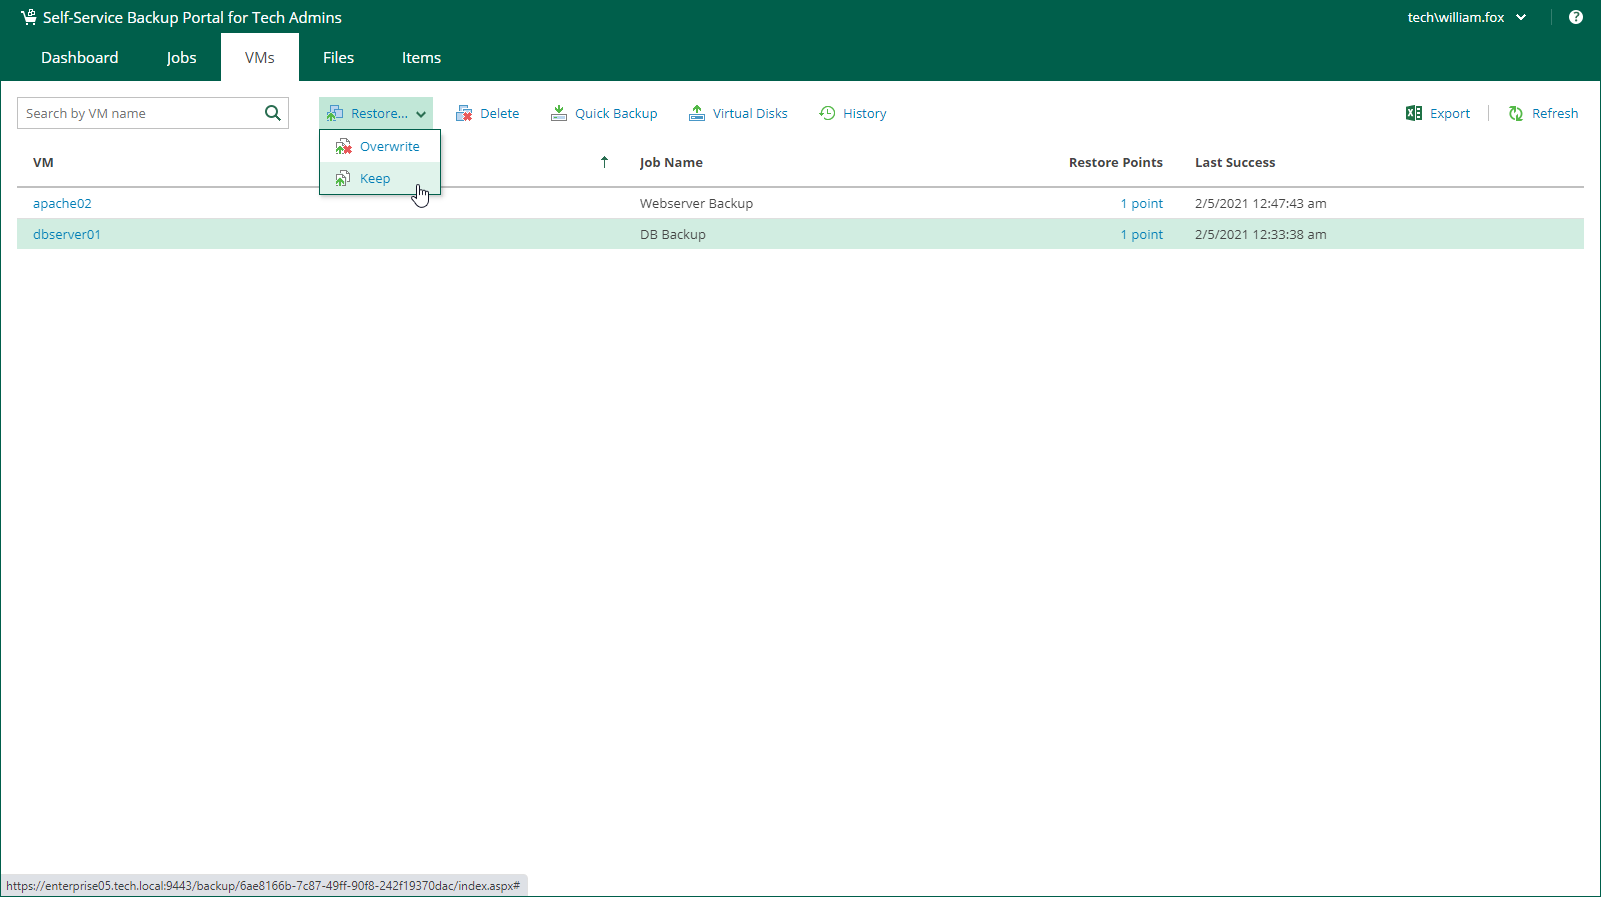
- On the VMs tab, select the necessary VM in the list of VMs. You can also use the search field to search for the necessary VM by a VM name.
- Click Restore and select the option you need:
- Select the Overwrite option if you want to replace the VM in the original location with the VM in the backup. The current state of the VM will be deleted.
- Select the Keep option if you want to save the current state of the VM. The restored VM will be located next to the original VM and will have the same name with the _restored suffix added to the VM name.
- In the Restore window, select the restore point that will be used to restore the VM.
- You can select additional options for the VM restore:
- Select the Quick rollback check box if you want to restore only the changed data. This option is available only for VMs that were protected with the Changed Block Tracking (CBT) option.
- Select the Power on VM after restoring check box if you want to turn on the VM once it is restored.
- Select the Restore VM tags check box if you want to restore vSphere tags of the VM.
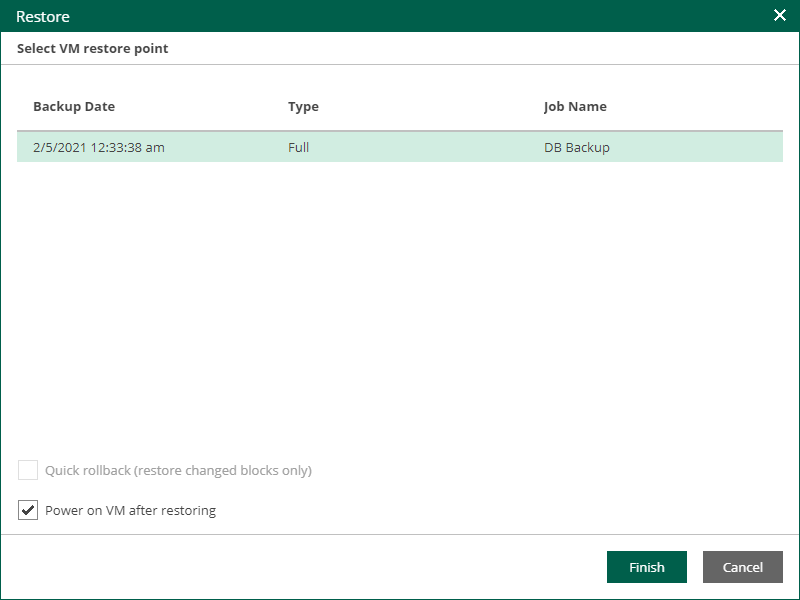
- Click Finish.
- Veeam Backup Enterprise Manager will display a message notifying that the VM from the backup will replace the original VM if this VM is present in the original location. Click Proceed to start the VM restore operation.
You can view the VM restore progress. To do this, on the VMs tab, click History.
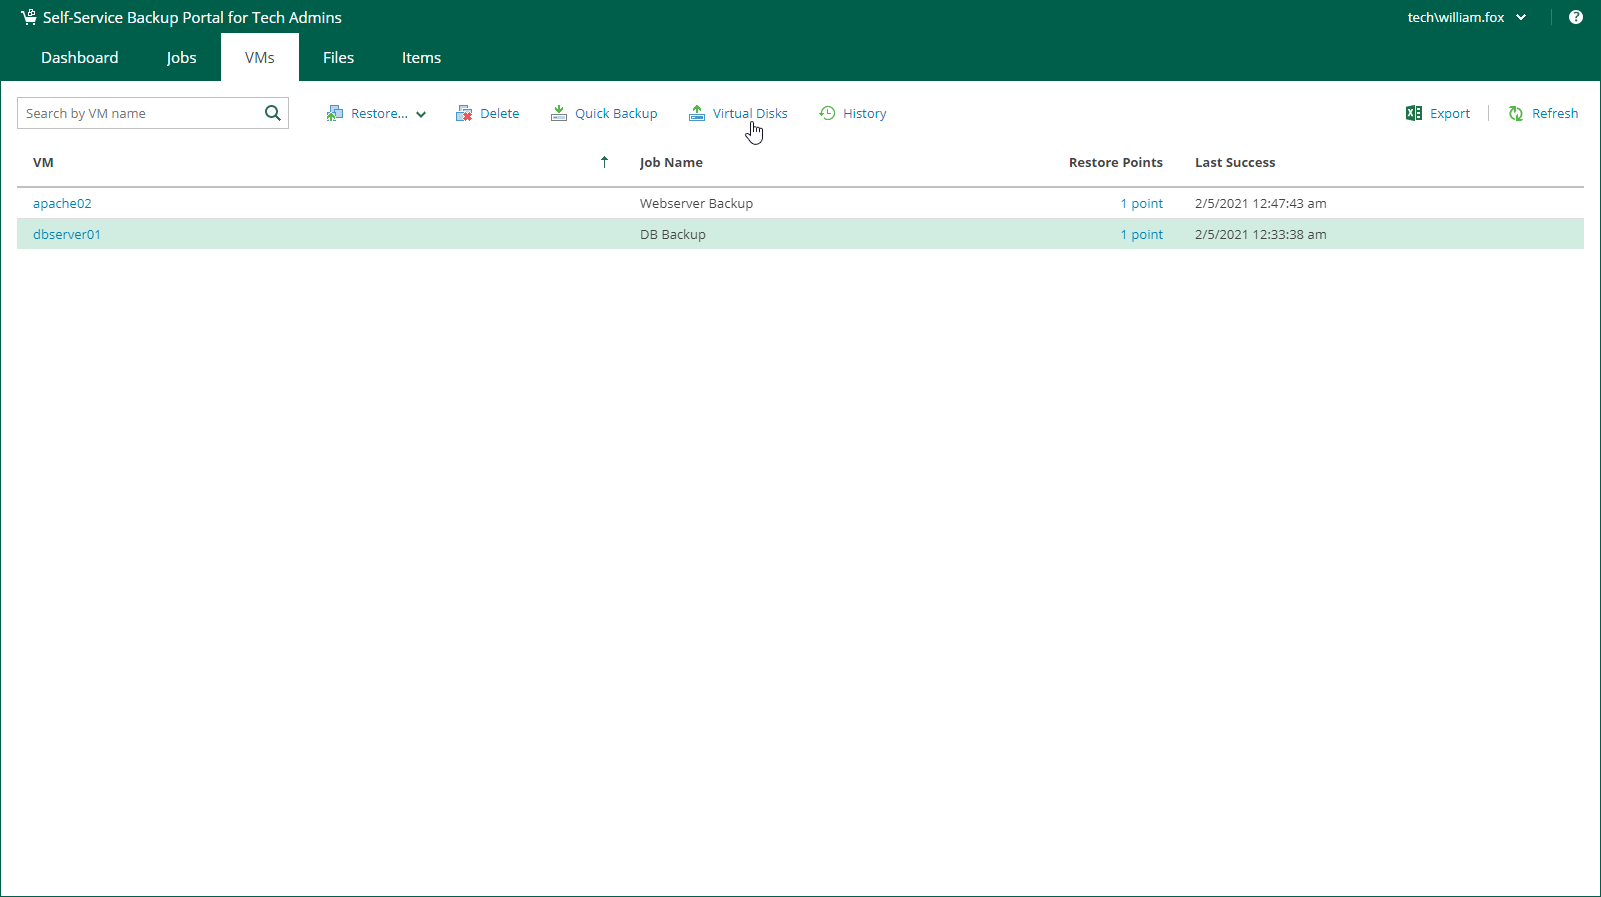
You can restore individual virtual disks from backups of vSphere VMs:
- On the VMs tab, select the backup of the VM whose disks you want to restore. You can also use the search field to search for the necessary VM by a VM name.
- Click Virtual Disks.
- Follow the steps of the Virtual Disk Restore wizard. For details, see Performing Virtual Disk Restore.
You can delete a VM on vSphere Self-Service Backup Portal. This operation may be useful if you want to delete data of the backed-up VM from the backup repository.
When you delete a VM, Veeam Backup Enterprise Manager removes records about the VM from the UI and configuration database. In addition, Enterprise Manager removes data of the deleted VM from the backup.
To delete a VM, on the VMs tab, select the necessary VM and click Delete. Then press Yes in the Delete VM window.
The deleted VM is not removed from the list of VMs immediately. The VM will be removed from the list after records about the VM are removed from the configuration database on the Veeam backup server.