 This is an archive version of the document. To get the most up-to-date information, see the current version.
Checking for Updates
In this article
To perform an upgrade of Veeam Backup for Microsoft Office 365, do the following:
- In the main menu, click Upgrade.
- In the Check for available updates step, click Next.
Make sure to open the port that is required to access the Veeam auto-update server. For more information, see Used Ports.
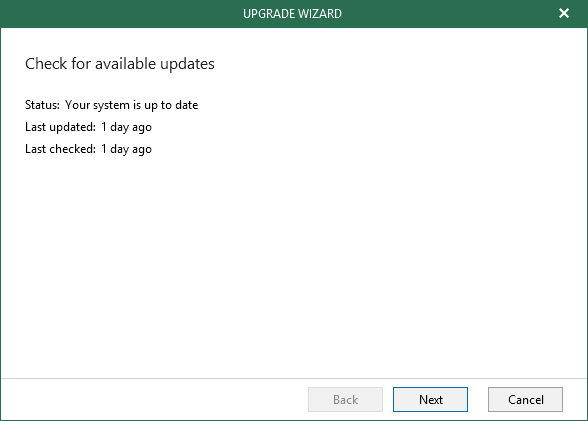
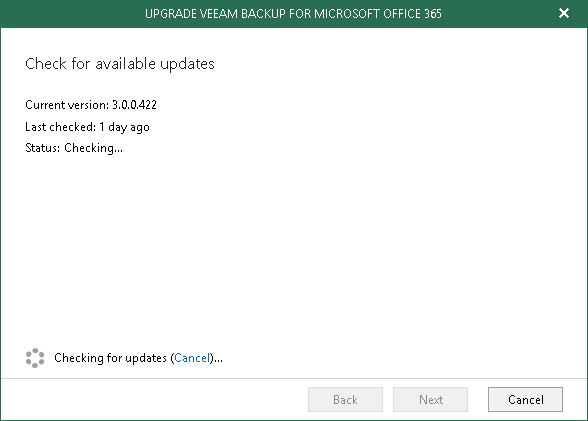
- Wait until Veeam Backup for Microsoft Office 365 checks whether a newer version is available.
To abort the request, click Cancel.
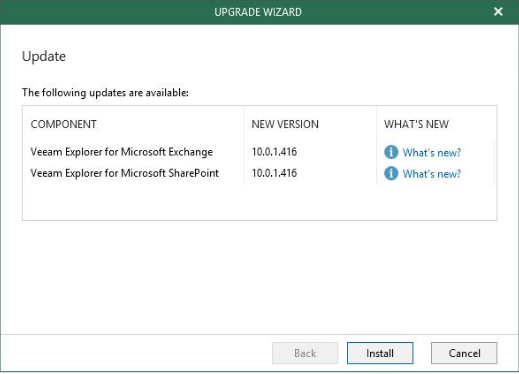
- If available, review details about new features and enhancements and click Upgrade.
During upgrade, the Veeam Backup for Microsoft Office 365 console will be closed, whereupon you will be offered to go through the setup steps, as described in Installing Veeam Backup for Microsoft Office 365.
- Once installation is complete, launch Veeam Backup for Microsoft Office 365, as described in Launching Veeam Backup for Microsoft Office 365.
- After you launch the Veeam Backup for Microsoft Office 365 console, you will be offered to upgrade Veeam Explorer for Microsoft Exchange and Veeam Explorer for Microsoft SharePoint.
|
Veeam Backup for Microsoft Office 365 is also capable of checking for a newer version of the application automatically. For that, select the Automatically check and notify me on available updates check box on the Updates tab, as described in Configuring Update Notifications. |