 This guide is for customers who continue to use the original platform for Veeam Data Cloud for Microsoft 365 until migration to the new unified experience platform is complete. If you use Veeam Data Cloud for Microsoft 365 in the unified experience platform, click here to go to the correct user guide.
Managing User Accounts
Veeam Data Cloud for Microsoft 365 allows you to add user accounts to access your organization. You can add user accounts manually, add user accounts in bulk, invite existing Veeam Data Cloud users to your organization, and add Entra ID groups.
|
IMPORTANT |
|
The user accounts that you add to Veeam Data Cloud for Microsoft 365 must be UPN (User Principal Name) accounts from the same domain you use in your Veeam Data Cloud organization. If you want to add external users, create UPN accounts for them on your domain. You must not use alias addresses. For more information on UPN, see this Microsoft article. |
To manually add user accounts, do the following:
- Log in to Veeam Data Cloud for Microsoft 365 with an administrator account.
- In the main menu, click Settings.
- In the Settings menu, click Admin Users.
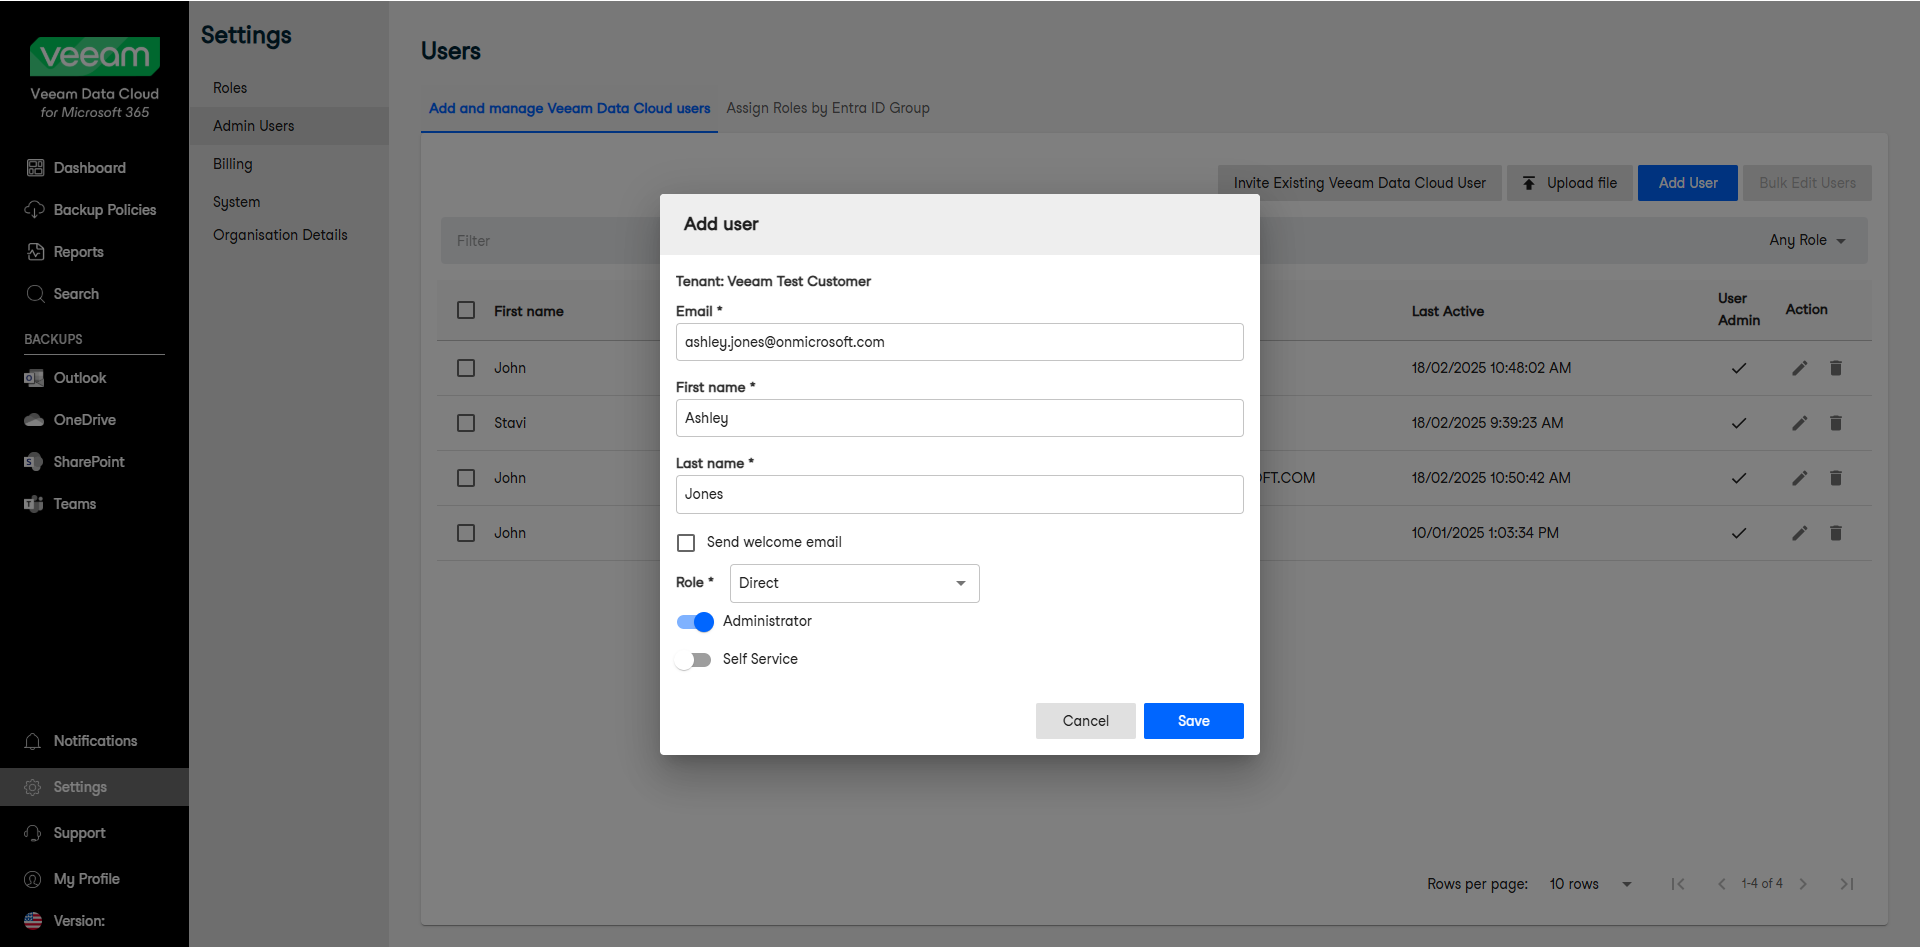
- In the Add and manage Veeam Data Cloud users tab, click Add User.
- Fill in the Email, First name, and Last name fields for the user you are adding.
- Select the Send welcome email check box if you want the user to receive a welcome email from Veeam Data Cloud.
- From the Role drop-down list, select how you want to assign a role to the user:
- Select Direct to directly assign a role to the user. Then, click the toggle of the role you want to assign to the user. For example, click the Administrator toggle to assign the administrator role to the new user.
- Select Entra ID group if the user is a member of an Entra ID group that is added to Veeam Data Cloud and you want the user to inherit the role that is assigned to the Entra ID group. For more information on Entra ID groups, see Adding Entra ID Groups.
- Click Save.
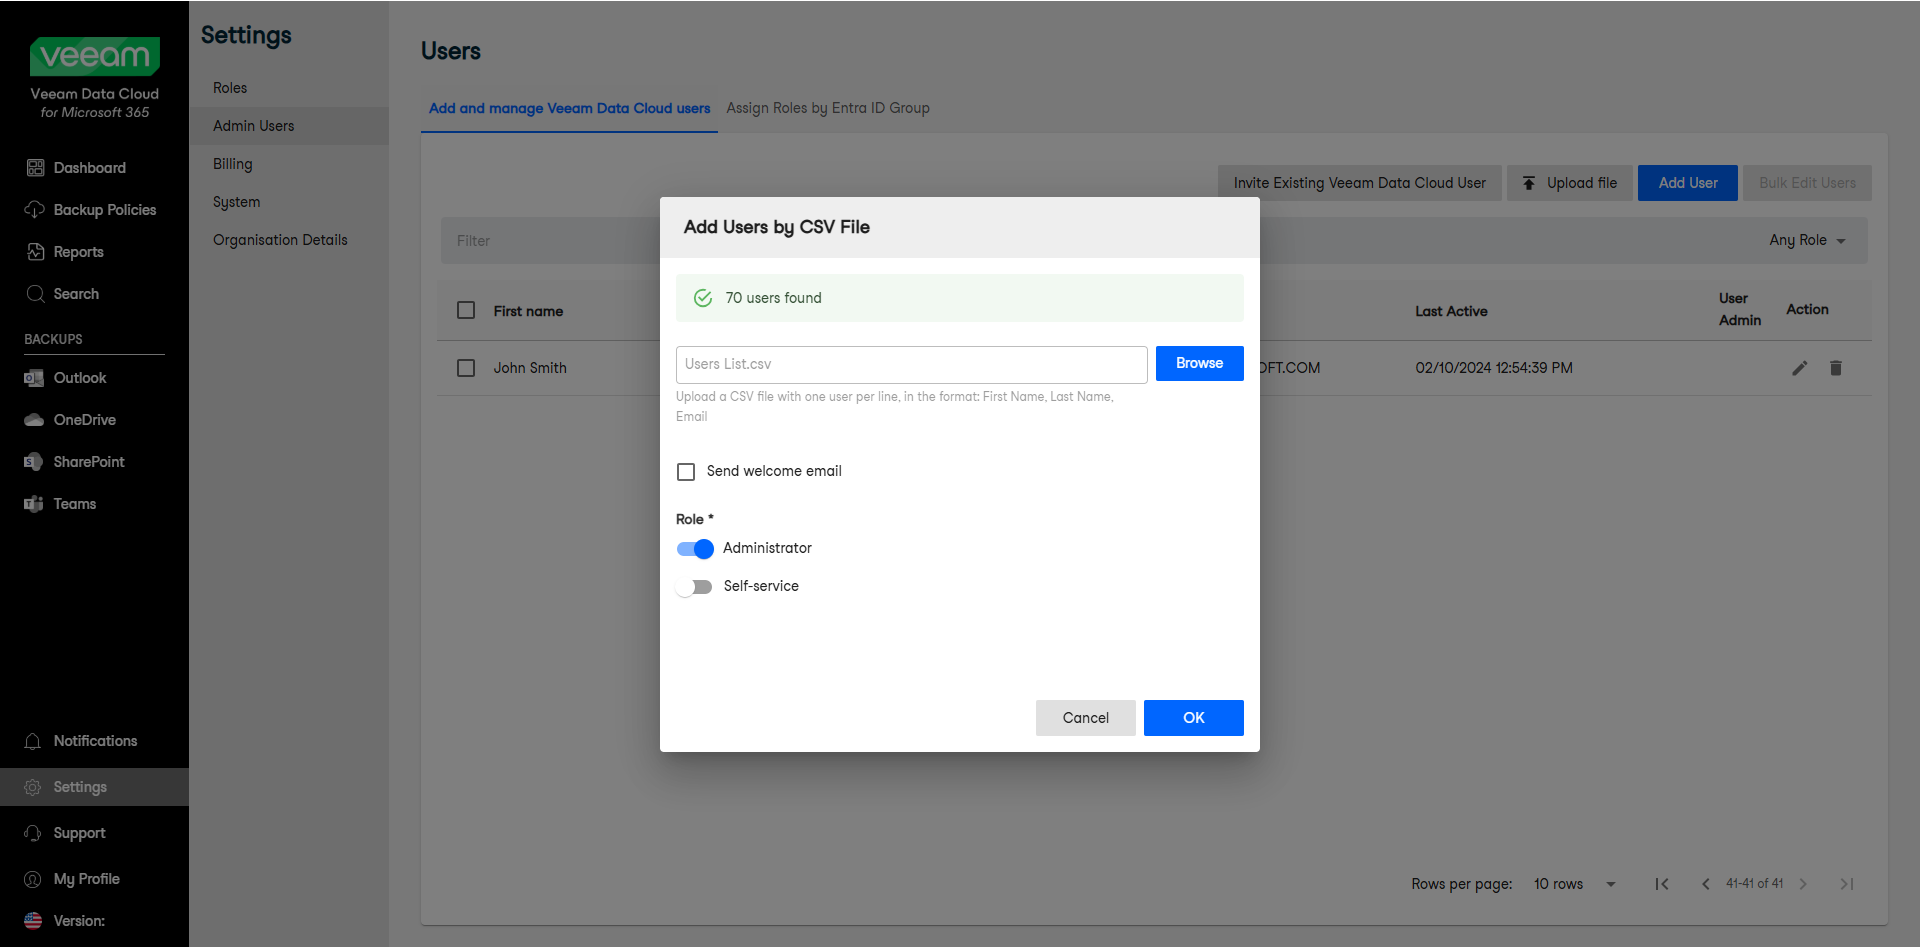
If you want to add user accounts to Veeam Data Cloud in bulk, you can upload a CSV file with a list of users. The CSV file must contain one user per line, with the first name, last name and email of the user, separated by a comma (,).
To add multiple user accounts at once, do the following:
- Log in to Veeam Data Cloud with an administrator account.
- In the main menu, click Settings.
- In the Settings menu, click Admin Users.
- In the Add and manage Veeam Data Cloud users tab, click Upload file.
- In the Add Users by CSV File window, click Browse and select the CSV file with the users list.
- Select the Send welcome email check box if you want the users to receive a welcome email from Veeam Data Cloud.
- In the Role section, click the toggle of the role you want to assign to the users.
- Click OK.
Inviting Existing Veeam Data Cloud Users
To invite users to your organization that already have access to Veeam Data Cloud, do the following:
- Log in to Veeam Data Cloud for Microsoft 365 with an administrator account.
- In the main menu, click Settings.
- In the Settings menu, click Admin Users.
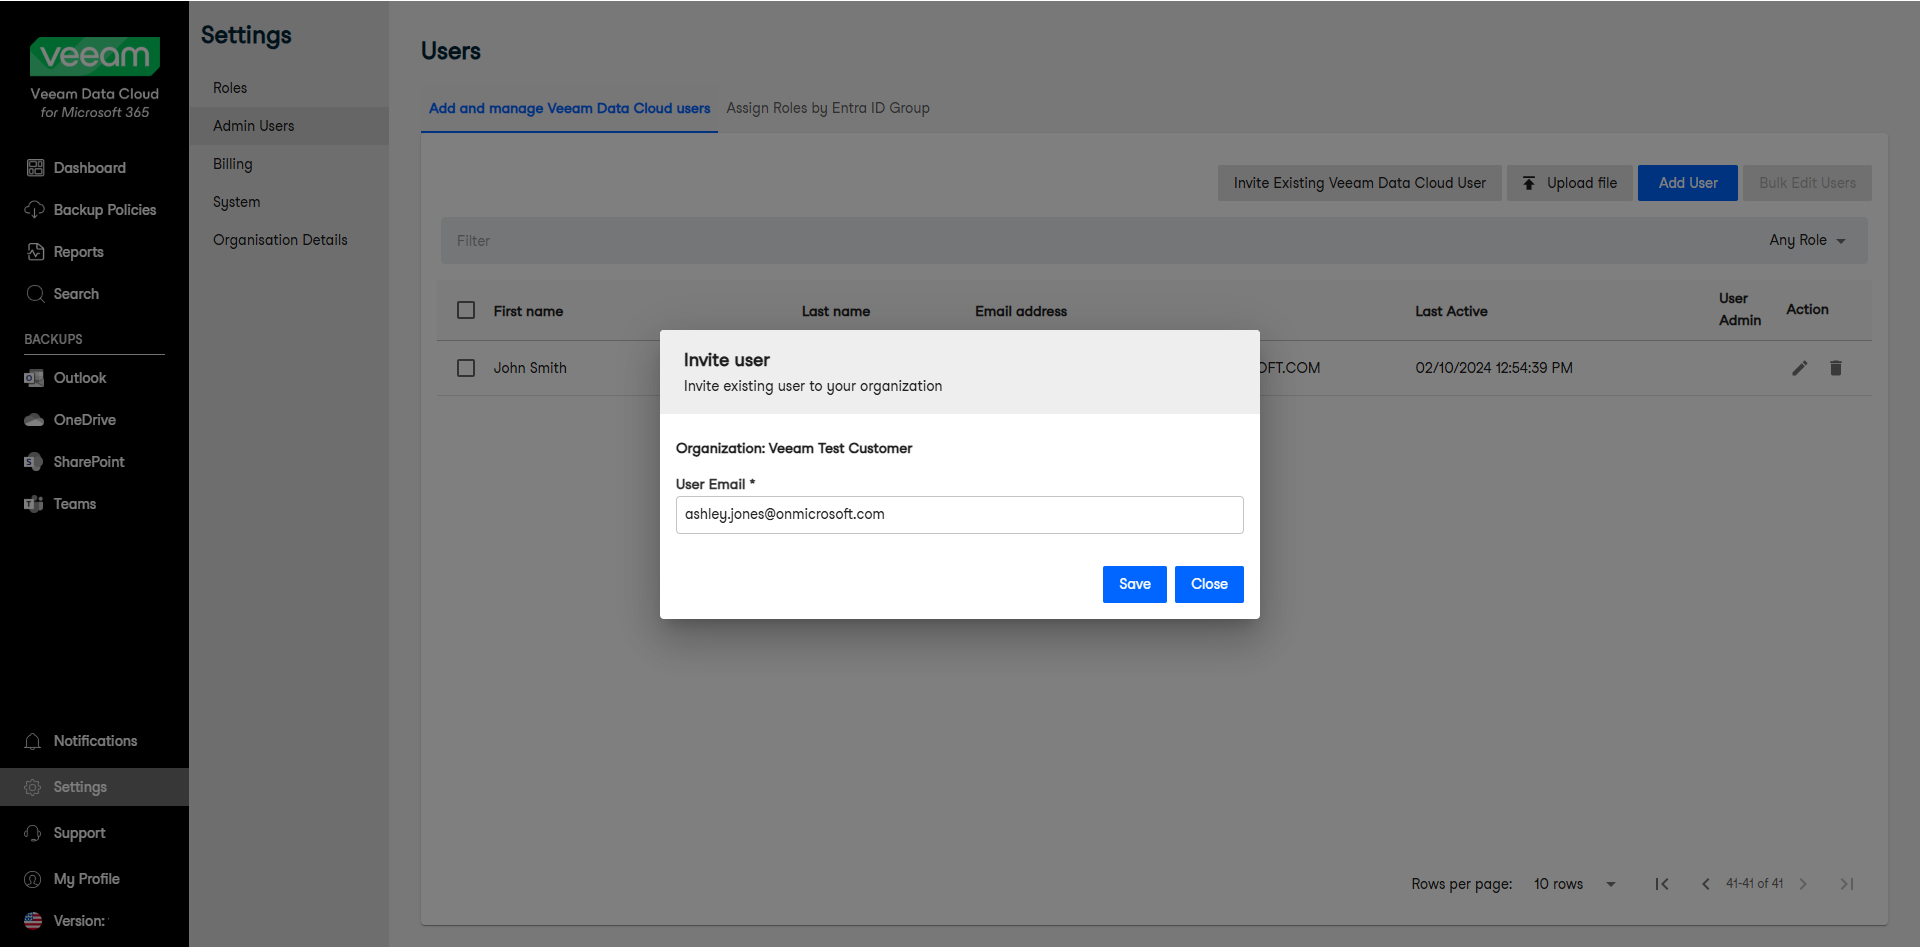
- In the Add and Manage Veeam Data Cloud users tab, click Invite Existing Veeam Data Cloud User.
- In the Invite user window, in the User Email field, type the email of the user you want to invite, and click Save.
You can add Entra ID groups from Microsoft 365 and assign a Veeam Data Cloud role to all the members of the Entra ID group.
To add an Entra ID group, do the following:
- Log in to Veeam Data Cloud for Microsoft 365 with an administrator account.
- In the main menu, click Settings.
- In the Settings menu, click Admin Users.
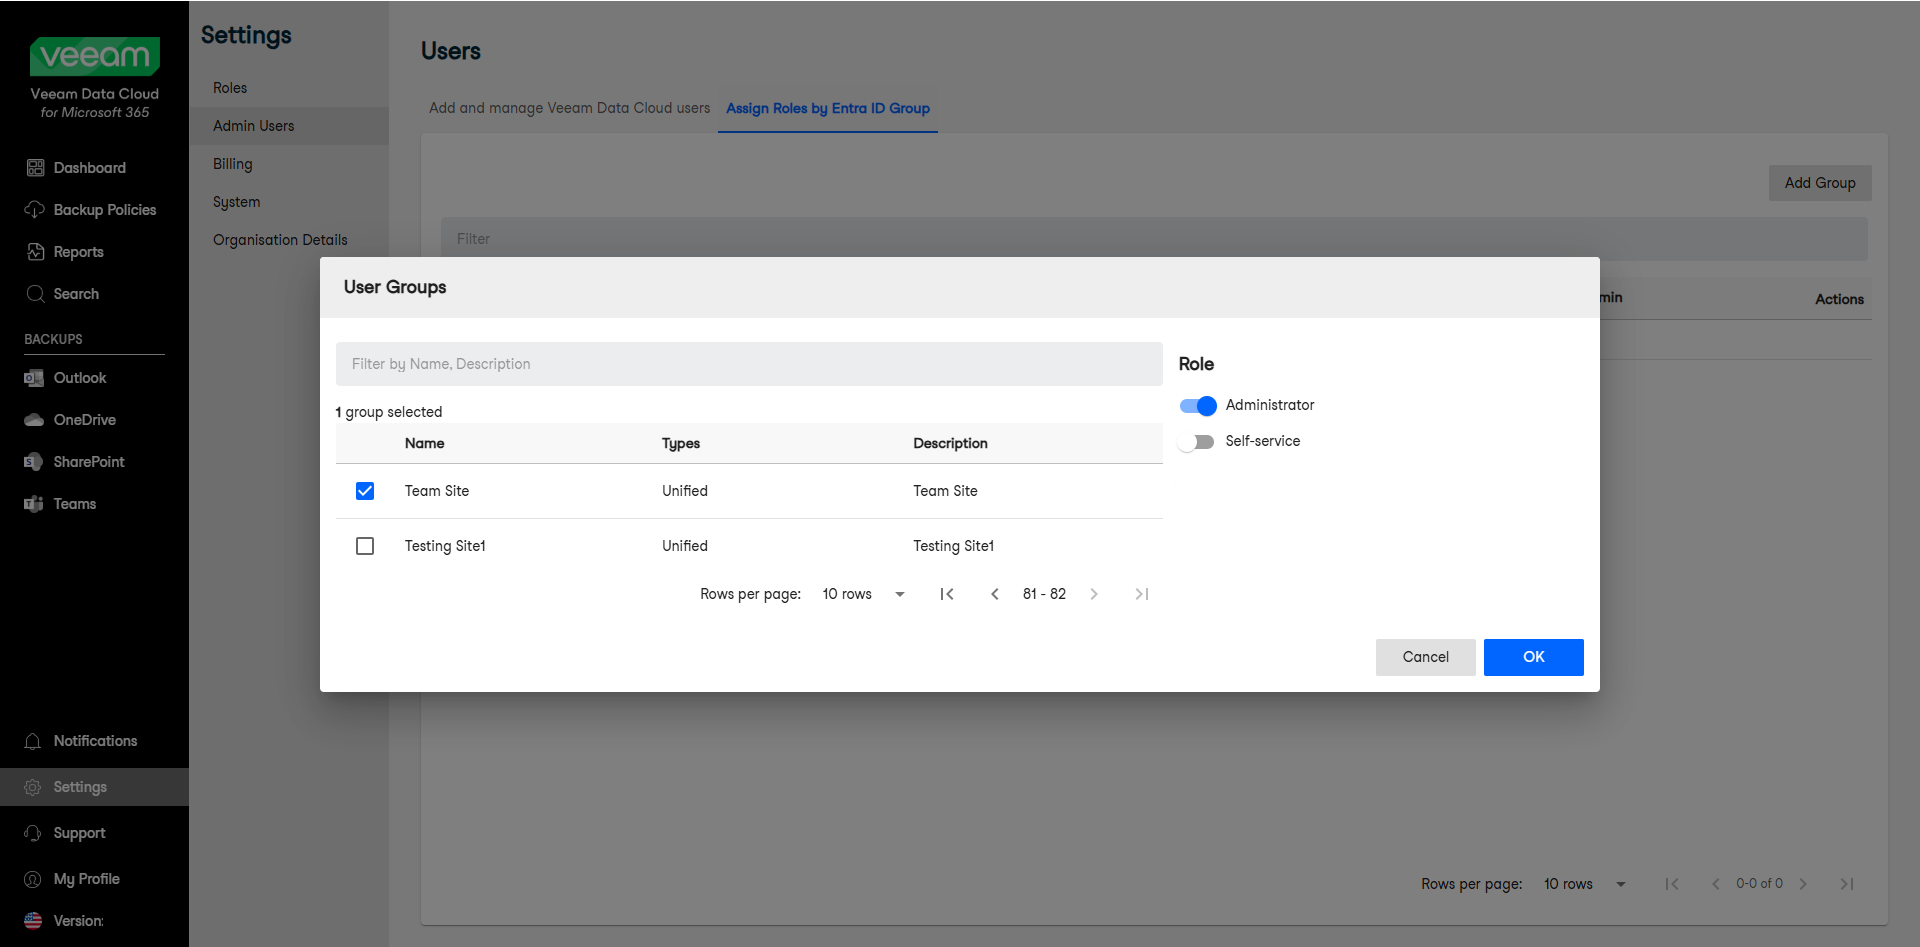
- In the Assign Roles by Entra ID Group tab, click Add Group.
- In the User Groups window, select the check box of the Entra ID group you want to add.
- In the Role section, click the toggle of the role you want to assign to the members of the Entra ID group.
- Click OK.
|
TIP |
|
If you assign the Administrator role to the users of an Entra ID group, it is recommended to have at least one user account with the Direct Administrator role. For information on how to assign a Direct role to a user, see Adding Users. |
Managing Users
In the Users settings page, you can view the list of users with access to Veeam Data Cloud for Microsoft 365. You can perform the following actions:
- Create new users.
To create new users, use one of the listed methods. For more information, see Adding Users, Adding Users in Bulk, Inviting Existing Veeam Data Cloud Users and Adding Entra ID Groups.
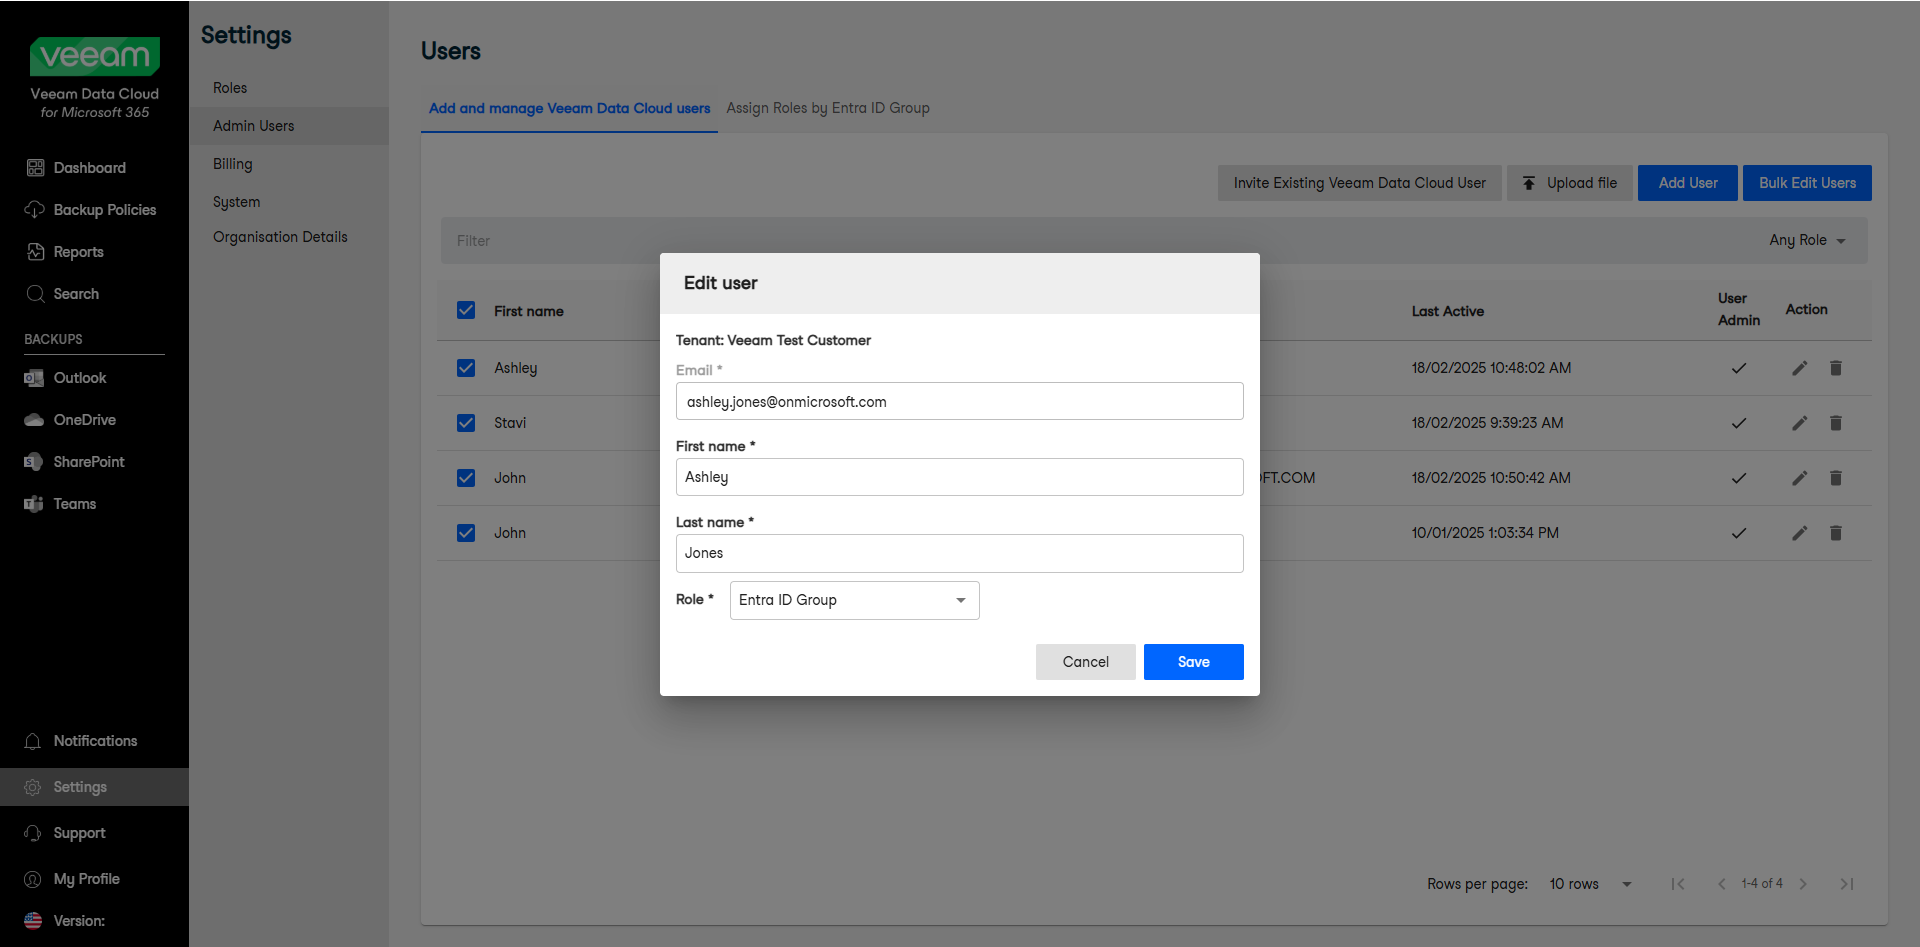
- Edit users.
To edit a user, click the pencil icon next to the user. In the Edit user window, you can edit the first name, last name and role.
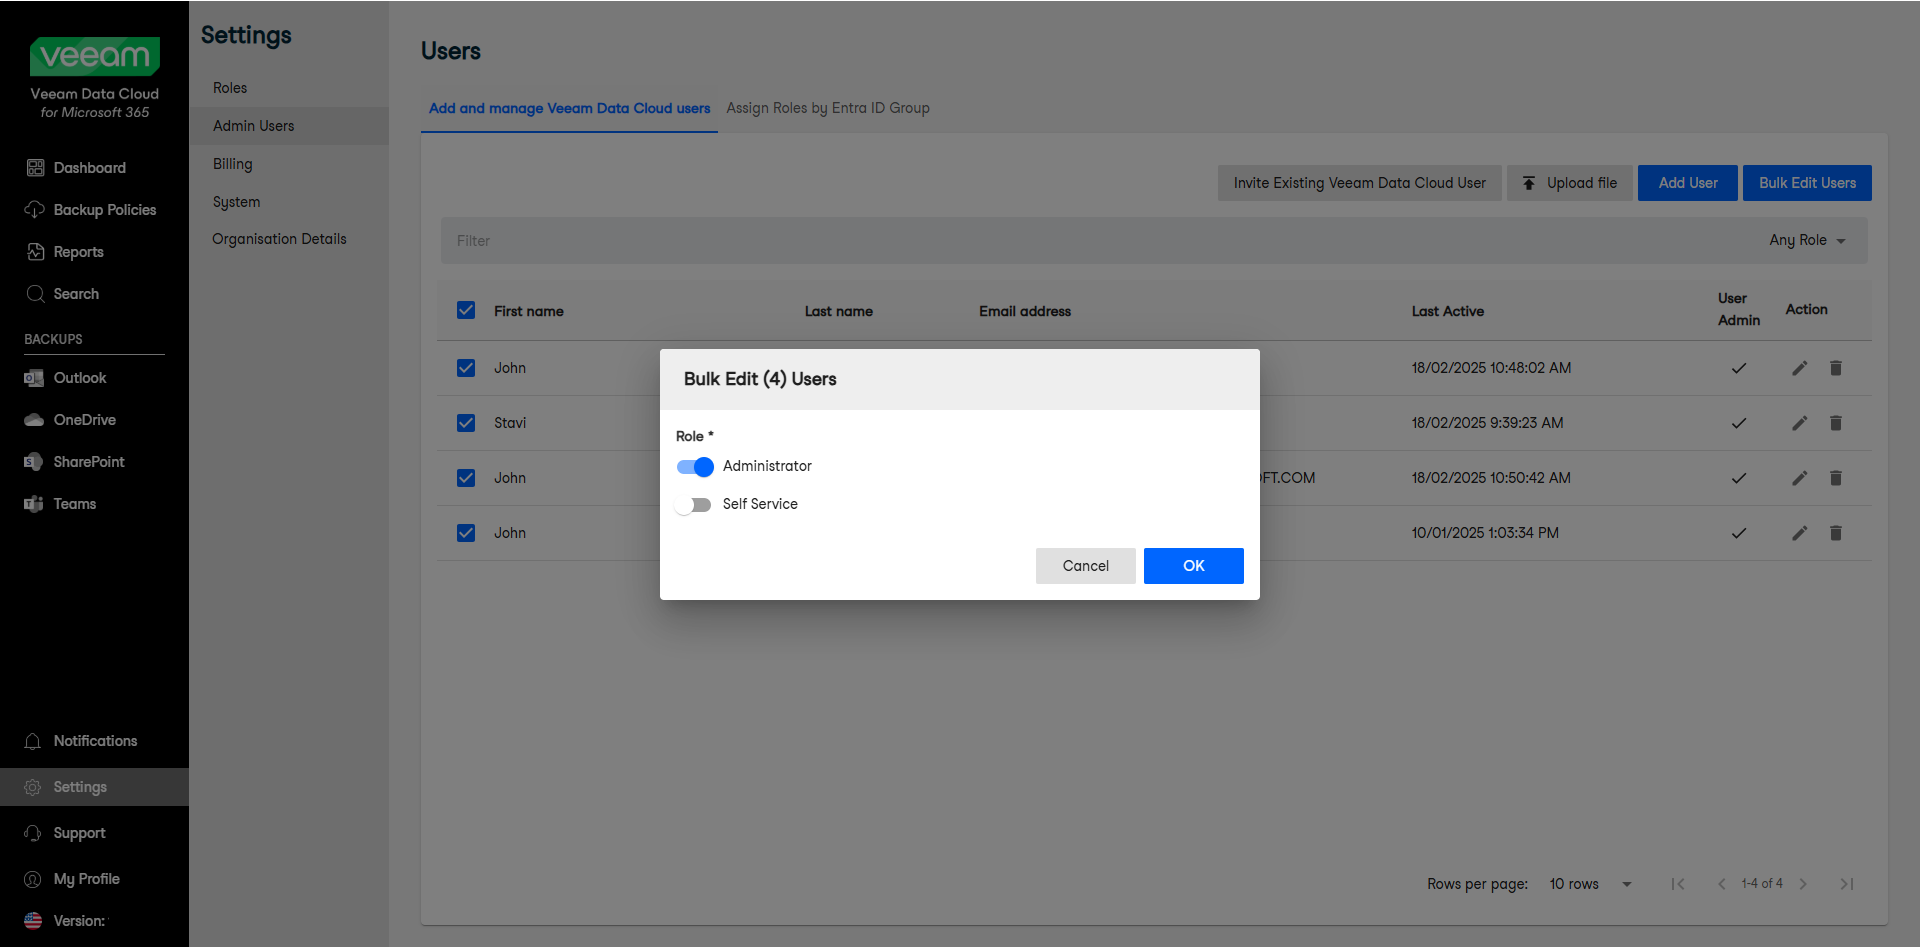
- Edit users in bulk.
To edit users in bulk, select the check boxes next to the users you want to edit and click Bulk Edit Users. In the pop-up window, toggle the role you want to assign to the users and click OK.
- Delete users.
To delete a user, click the trash can icon next to the user. In the delete confirmation window, click Delete.
Related Topics