 This guide is for customers who continue to use the original platform for Veeam Data Cloud for Microsoft 365 until migration to the new unified experience platform is complete. If you use Veeam Data Cloud for Microsoft 365 in the unified experience platform, click here to go to the correct user guide.
Self-Service Onboarding
The onboarding process takes only a few minutes to complete. This section outlines steps for both the Variable License Model and Fixed License Model. Additionally, if required, you can connect with a member of our Customer Success team who will guide you through the entire process.
TIP |
Using a different version of Veeam Data Cloud for Microsoft 365? You are viewing the guide for our original platform. If you use Veeam Data Cloud in the unified experience platform, click here to go to the correct guide. Existing users will gradually be moved to the unified experience platform with no action needed. |
NOTE |
The Veeam Data Cloud for Microsoft 365 welcome email and important system notifications are sent from the no-reply@veeamdatacloud.com email address. To ensure you receive all communications from Veeam Data Cloud for Microsoft 365, you must include no-reply@veeamdatacloud.com in your allowed, approved or safe senders list in your email client. |
Variable License Model Onboarding Steps
To complete the self-service onboarding process, take the following steps:
- In your welcome email from Veeam Data Cloud, click Activate your account.
Alternatively, follow the https://login.veeam.com/ link and sign in with the Microsoft 365 Global Admin account that was invited to Veeam Data Cloud.
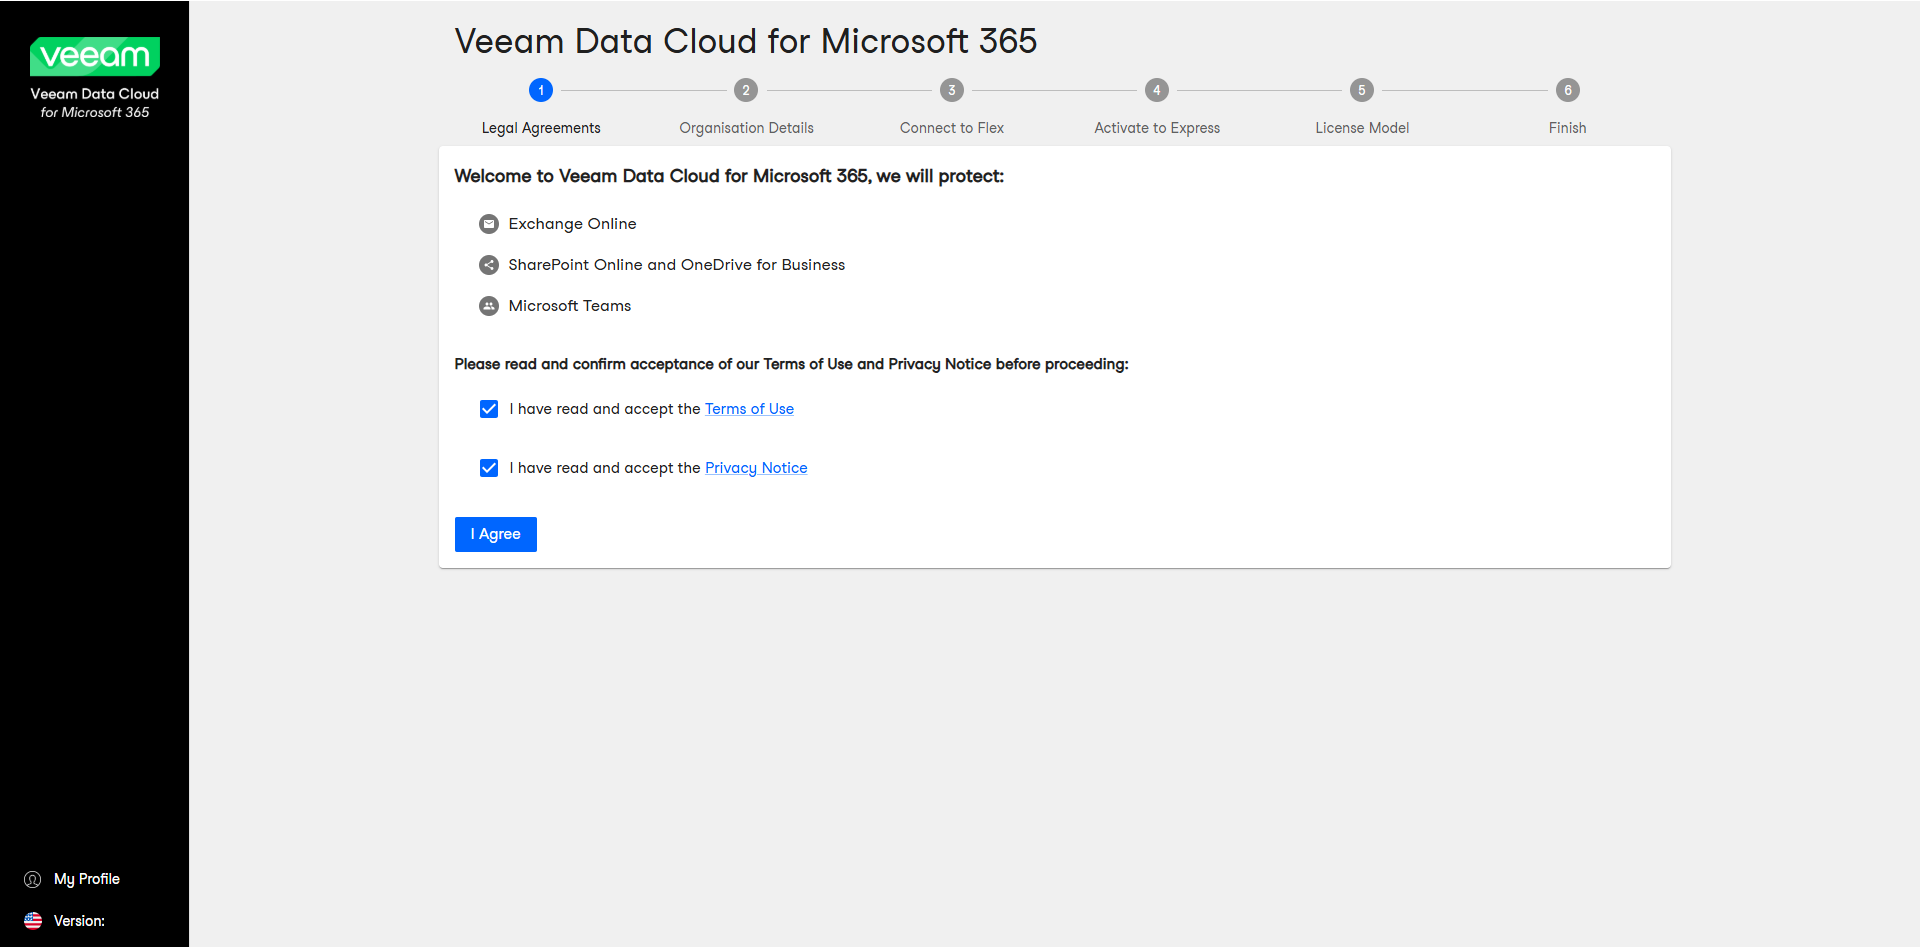
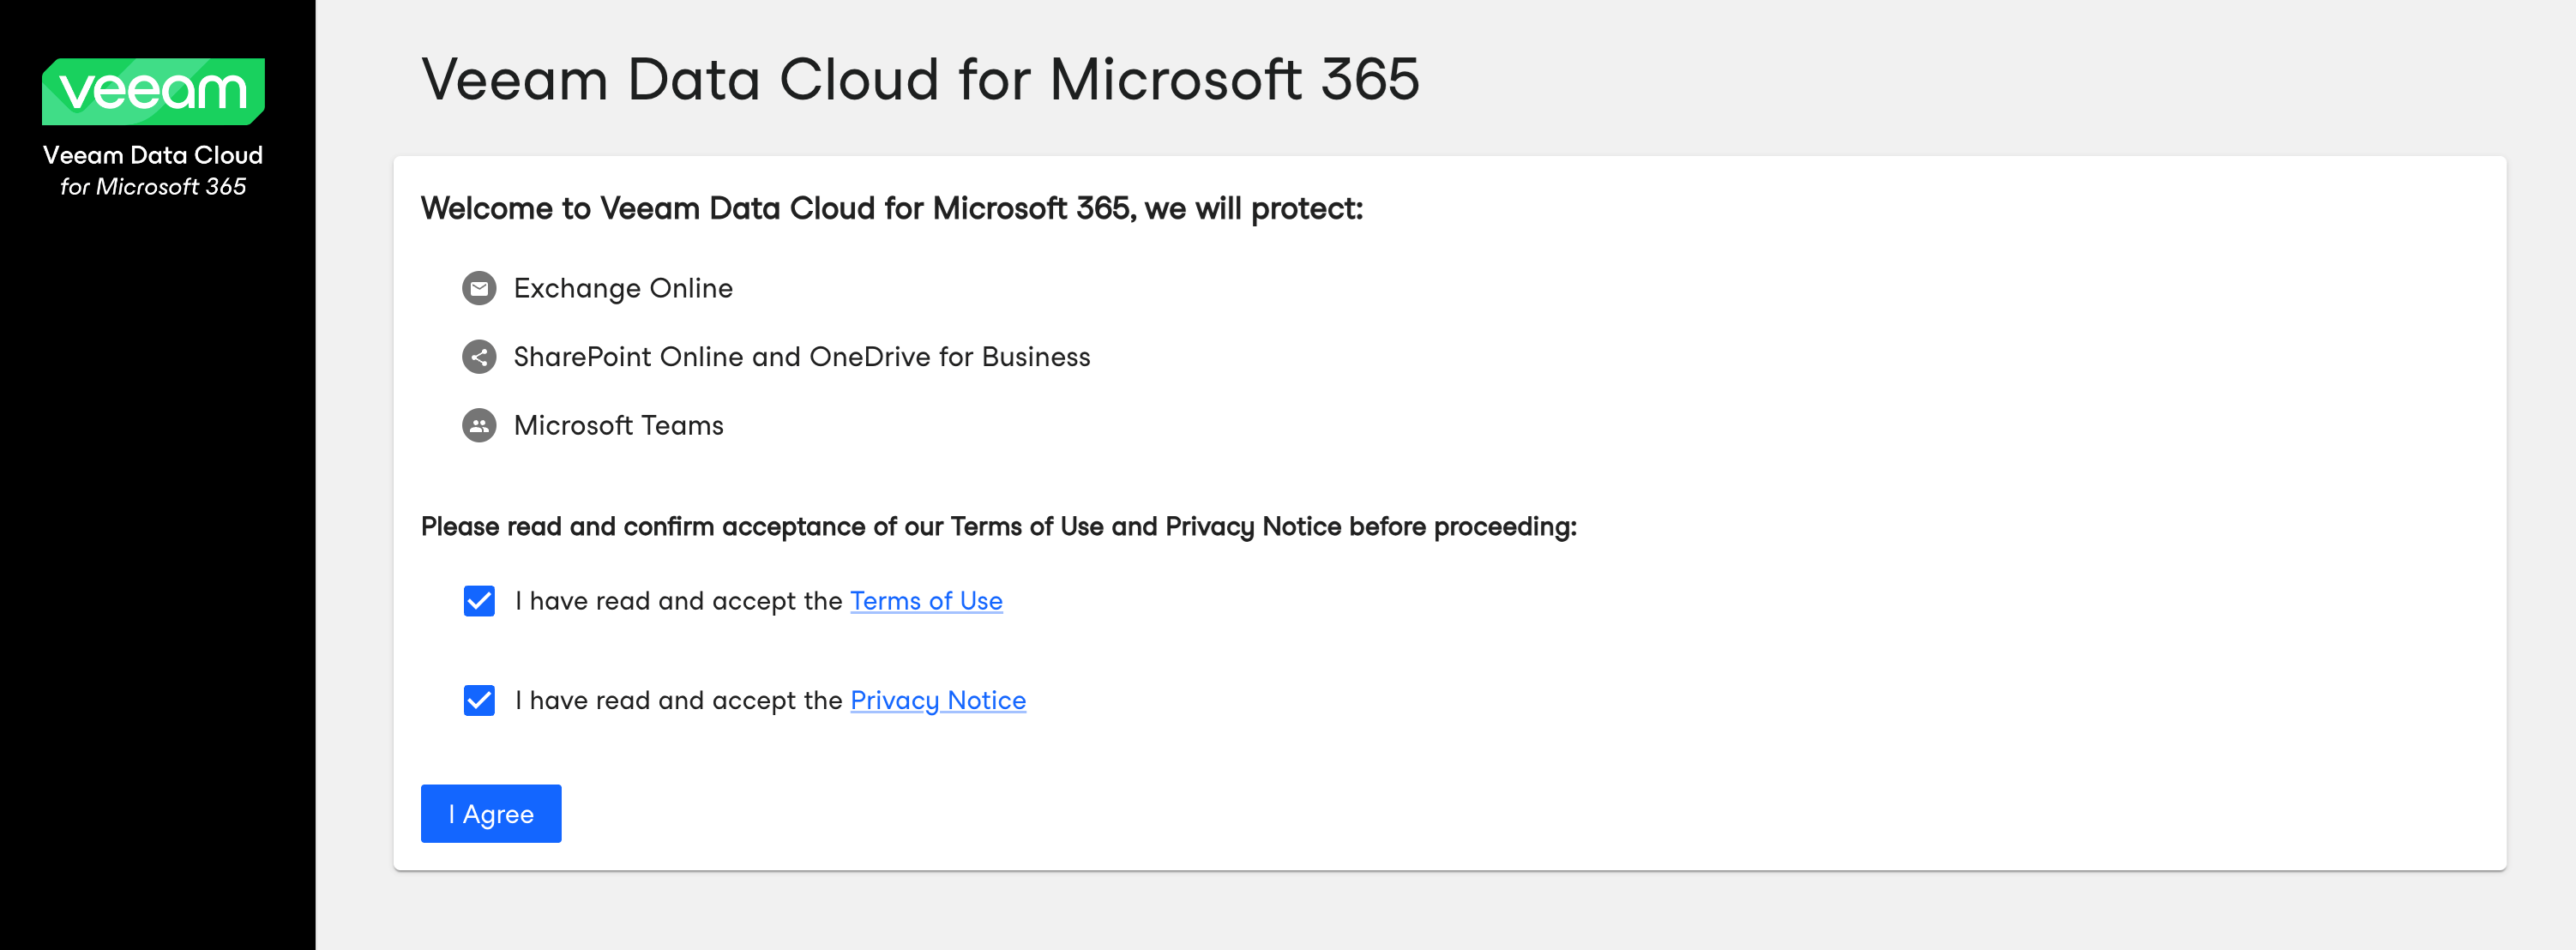
- At the Legal Agreements step, read and accept Terms of Use and Privacy Notice. Click I Agree.
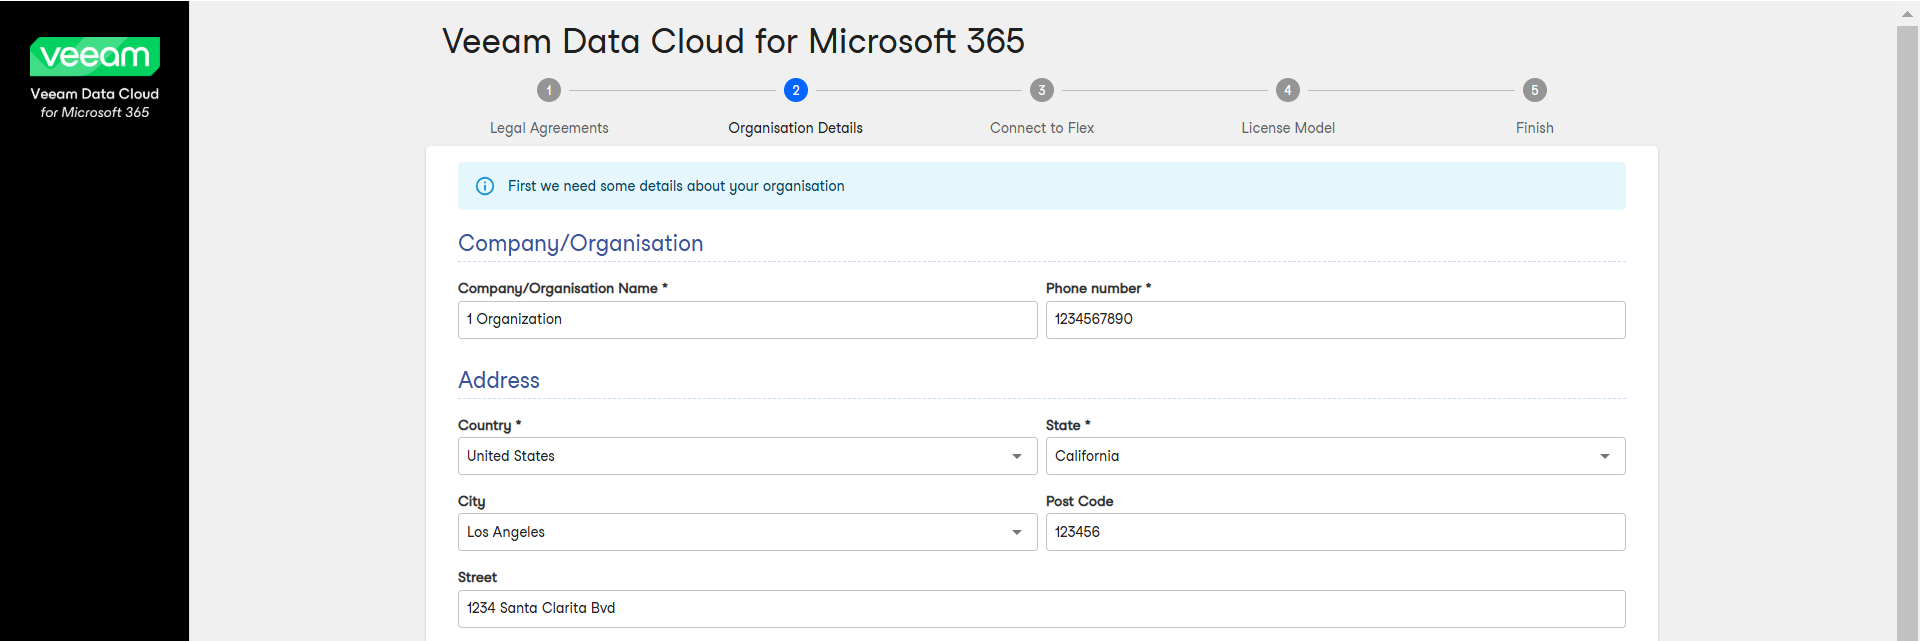
- At the Organisation Details step, enter your organization details and click Next.
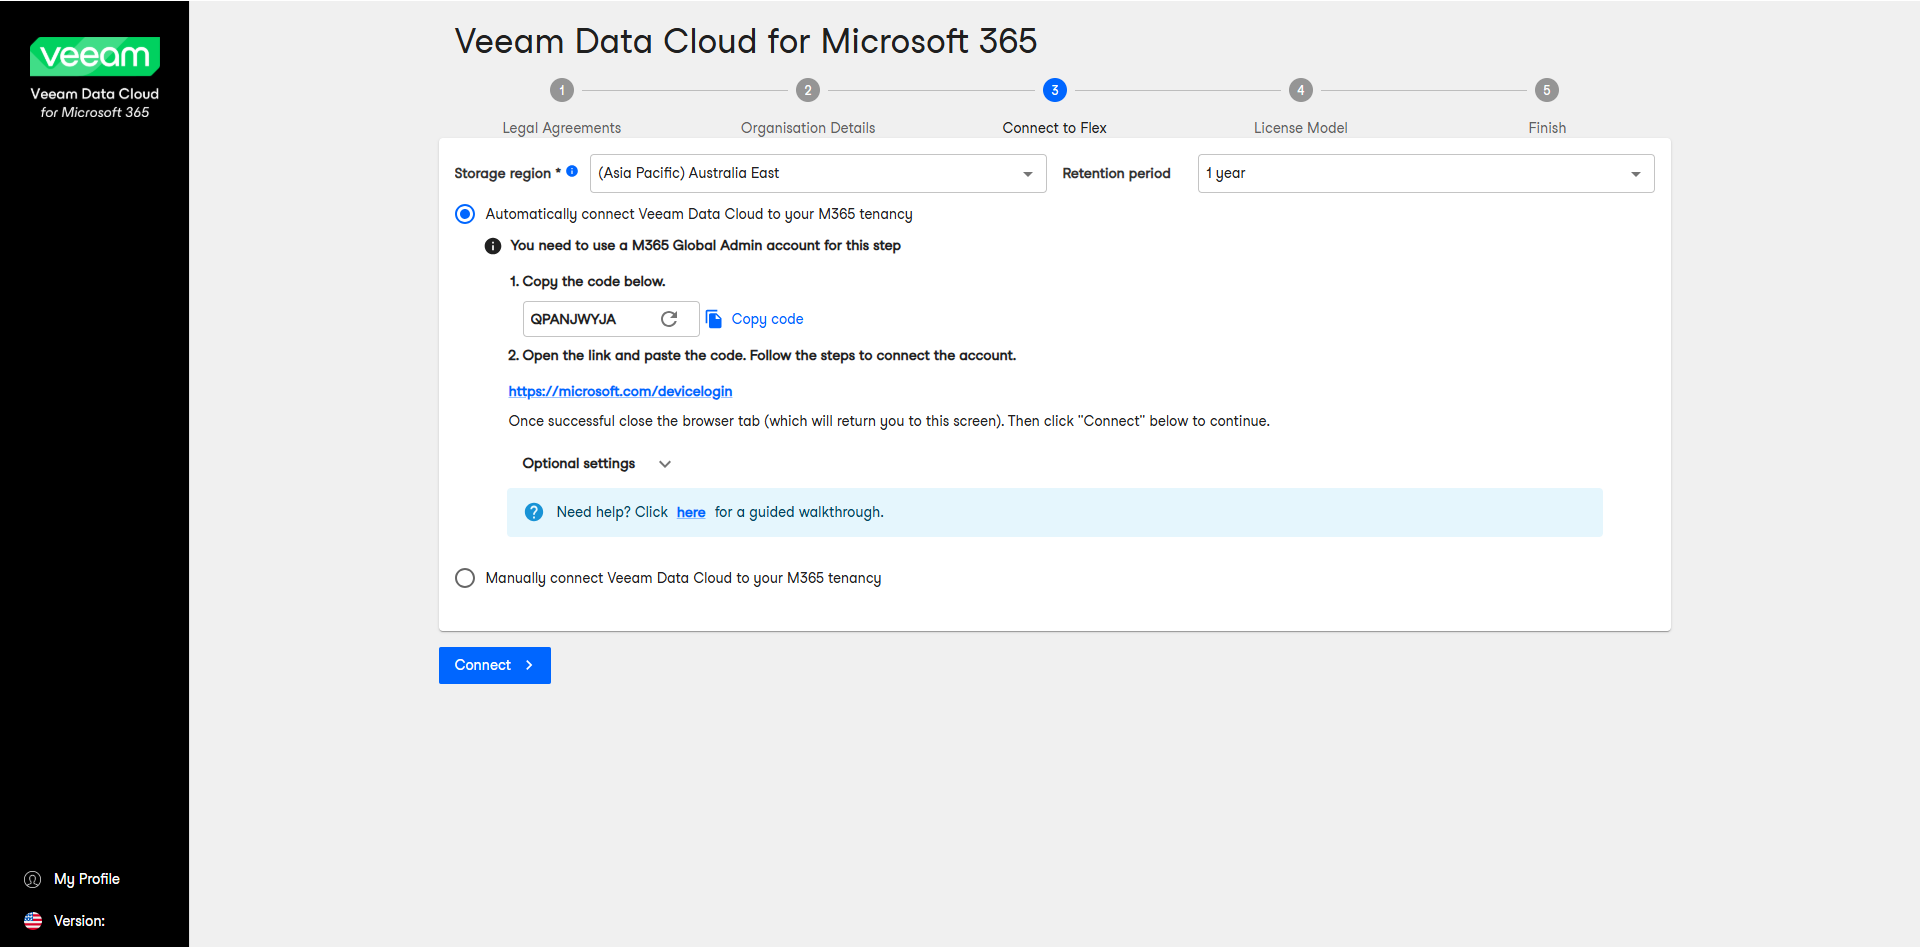
- At the Connect to Flex step, copy the generated code to connect to your Microsoft tenancy.
Note |
To perform this step successfully, you must use the Microsoft 365 Global Admin account. |
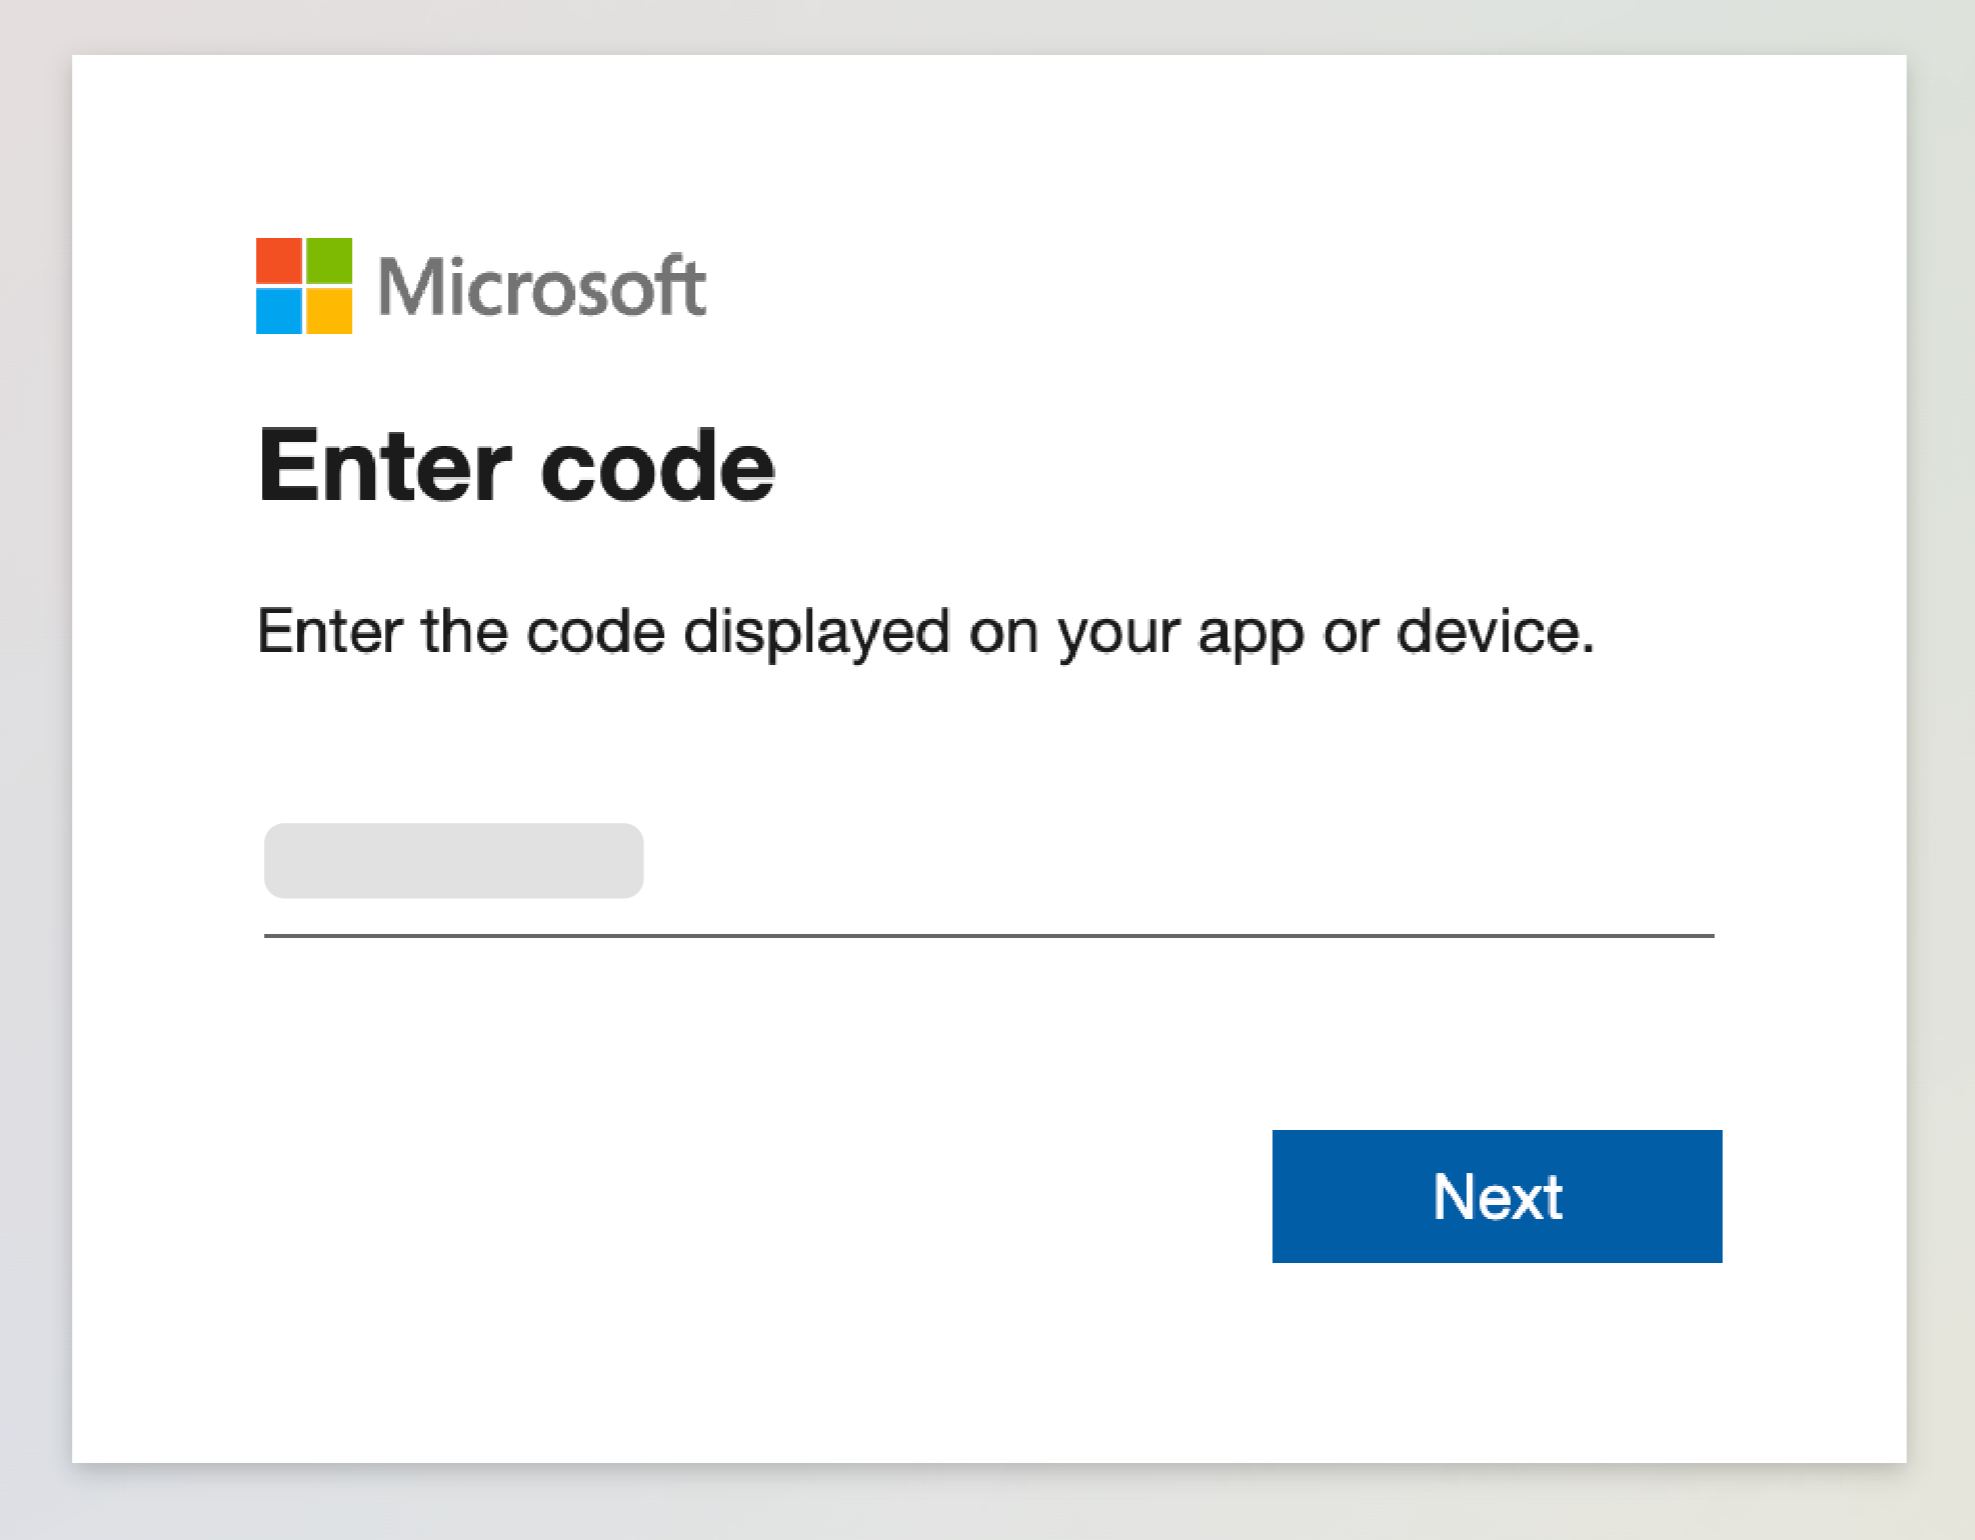
- Click the https://microsoft.com/devicelogin link and paste or enter the code that you copied. Then click Next.
Note |
To perform this step successfully, you must use the Microsoft 365 Global Admin account. |
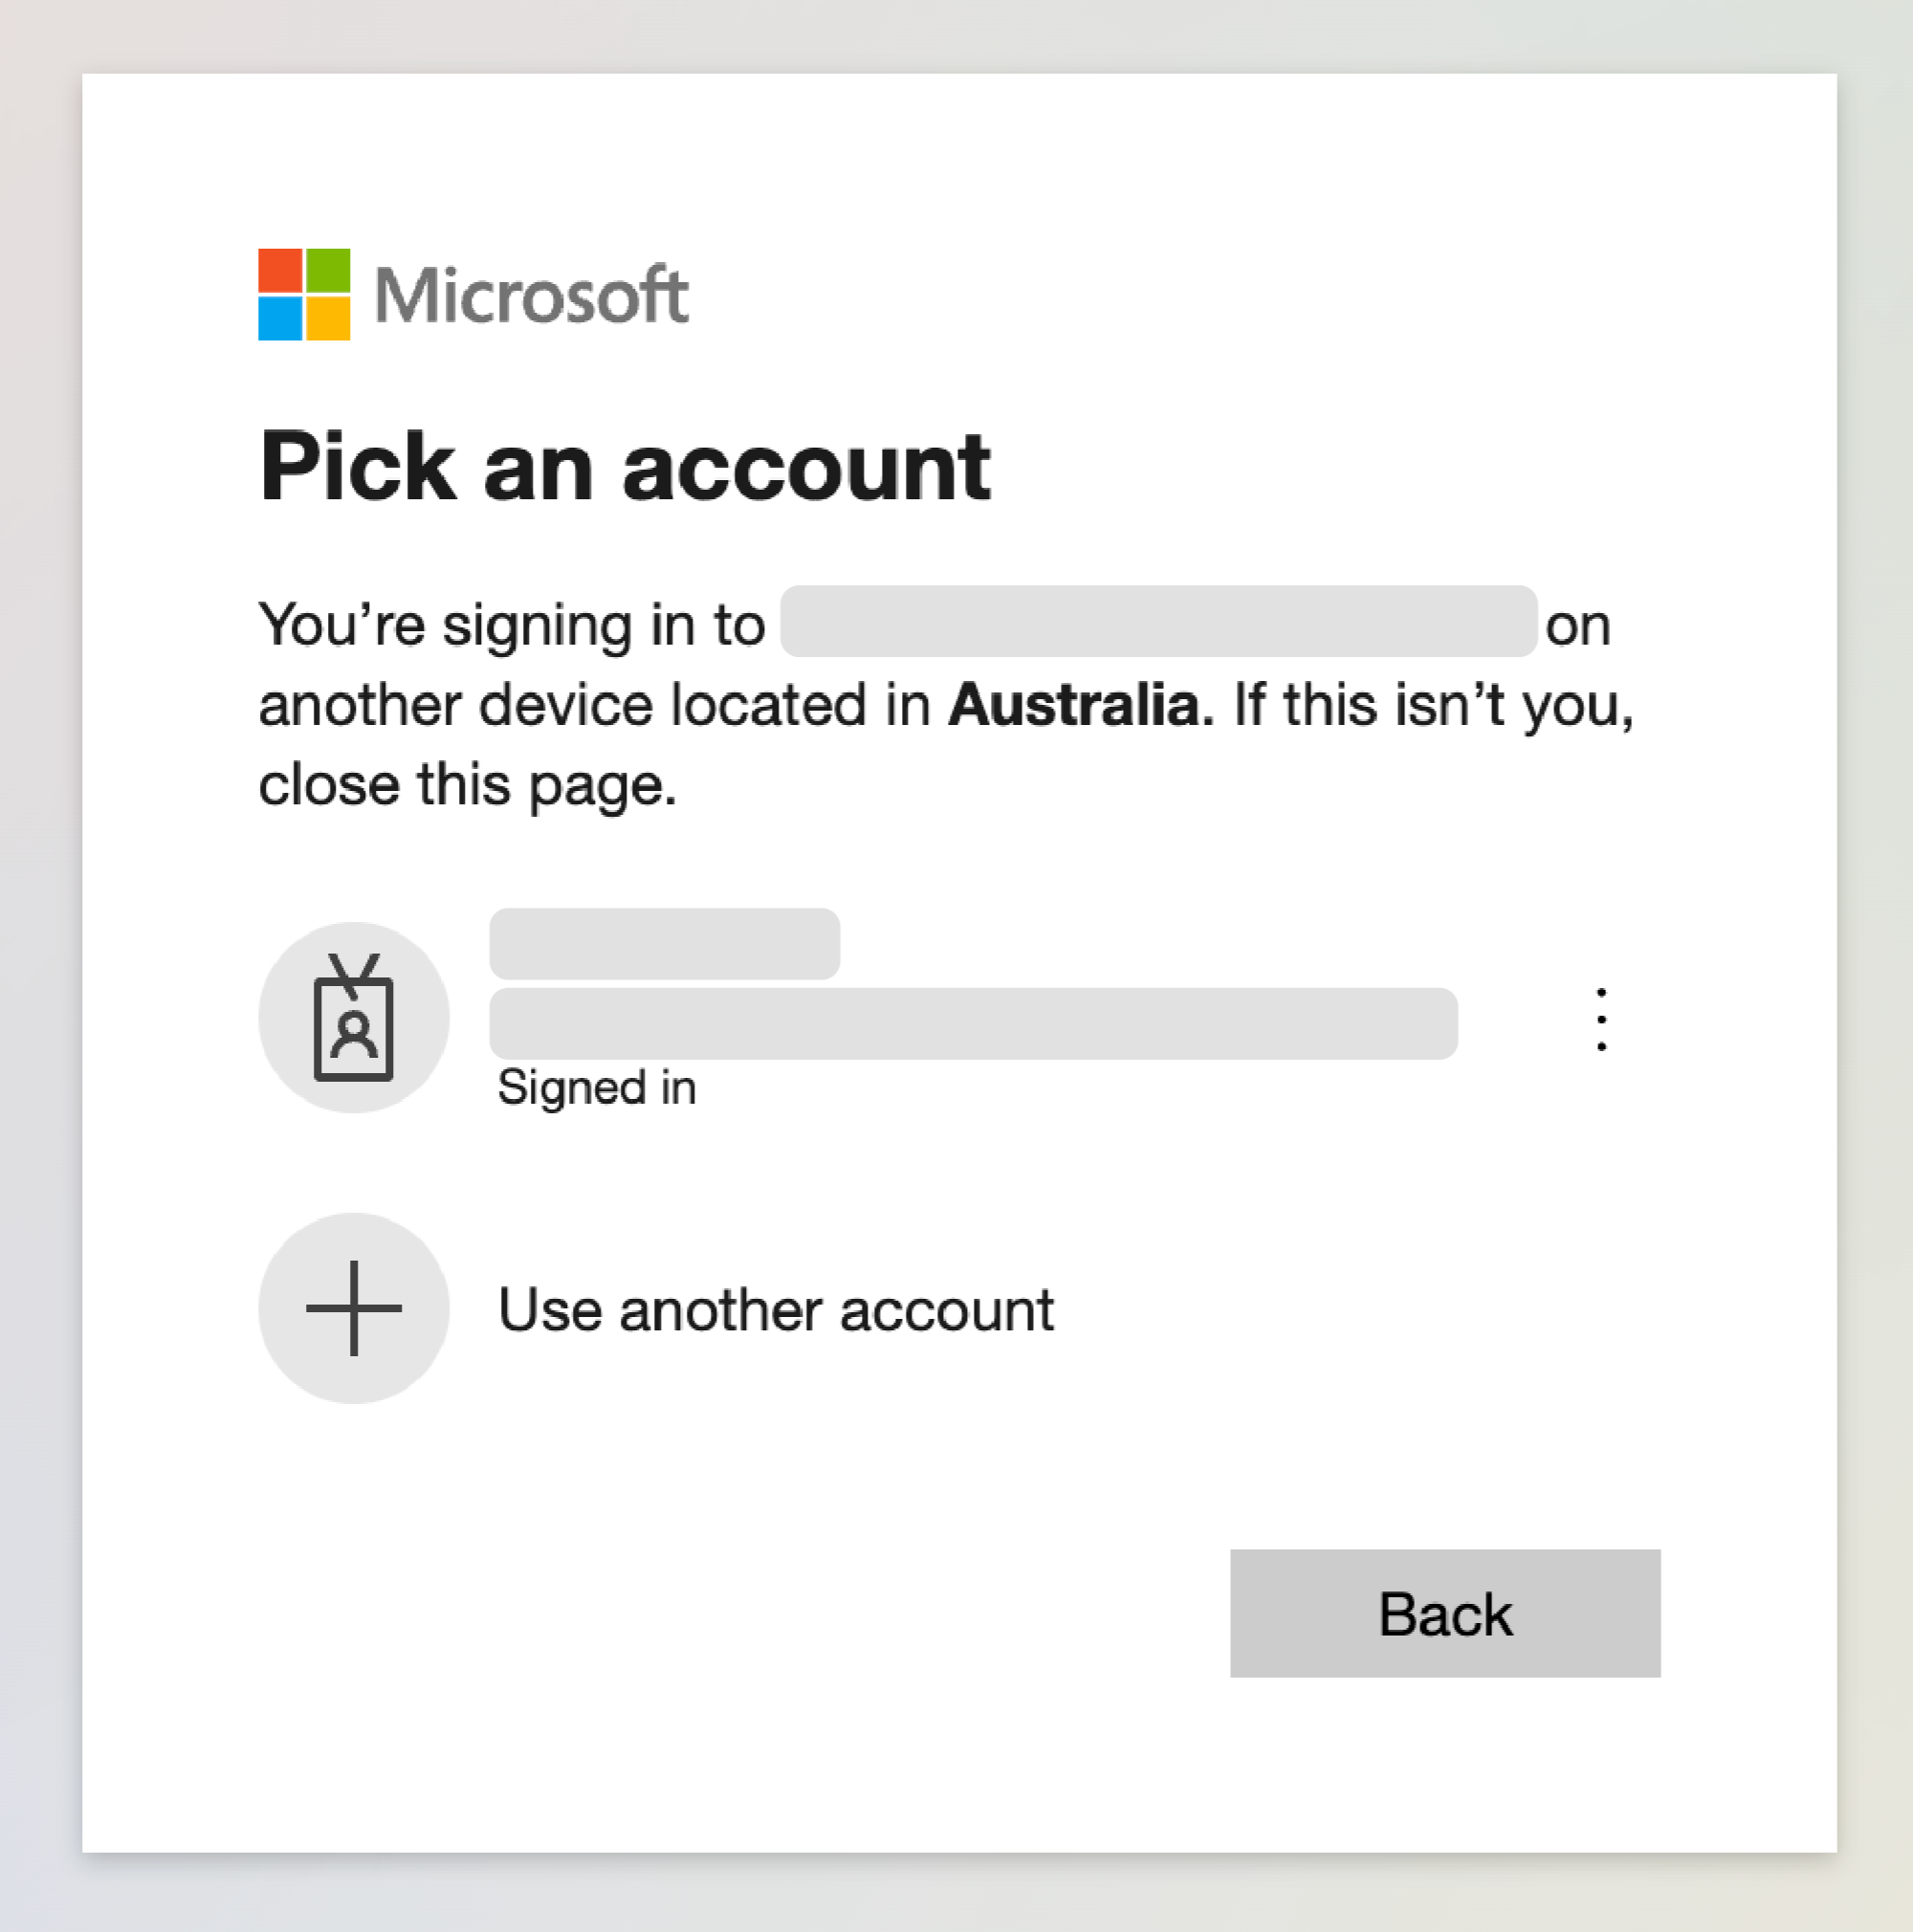
- Select the Microsoft account under which you want to authenticate against Microsoft 365. The account must have the Microsoft 365 Global Admin permissions.
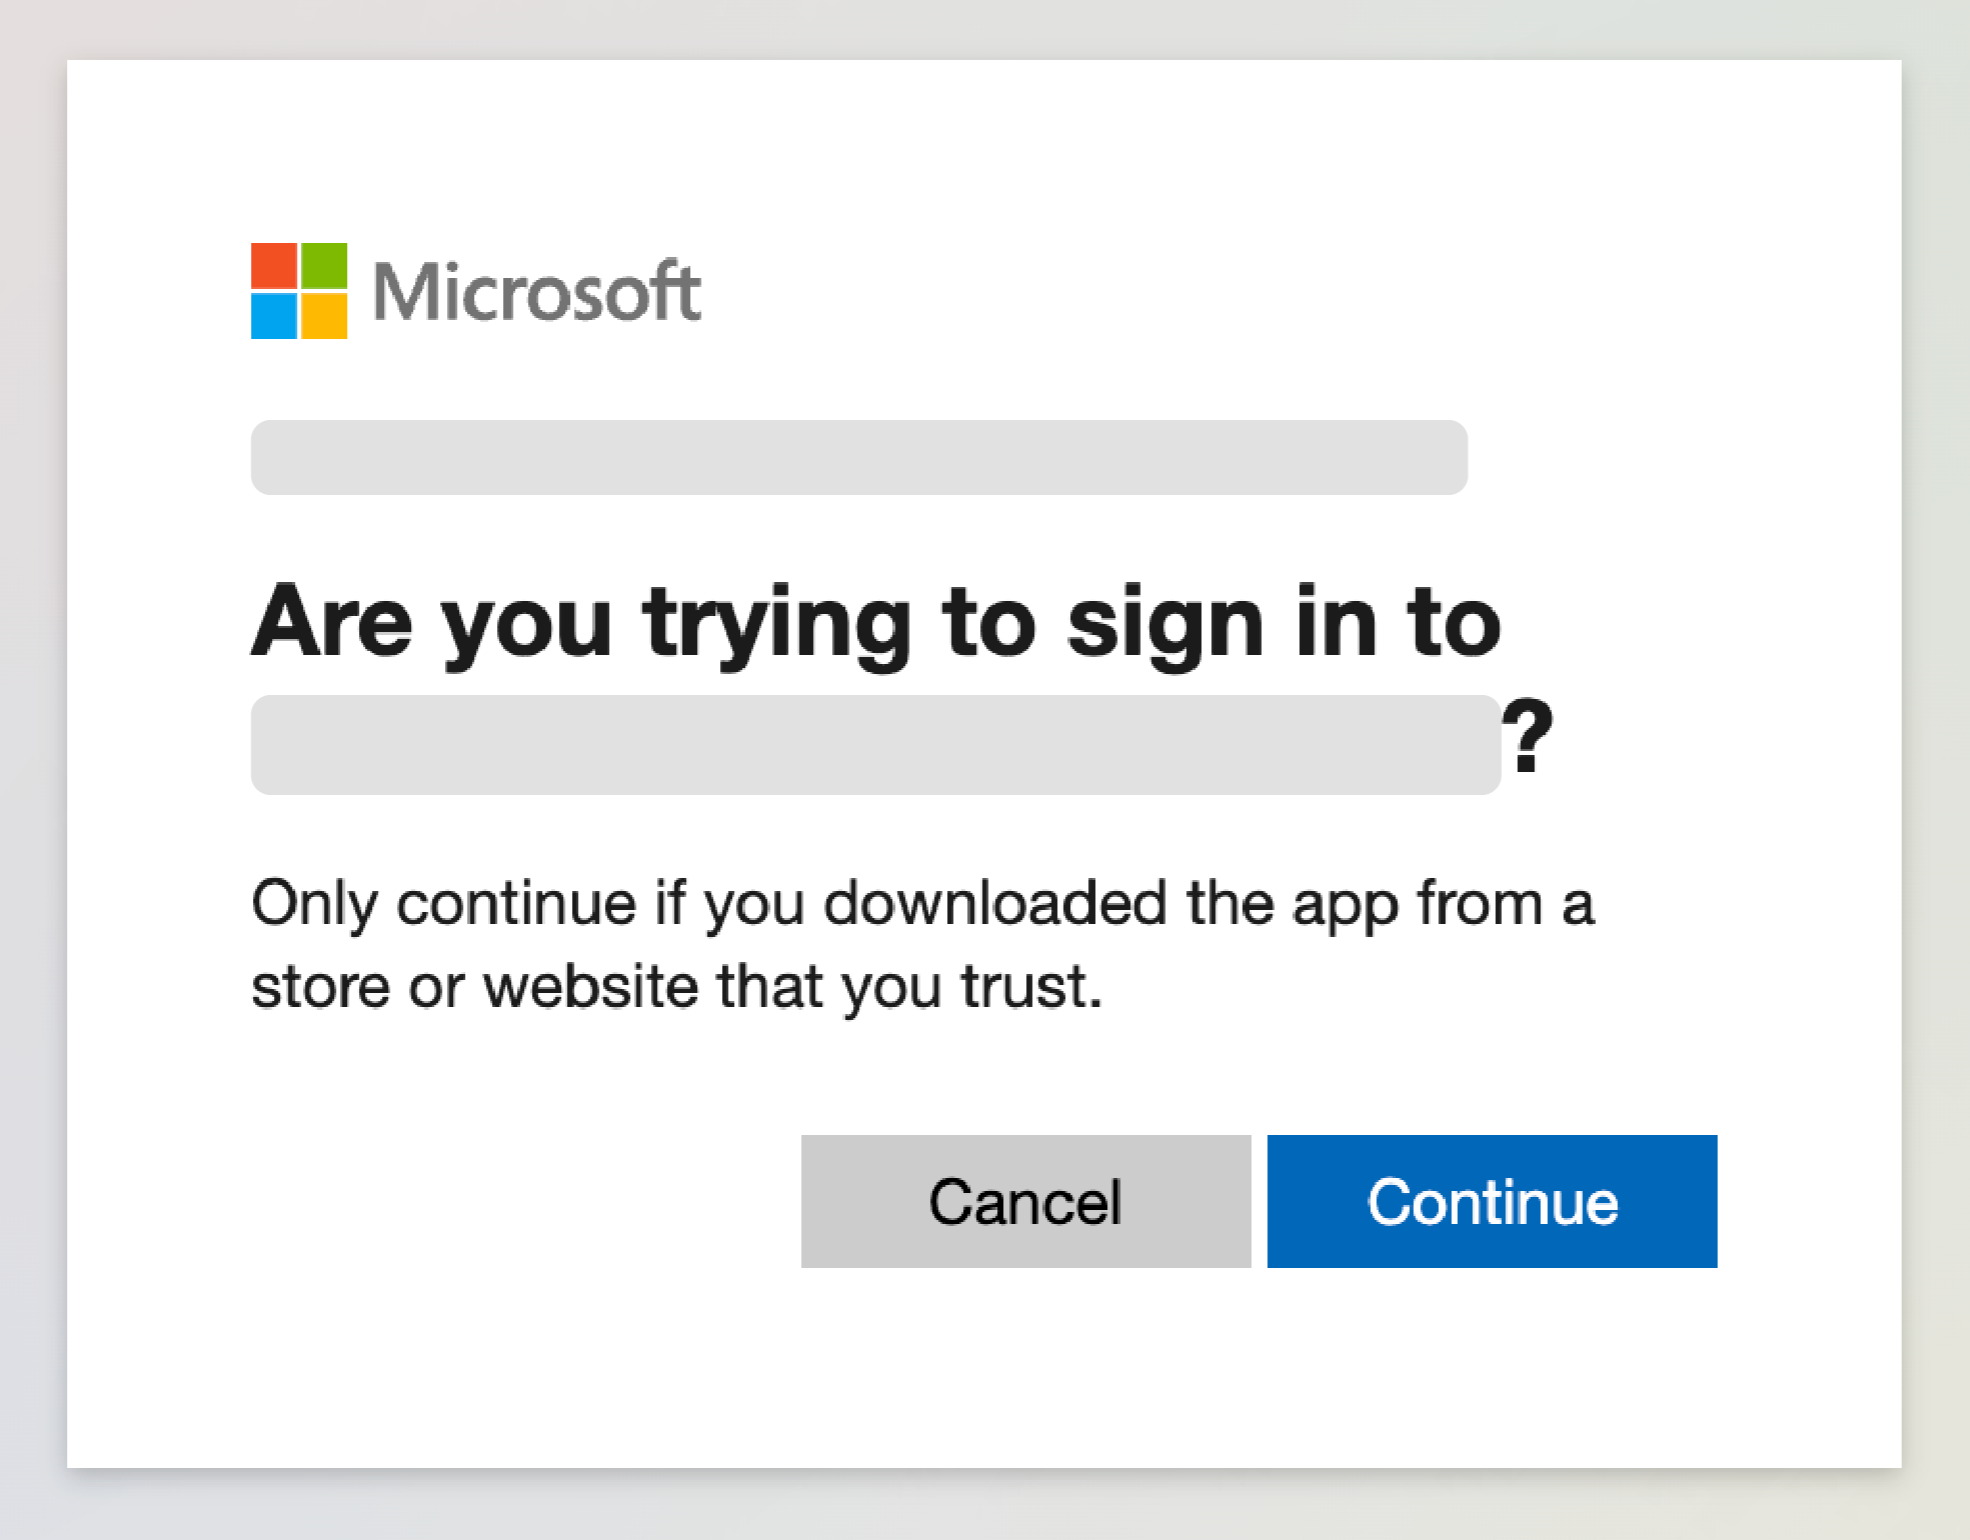
- Click Continue and close the window.
- Return to Veeam Data Cloud and click Connect.
- [The Activate to Express step is available only if you already have a subscription to the Express or Premium plan.] At the Activate to Express step, grant permission to connect Microsoft 365 Backup Storage to Veeam Data Cloud for your Express or Premium plan. Copy the generated code.
- Click the https://microsoft.com/devicelogin link and paste or enter the code that you copied. Then click Next.
- Select the Microsoft account under which you want to authenticate against Microsoft 365. The account must have the Microsoft 365 Global Admin permissions. Click Continue and close the window.
- Return to Veeam Data Cloud, wait for around 20 seconds, and then click Activate.
- At the License Model step, click Next.
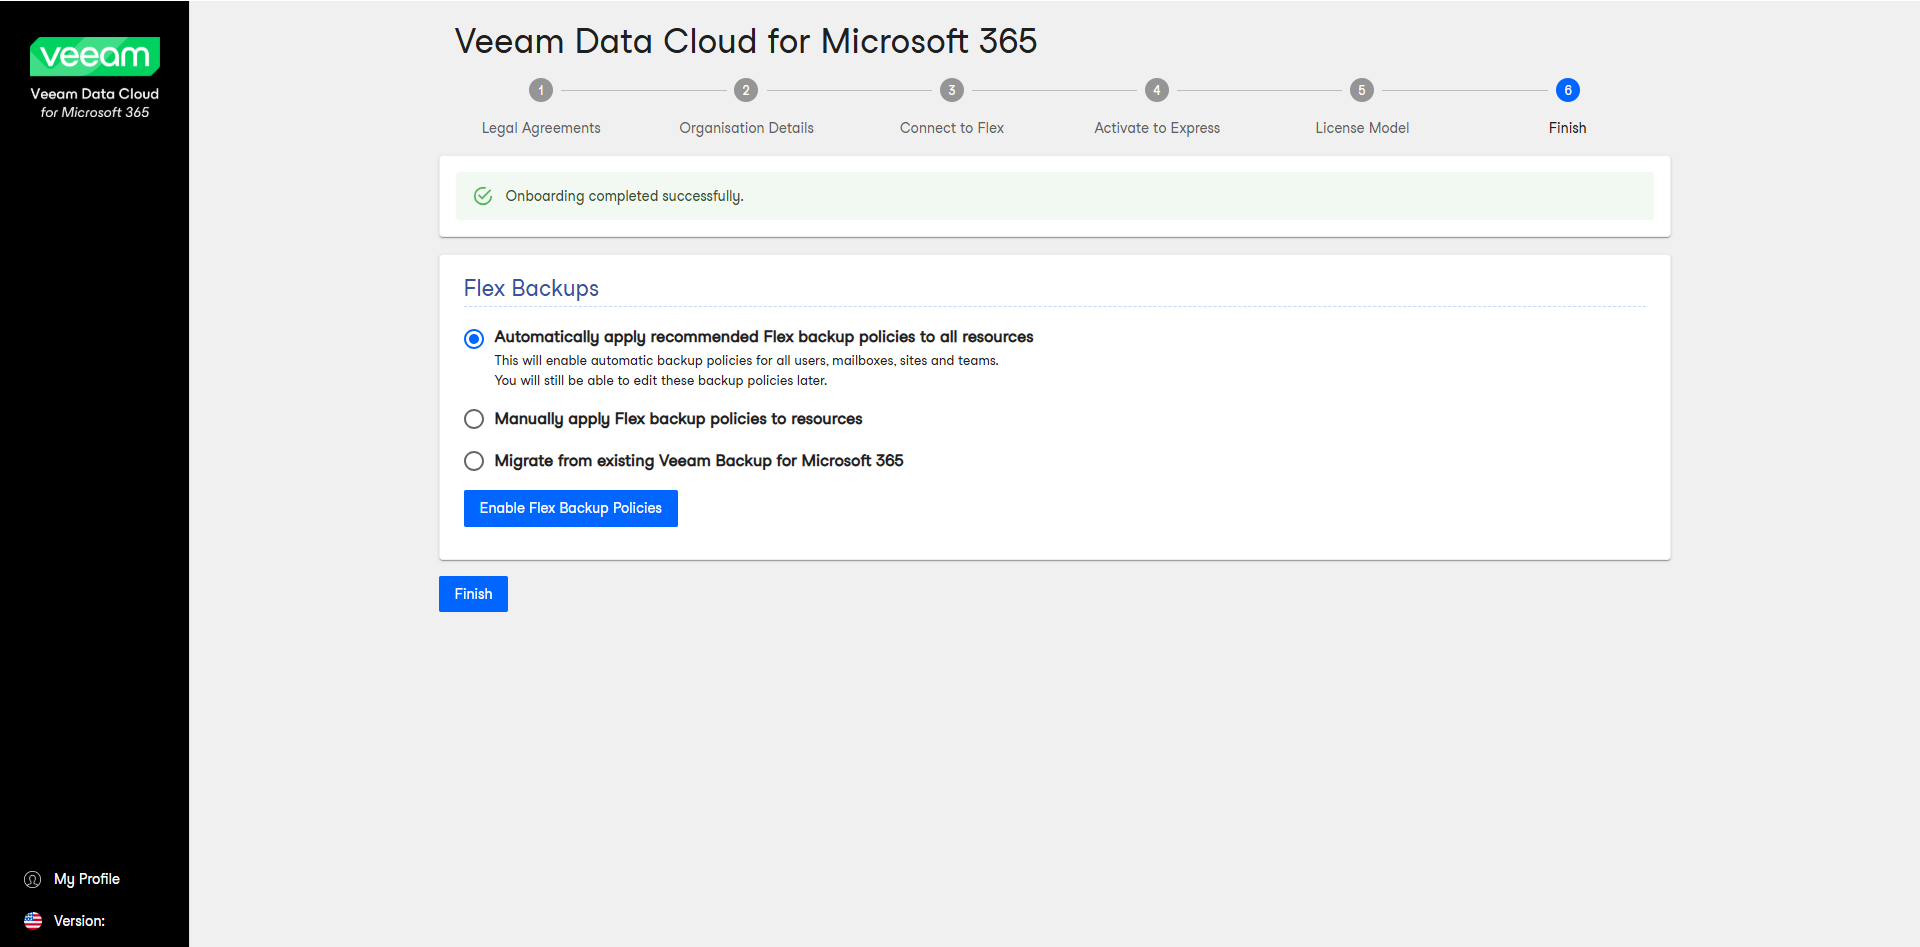
- At the Finish step, select one of the following options:
- Automatically apply recommended Flex backup policies to all resources. This option enables automatic backup policies for all users, sites and teams.
- Manually apply Flex backup policies to resources. This option allow you to manually set your backup policies.
You can adjust backup settings later after the onboarding process is completed. To learn more, see Editing Flex Backup Policies.
- Click Finish to enter the app.
Fixed License Model Onboarding Steps
To complete the self-service onboarding process, take the following steps:
- In your welcome email from Veeam Data Cloud, click Activate your account.
Alternatively, follow the https://login.veeam.com/ link and sign in with the Microsoft 365 Global Admin account that was invited to Veeam Data Cloud.
- At the Legal Agreements step, read and accept Terms of Use and Privacy Notice. Click I Agree.
- At the Organisation Details step, enter your organization details and click Next.
- At the Connect to Flex step, copy the generated code to connect to your Microsoft tenancy.
Note |
To perform this step successfully, you must use the Microsoft 365 Global Admin account. |
- Click the https://microsoft.com/devicelogin link and paste or enter the code that you copied. Then click Next.
Note |
To perform this step successfully, you must use the Microsoft 365 Global Admin account. |
- Select the Microsoft account under which you want to authenticate against Microsoft 365. The account must have the Microsoft 365 Global Admin permissions.
- Click Continue and close the window.
- Return to Veeam Data Cloud and click Connect.
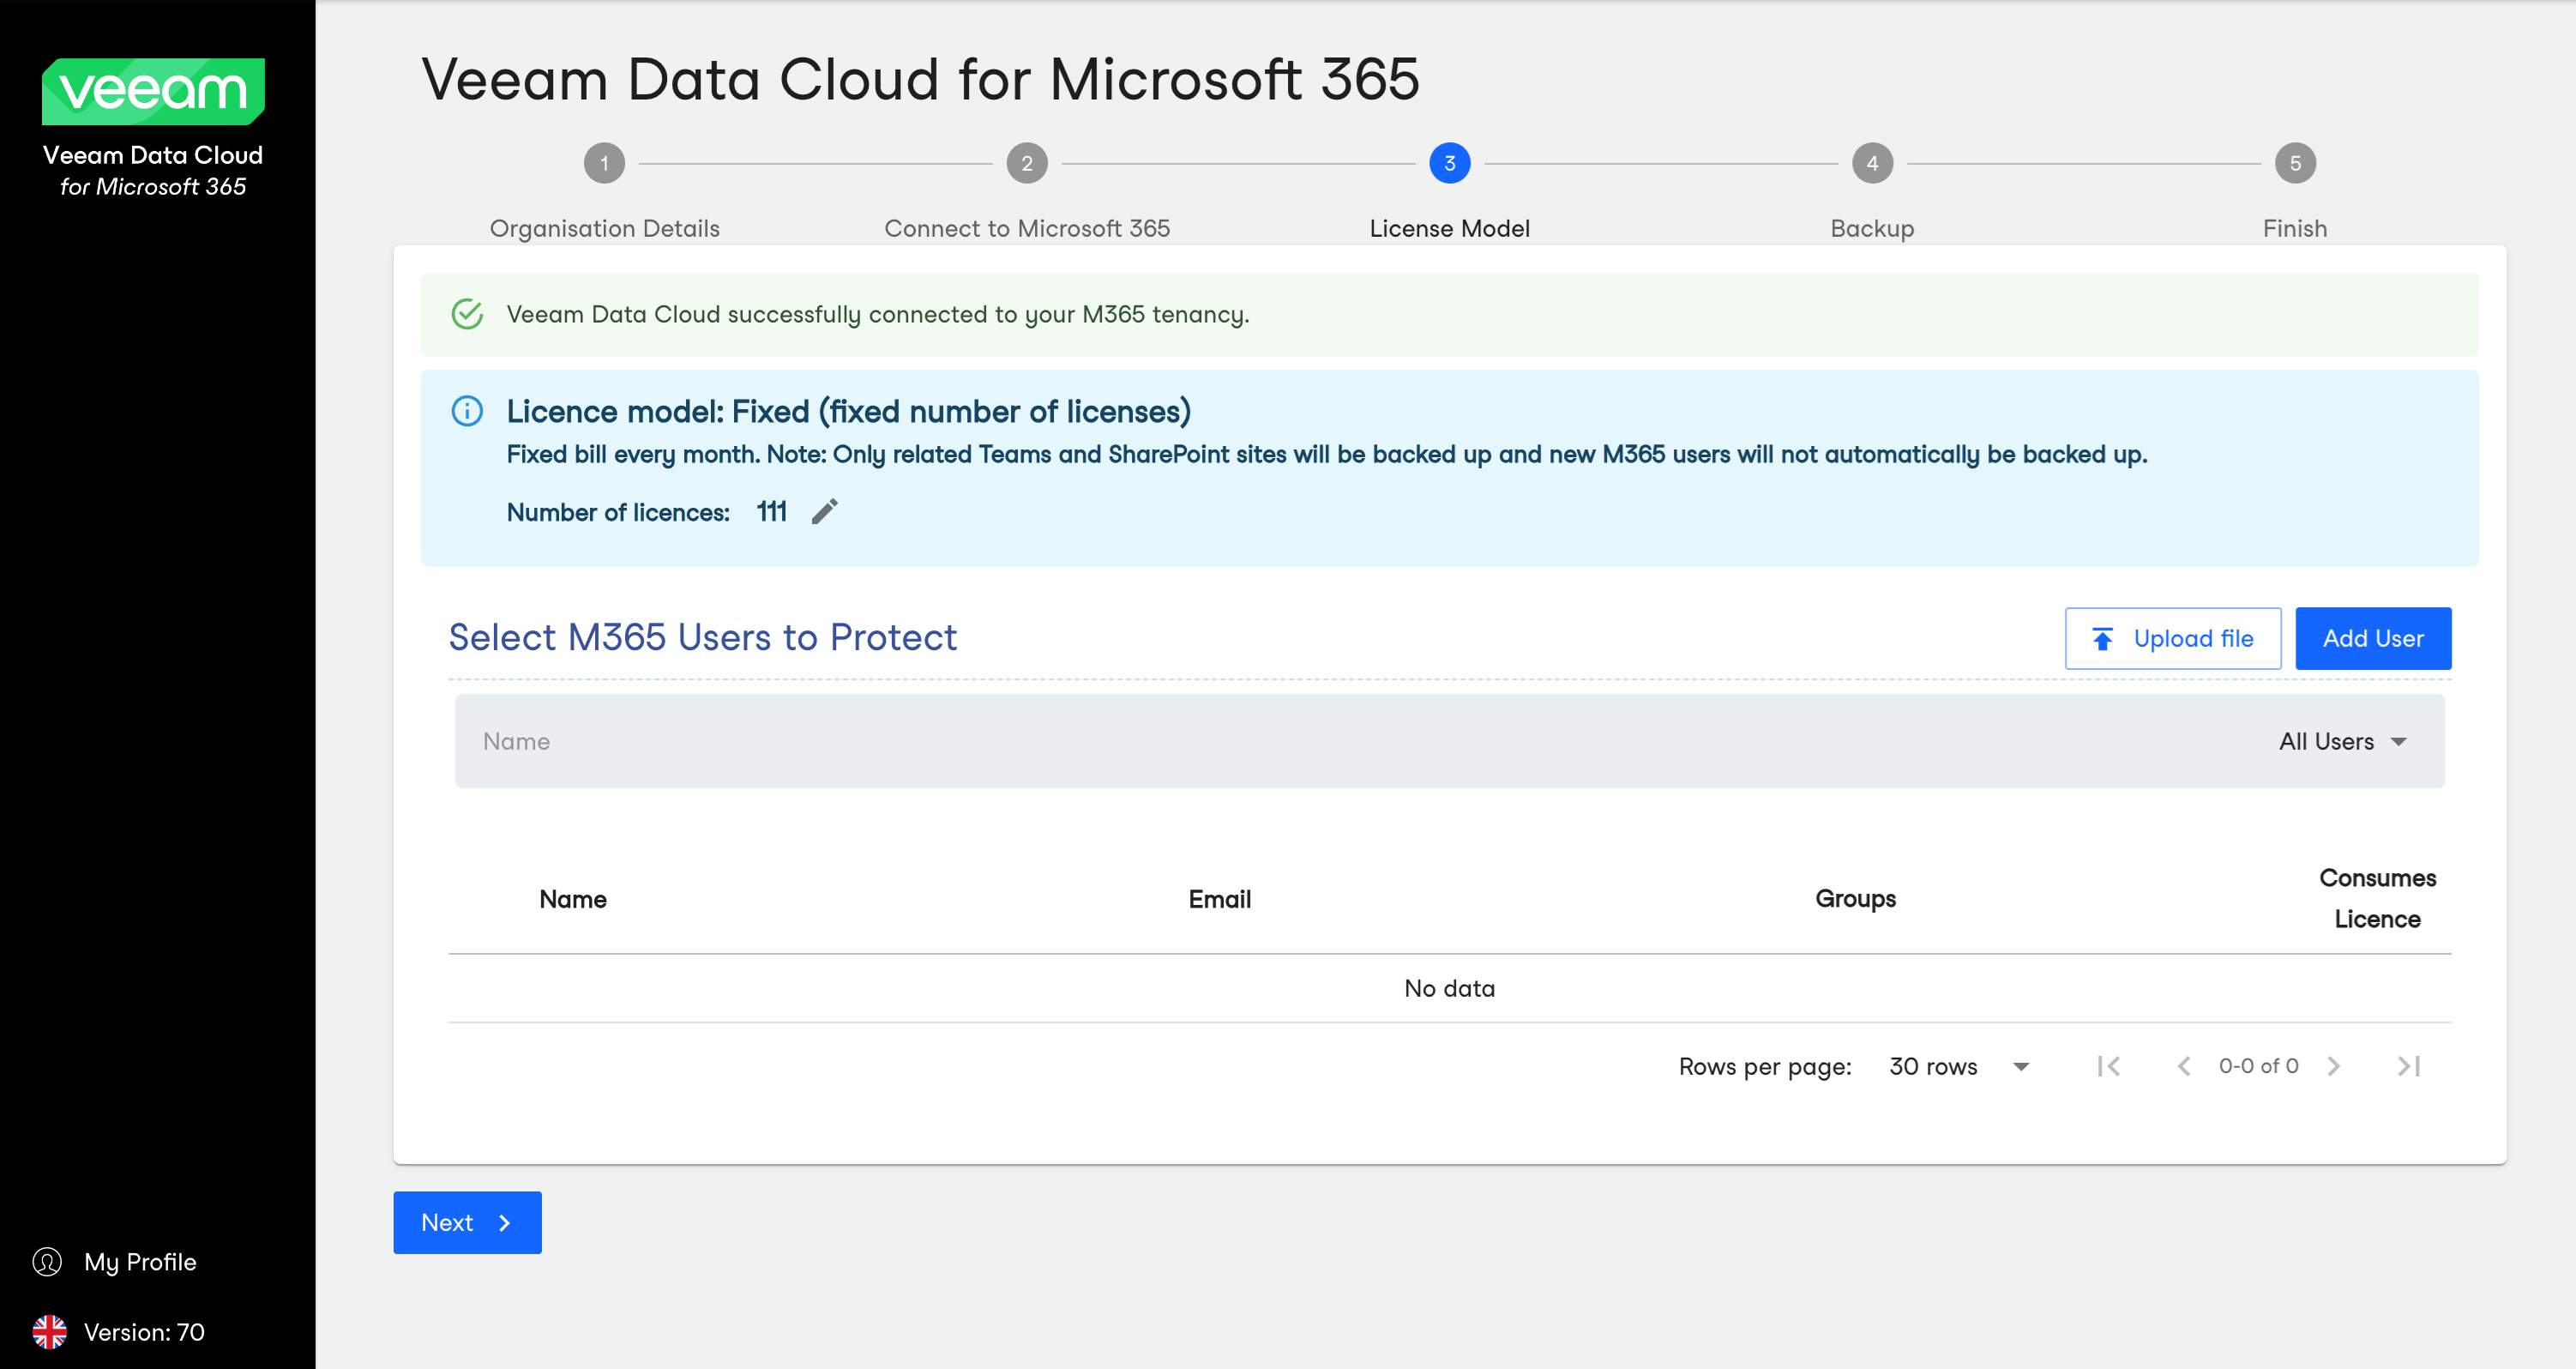
- At the License Model step, add users to the backup schedule. To do this, do either of the following:
- Click Upload file and select a .TXT file with one email address per line. This is the best option to bulk add users.
- Click Add User and manually assign a license to a user.
Once you have added the necessary users, click Next.
- At the Finish step, select the following option:
Create new backup policies. This allows you to create new backup policies and start the backup process.
You can adjust backup settings later after the onboarding process is completed. To learn more, see Editing Flex Backup Policies.
- Click Finish to enter the app.
