 This guide is for customers who continue to use the original platform for Veeam Data Cloud for Microsoft 365 until migration to the new unified experience platform is complete. If you use Veeam Data Cloud for Microsoft 365 in the unified experience platform, click here to go to the correct user guide.
Manually Connecting to Microsoft 365
If you choose to manually connect Veeam Data Cloud to your Microsoft 365 tenancy during the self-service onboarding process, you must first create a Microsoft Entra application registration (or update an existing registration) and manually grant the required permissions.
To manually connect to Microsoft 365, do the following:
- Log in to Microsoft Entra ID (formerly Azure Active Directory) and create a new App Registration.
- Assign the required permissions to the new application registration.
- Create and assign a certificate to the application.
X.509 compatible certificates from a trusted CA (Certificate Authority) and self-signed certificates are supported. For more information, see this Microsoft article.
- Export the certificate to a PFX file. You will use this file at step 10 of this procedure.
- On the overview page of the application, copy the Application (client) ID value.
- In Veeam Data Cloud for Microsoft 365, start the self-service onboarding process.
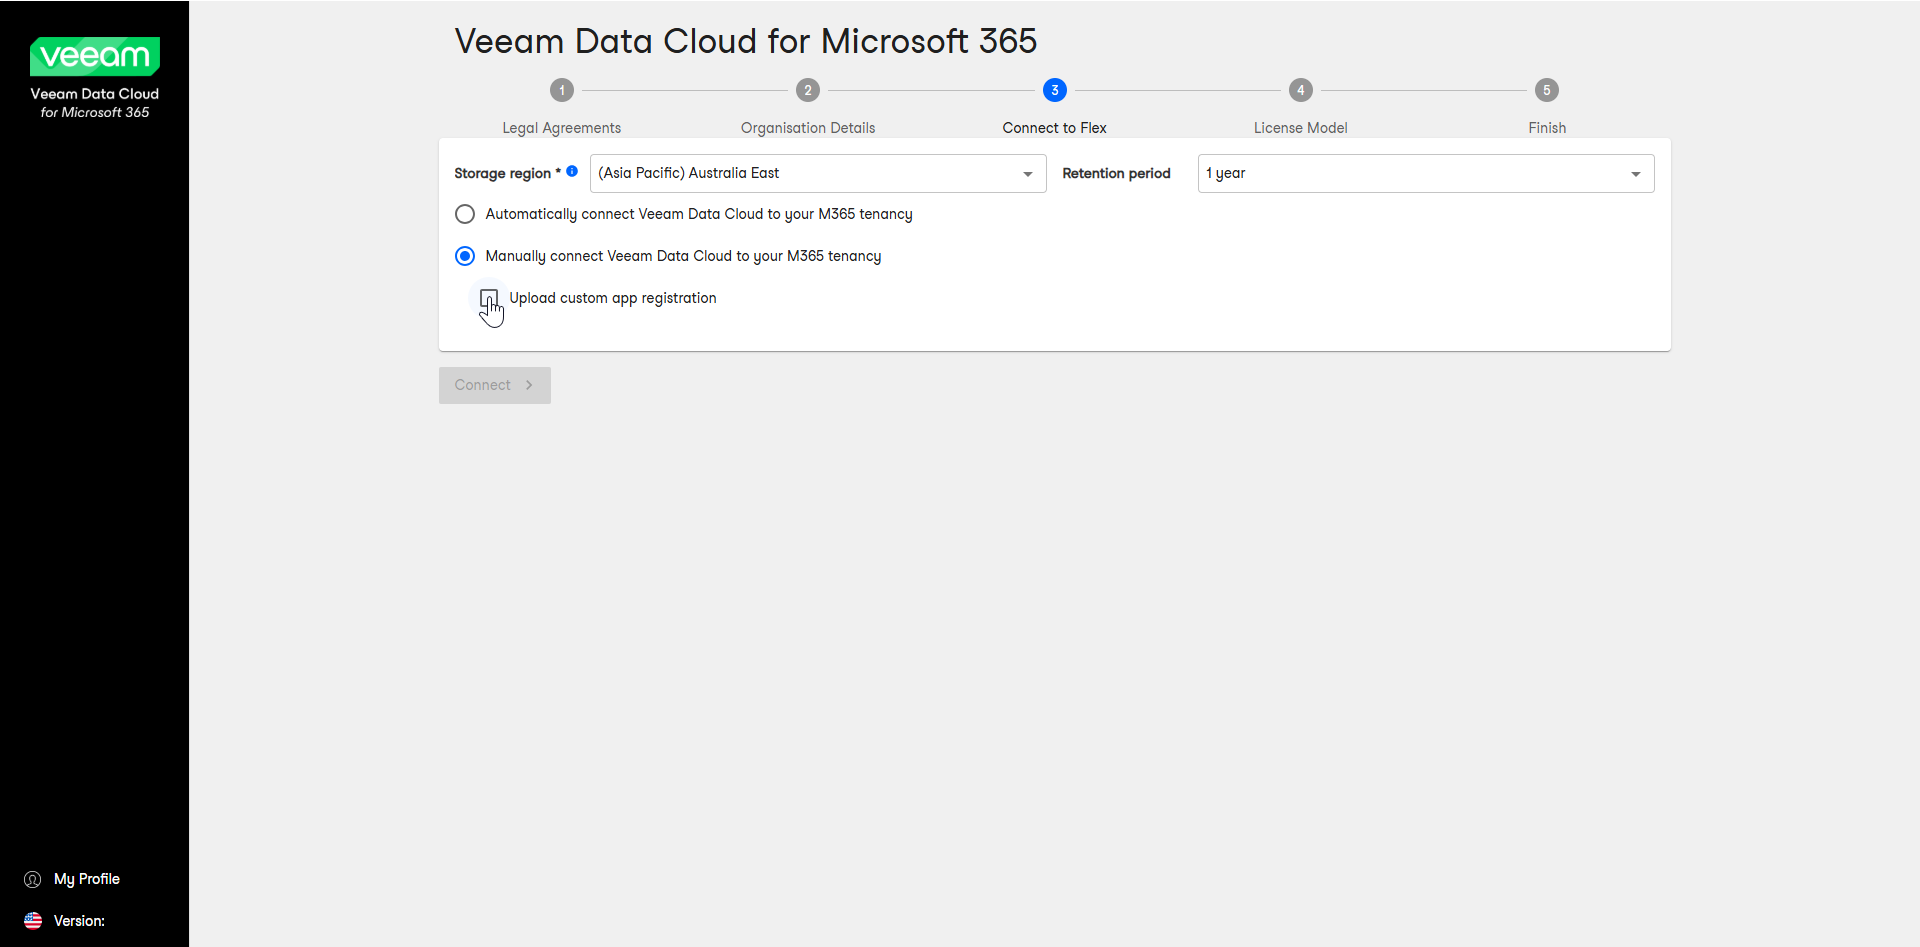
- At the Connect to Flex step, select Manually connect Veeam Data Cloud to your M365 tenancy, and then select the Upload custom app registration check box.
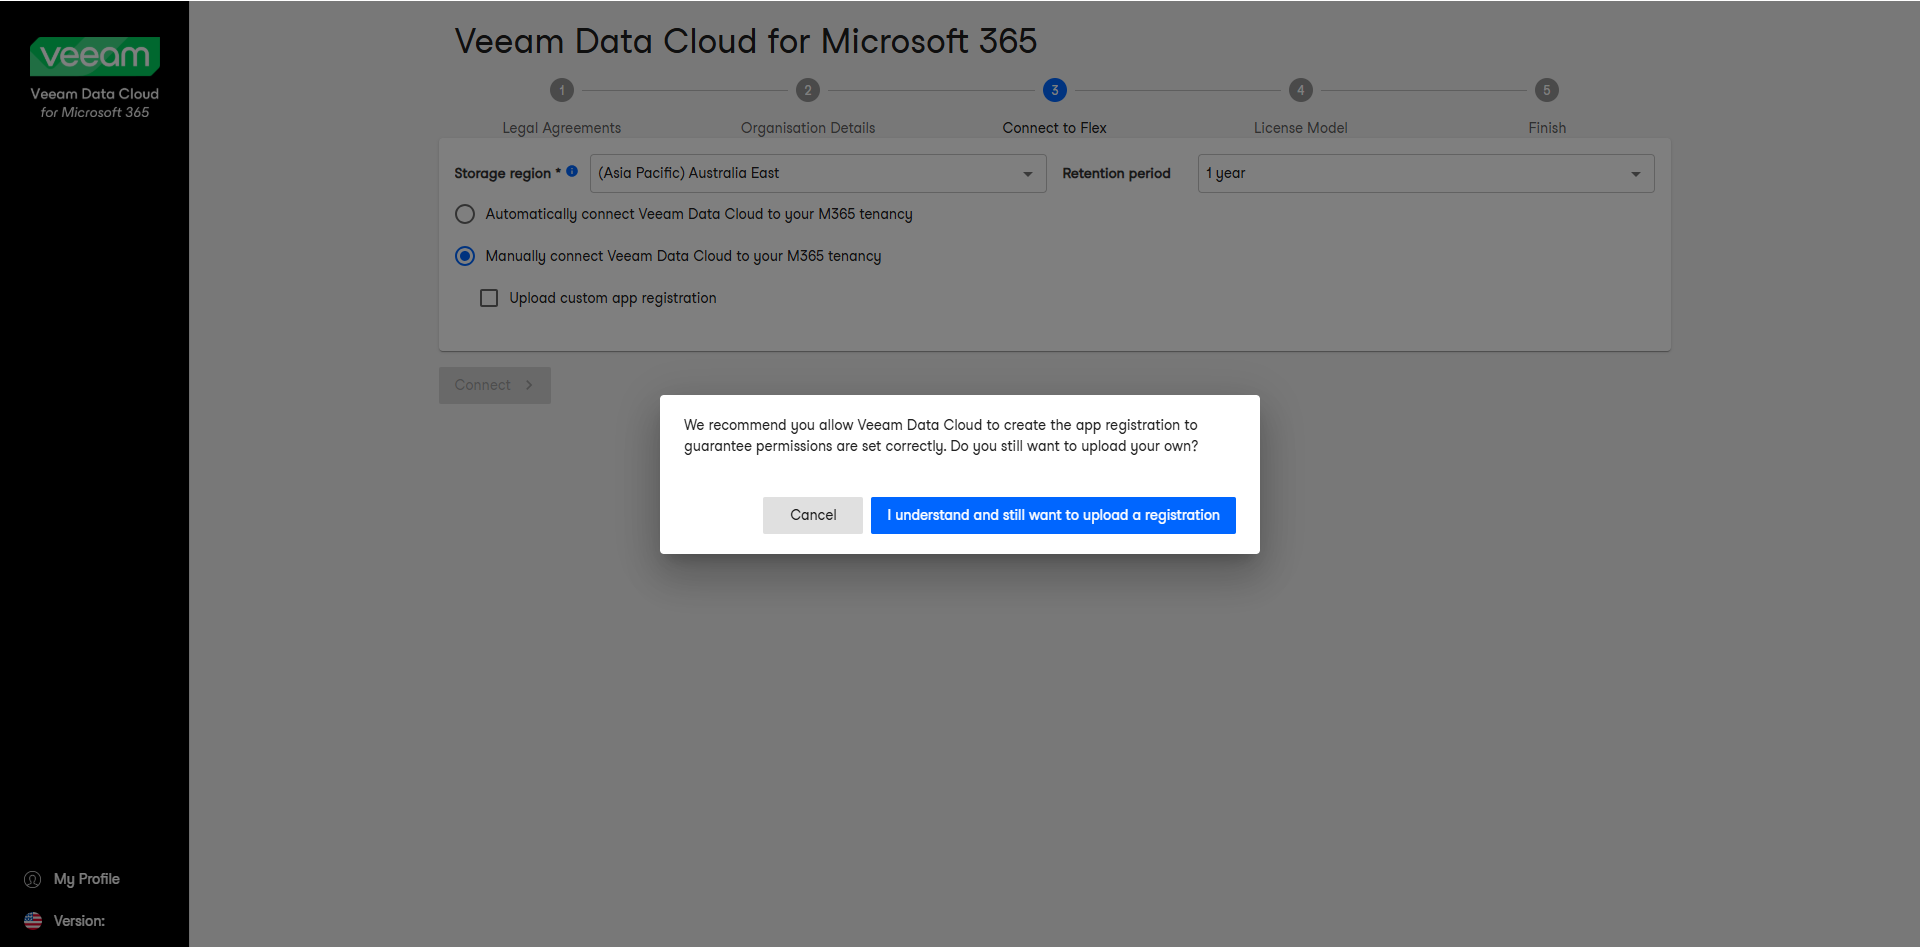
- In the pop-up window, click I understand and still want to upload a registration.
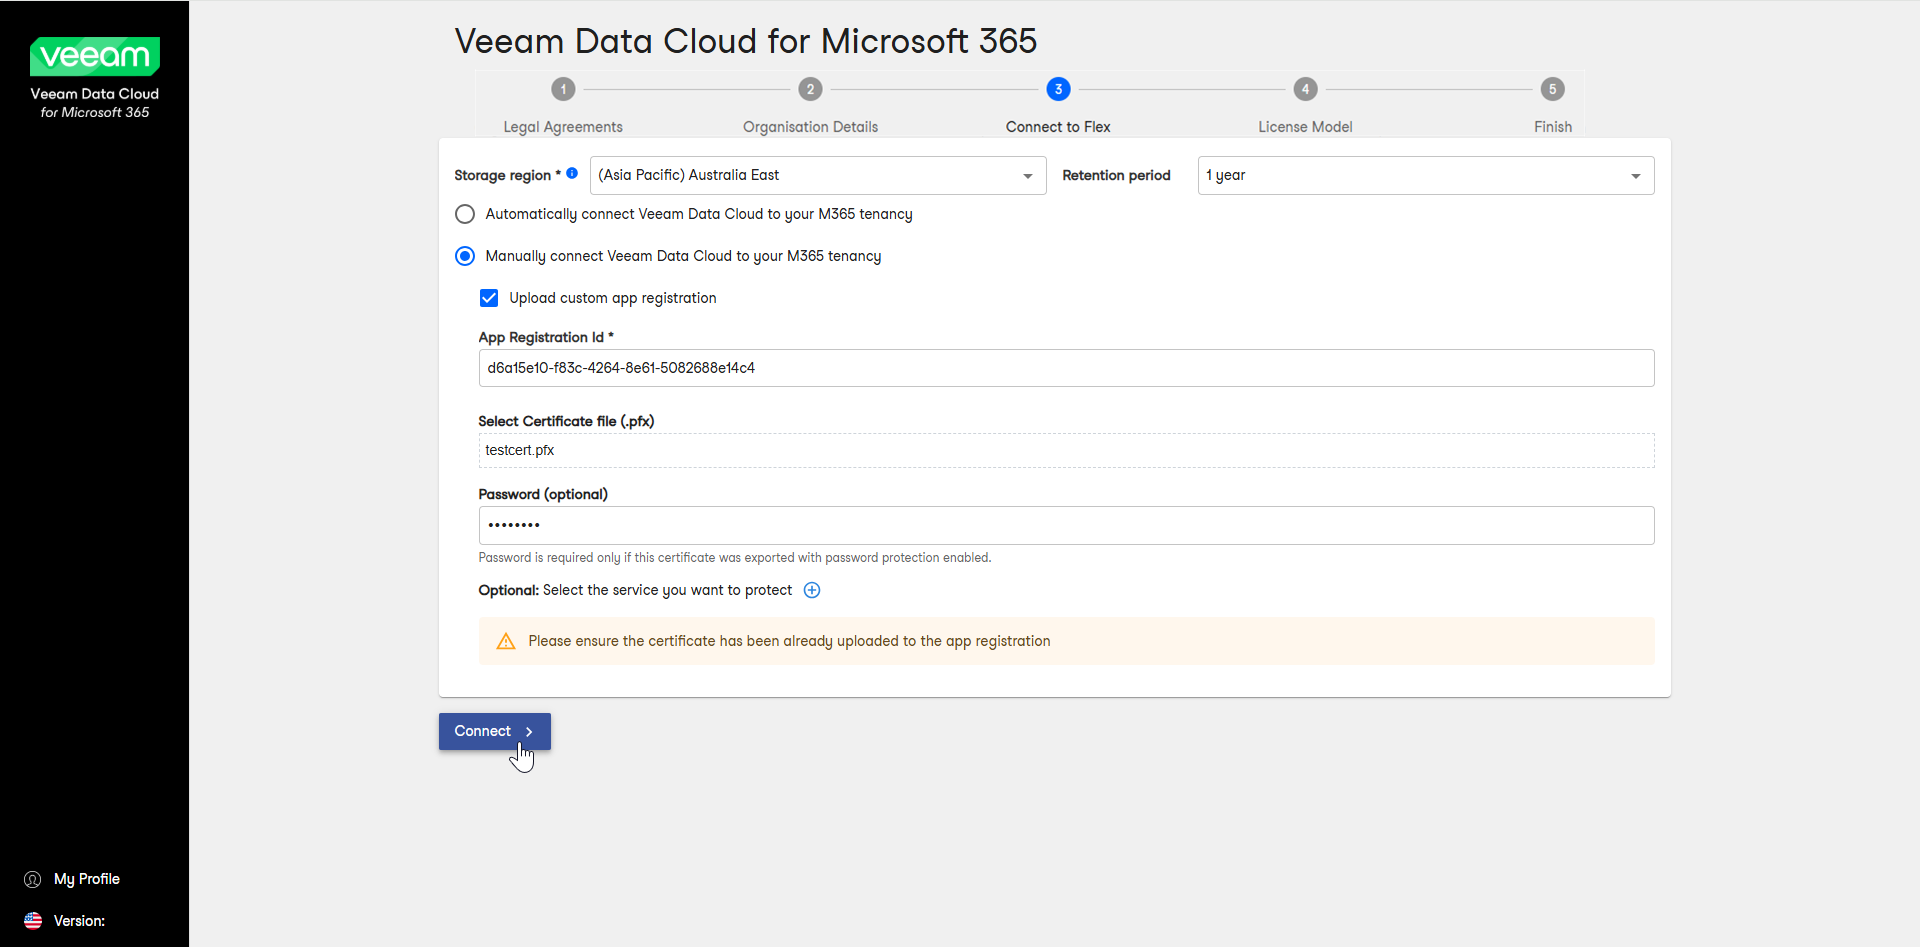
- In the App Registration id field, type the Application (client) ID value that you copied during the application registration in Microsoft Entra ID.
- In the Select Certificate file (.pfx) field, upload the PFX certificate file that you assigned to the application registration and exported from Microsoft Entra ID.
- In the Password (optional) field, only type the password if you have exported the certificate with password protection enabled.
- Click Connect.
- Proceed to the next step of the self-service onboarding process, depending on your license model.